|
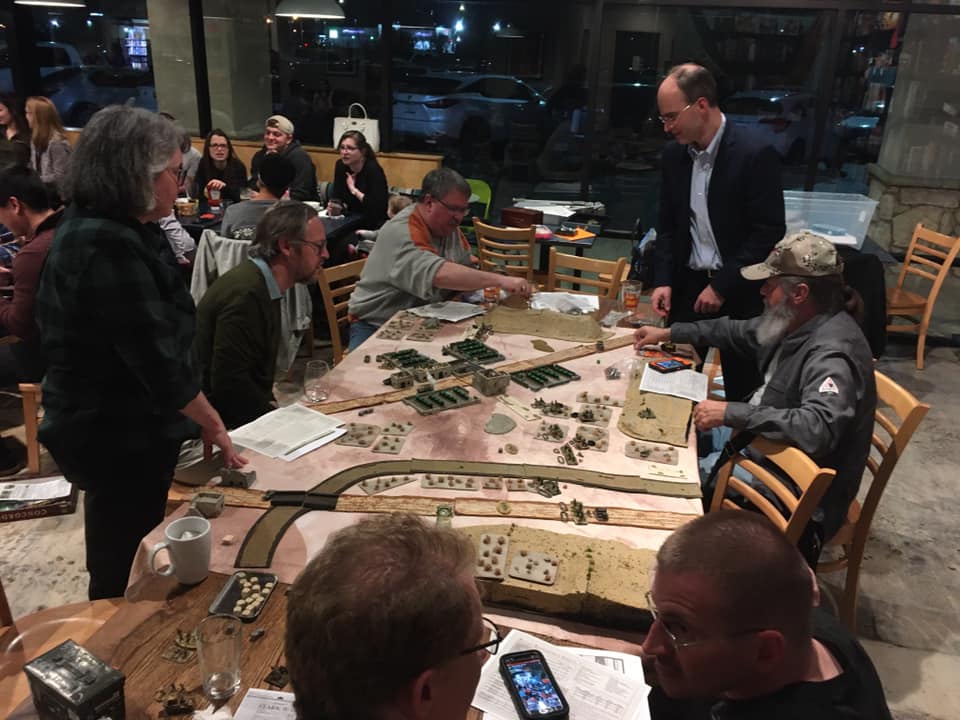
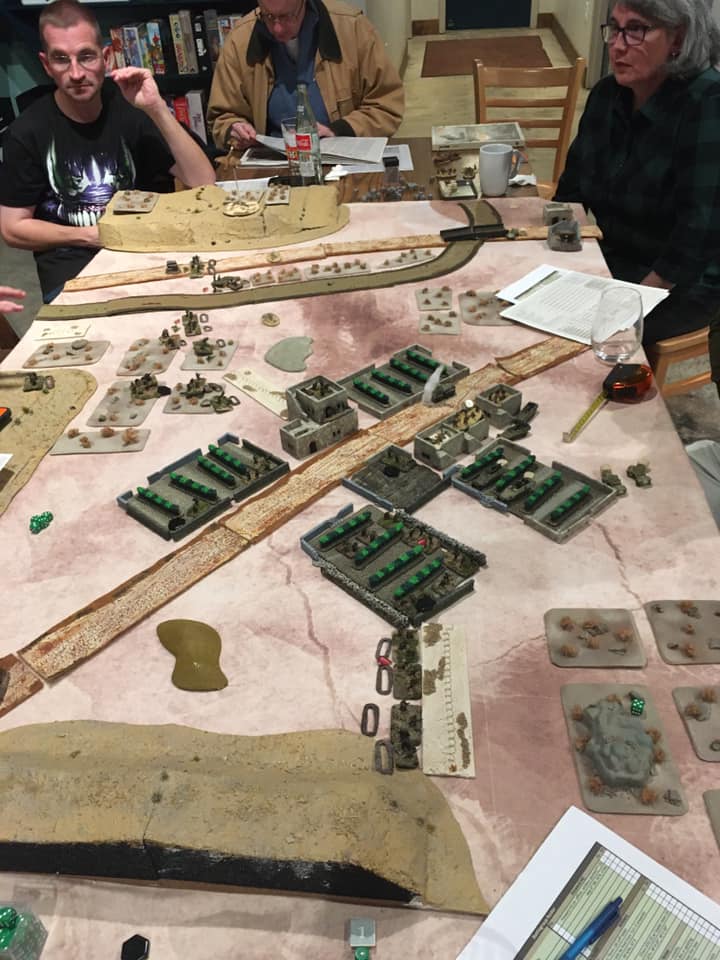
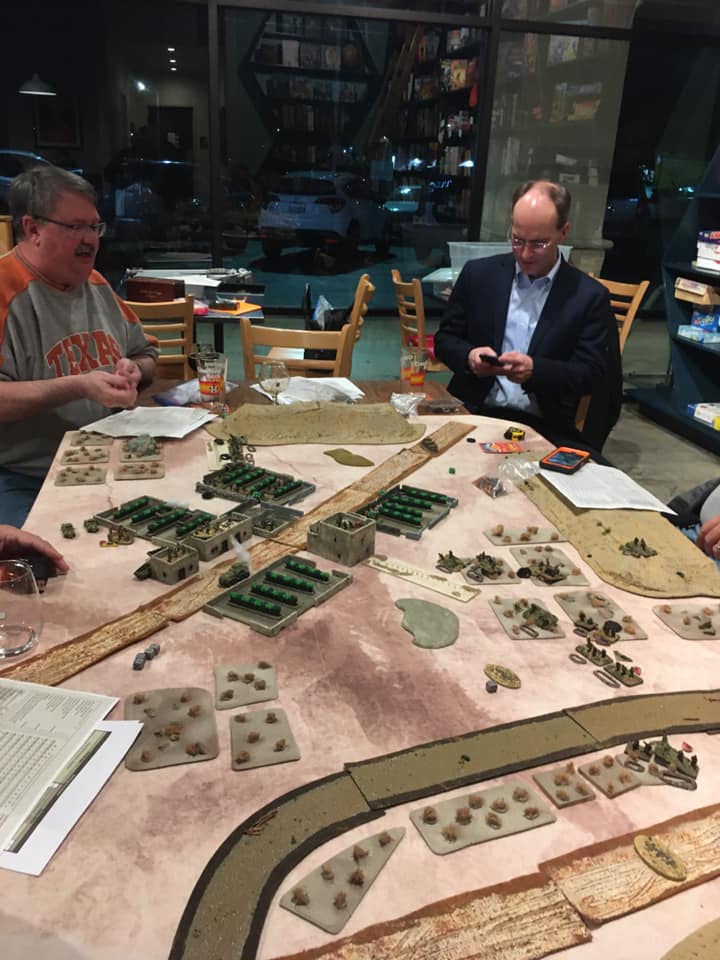
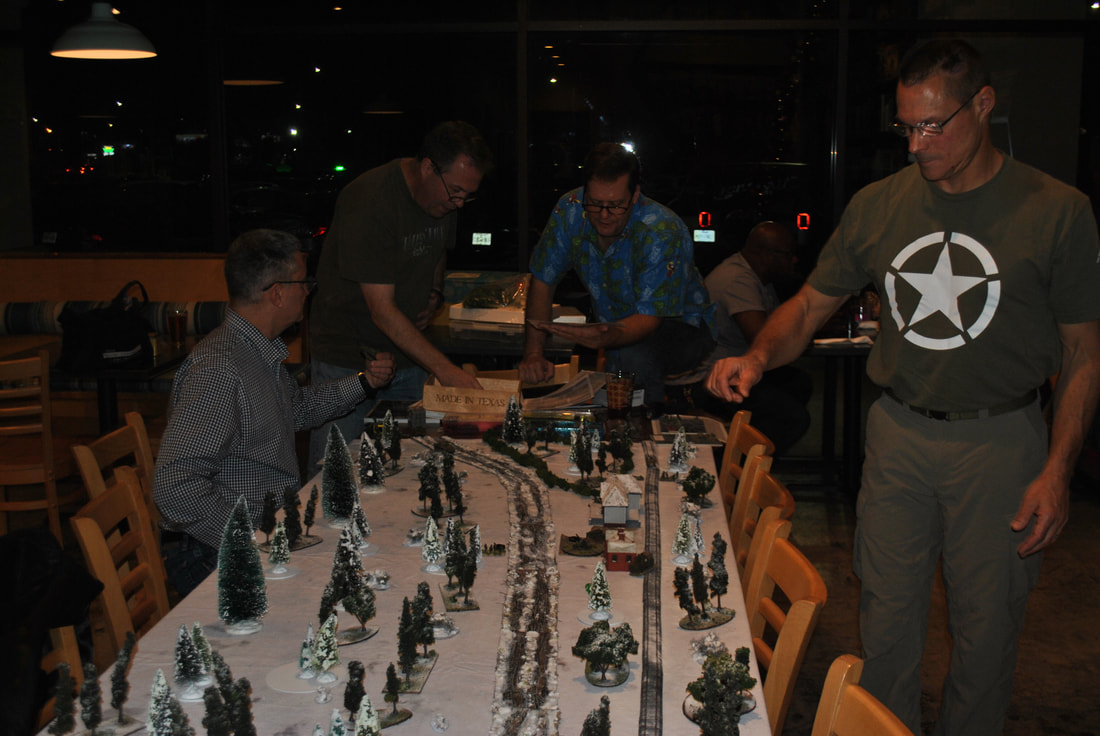
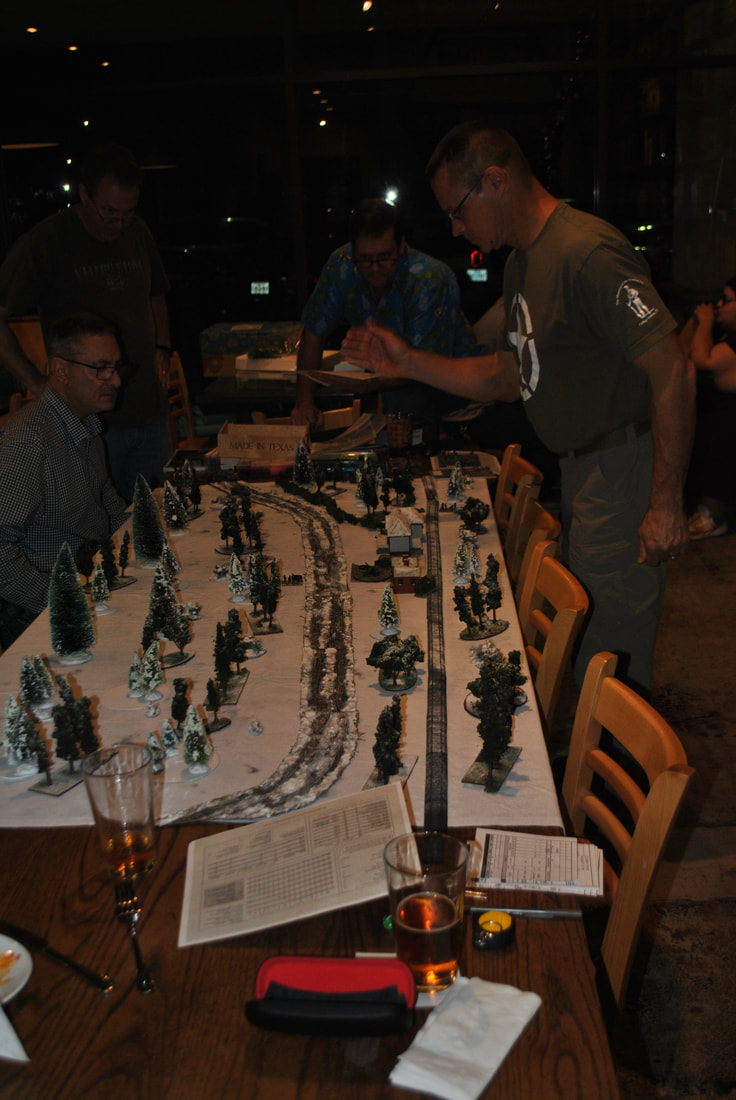
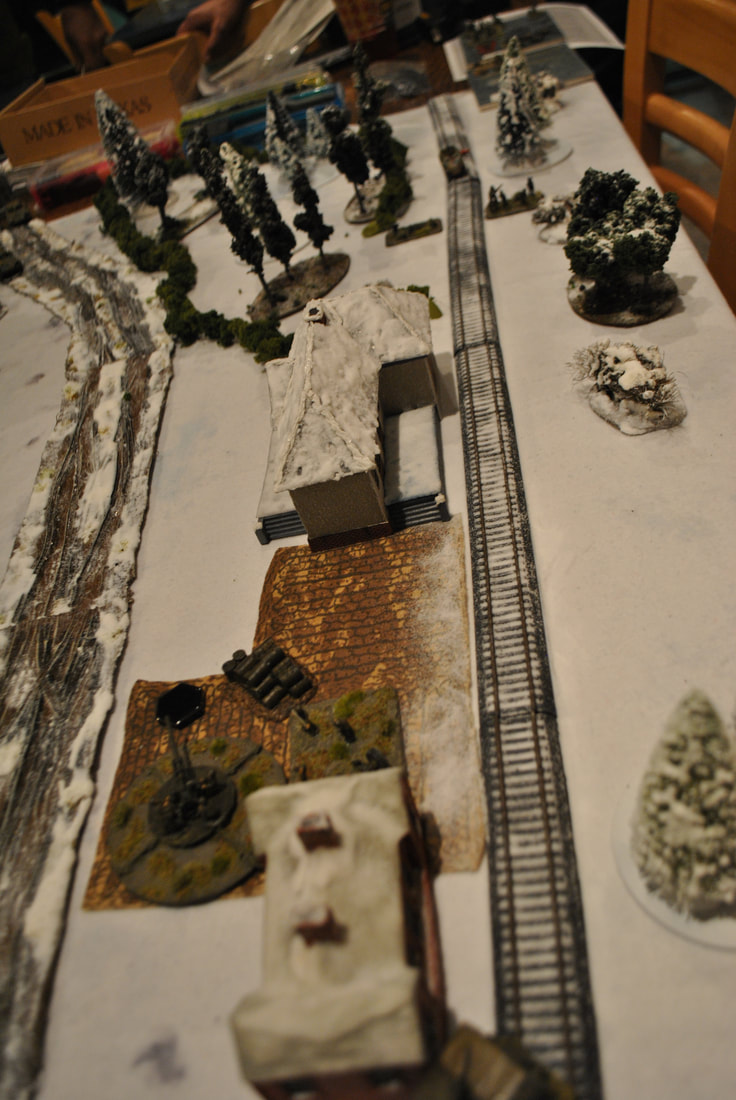
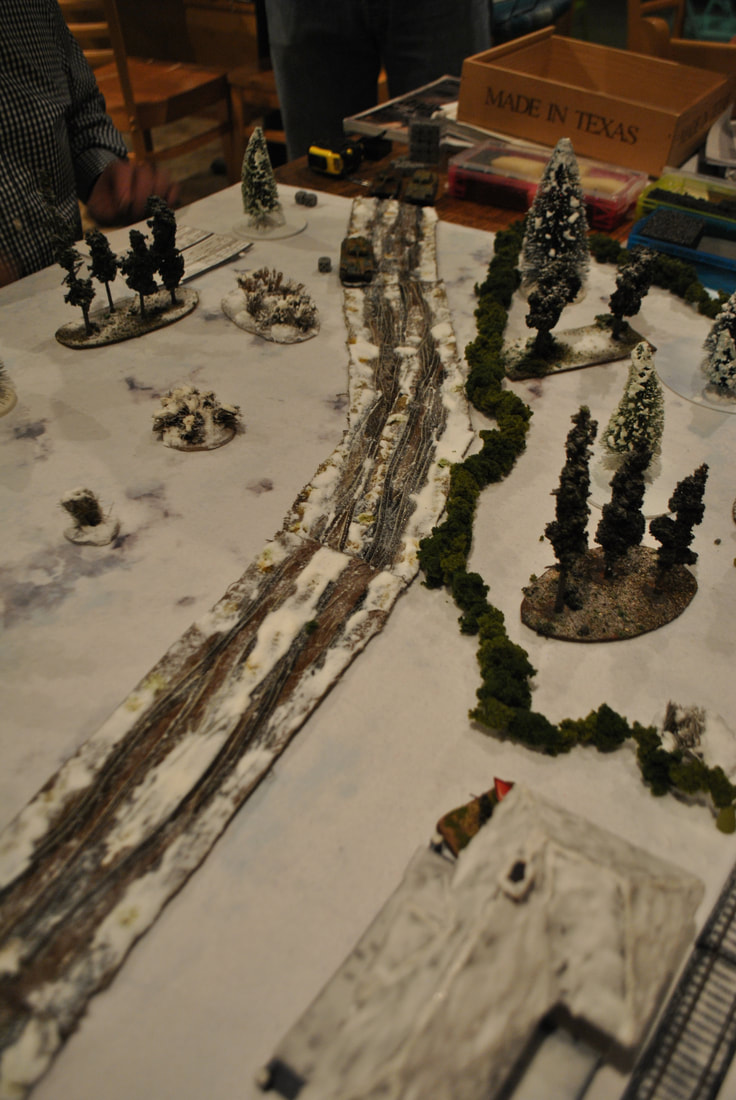
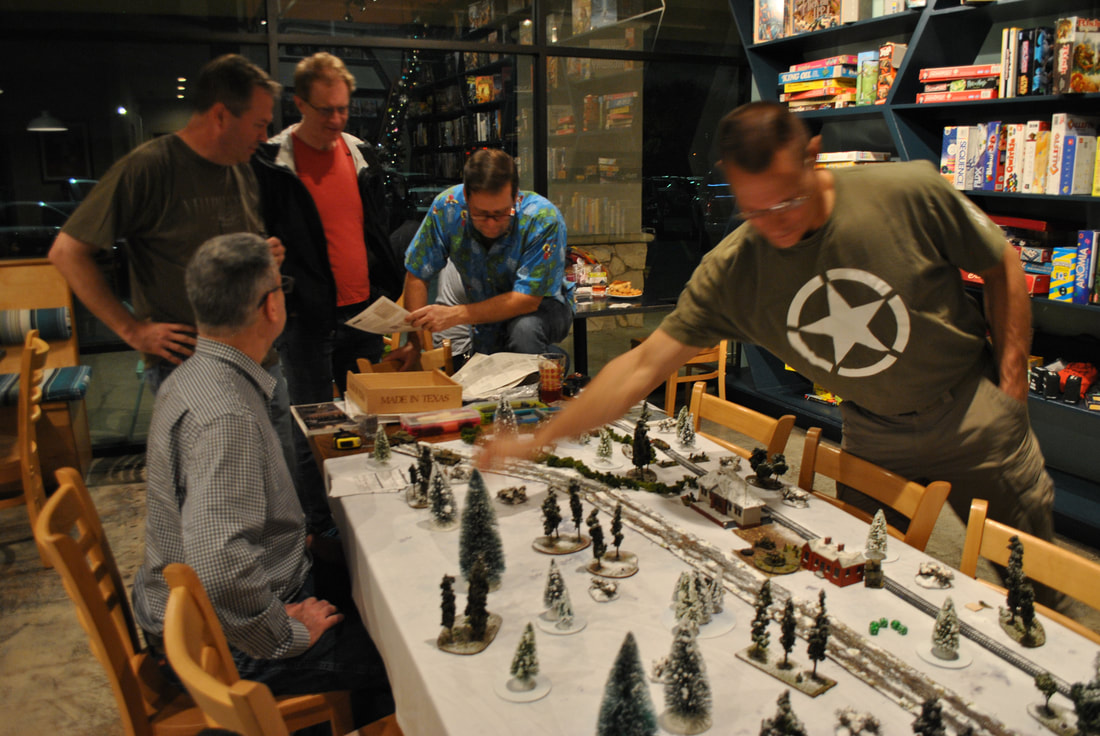
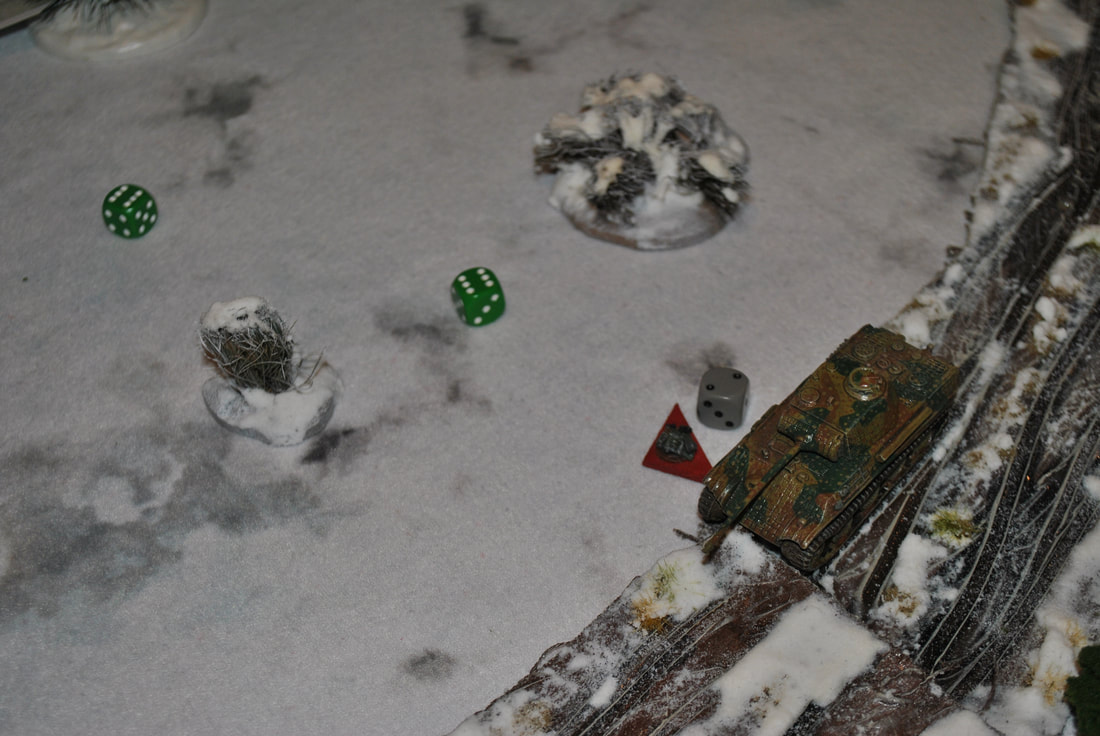
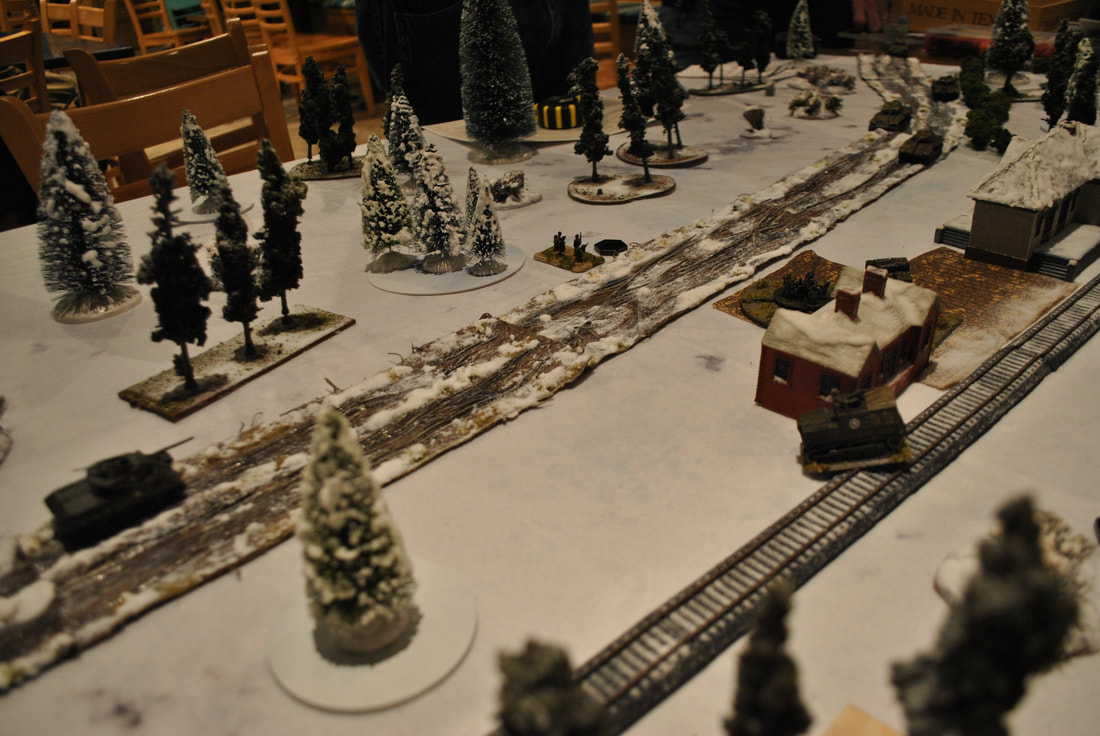
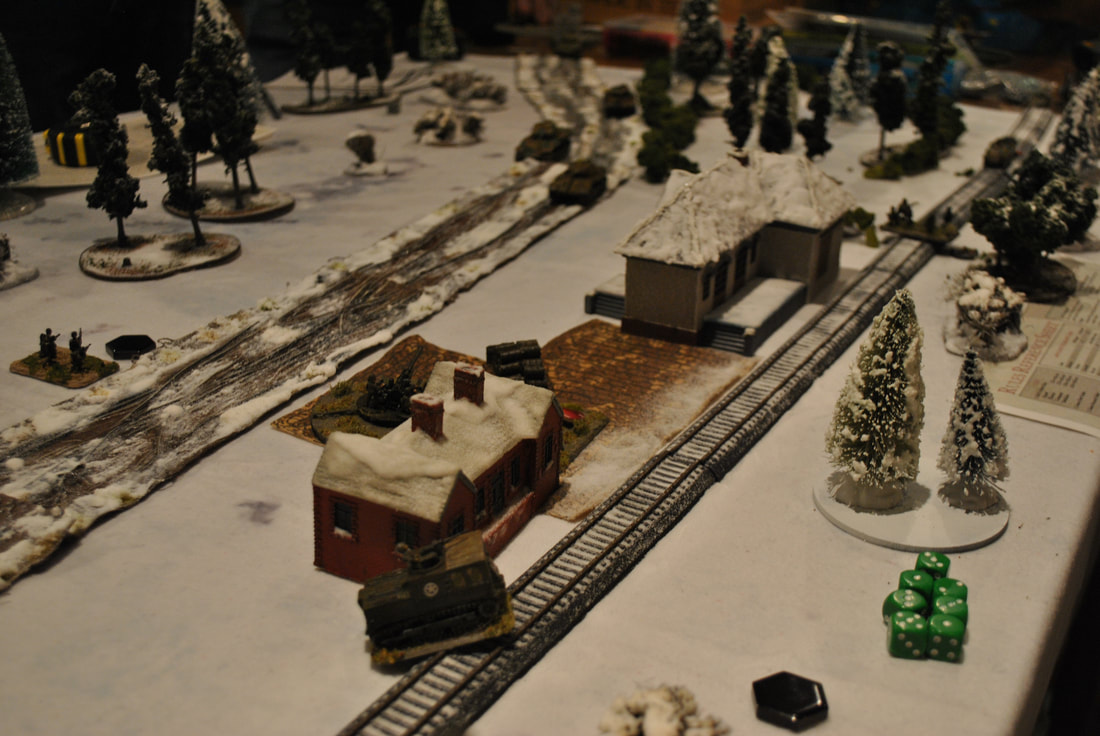
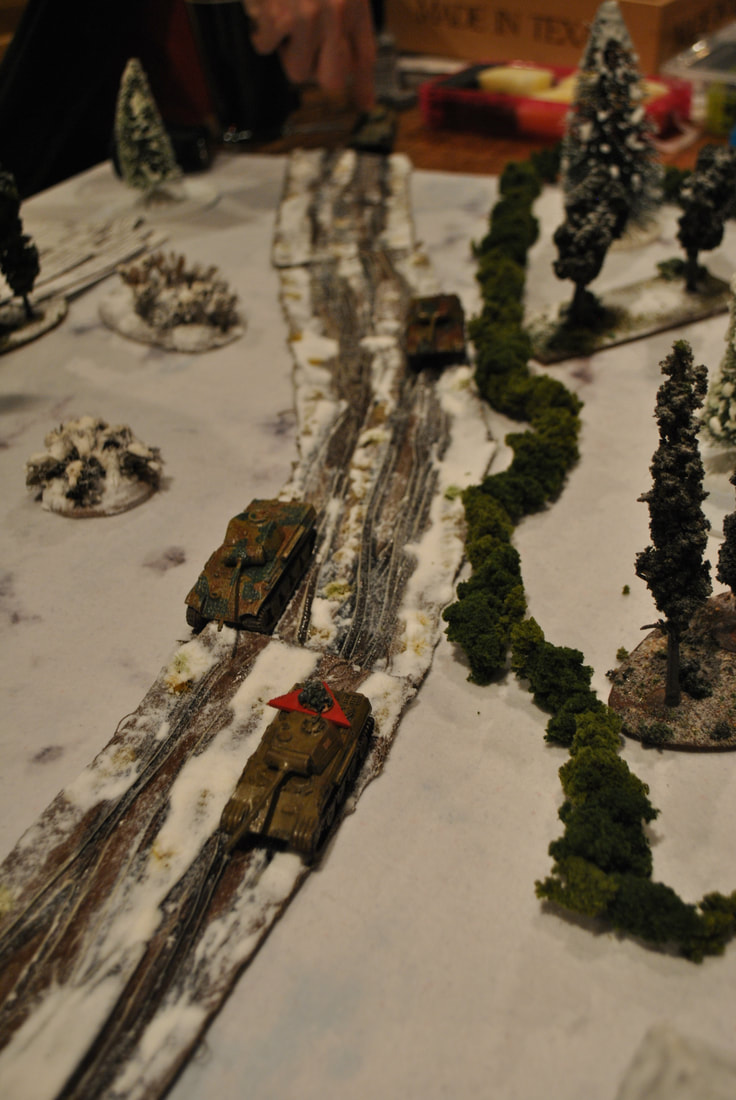
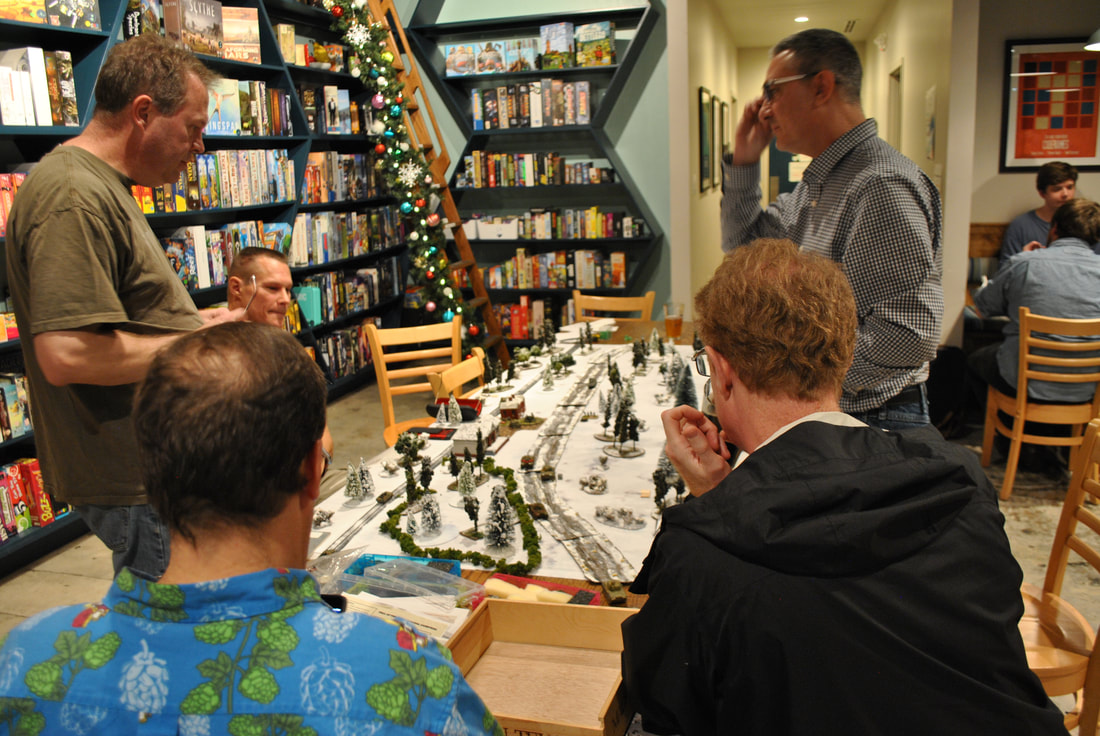
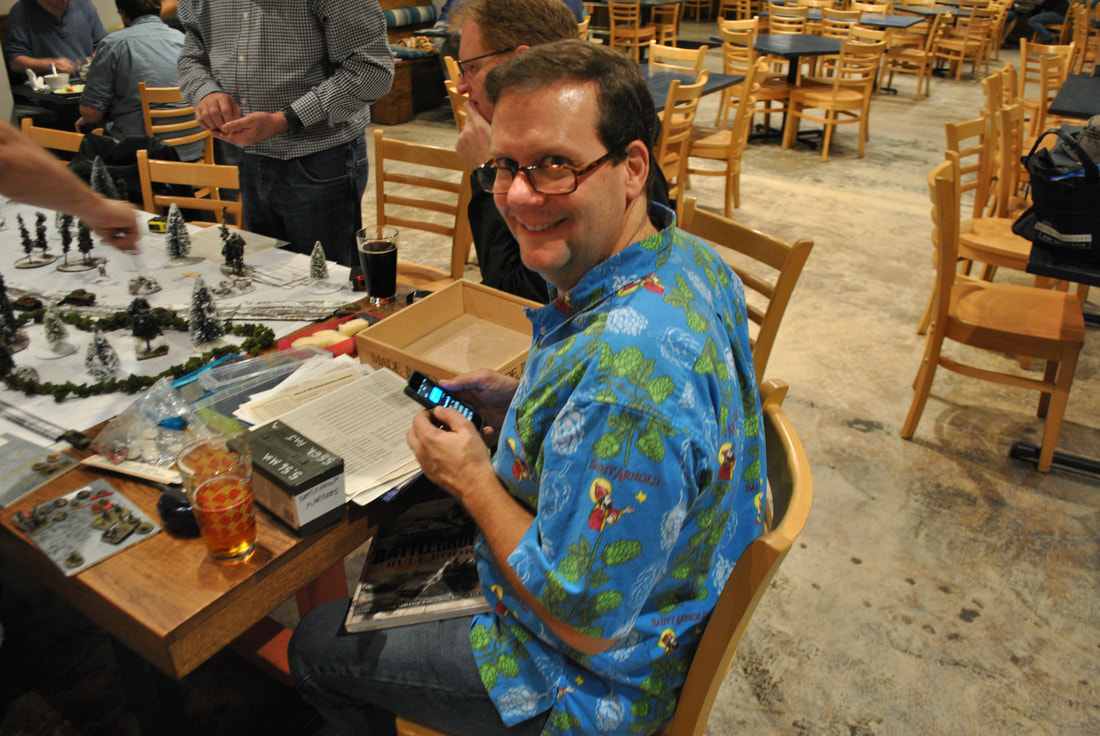
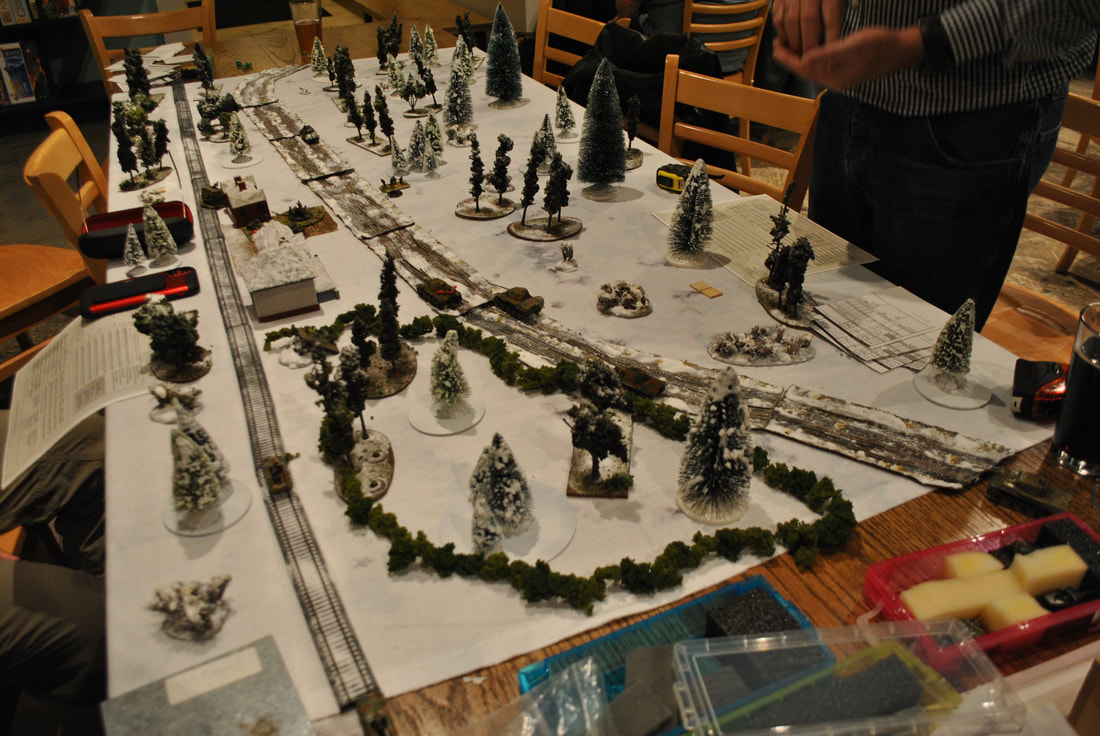
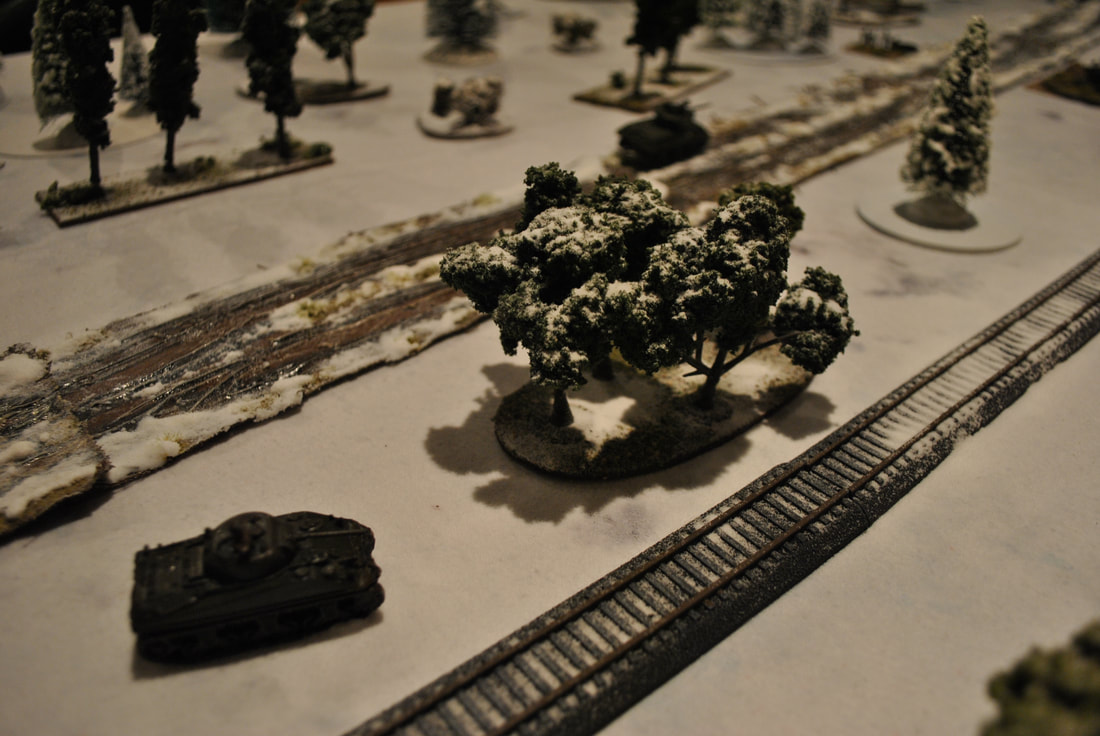
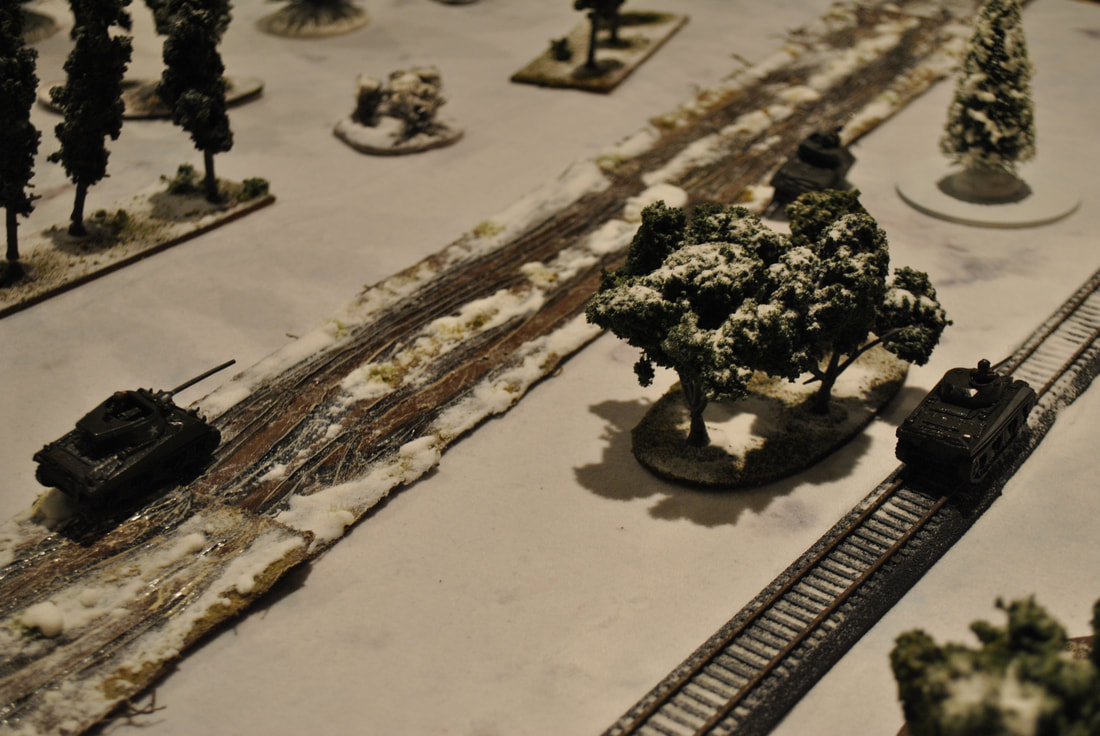
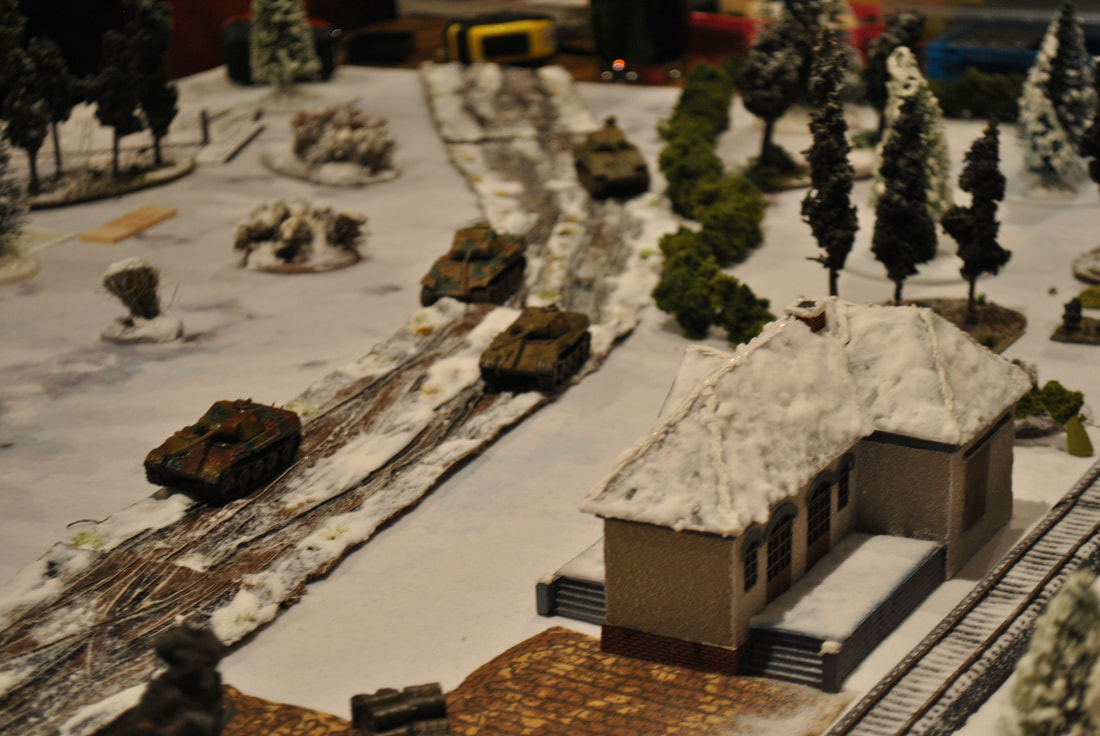
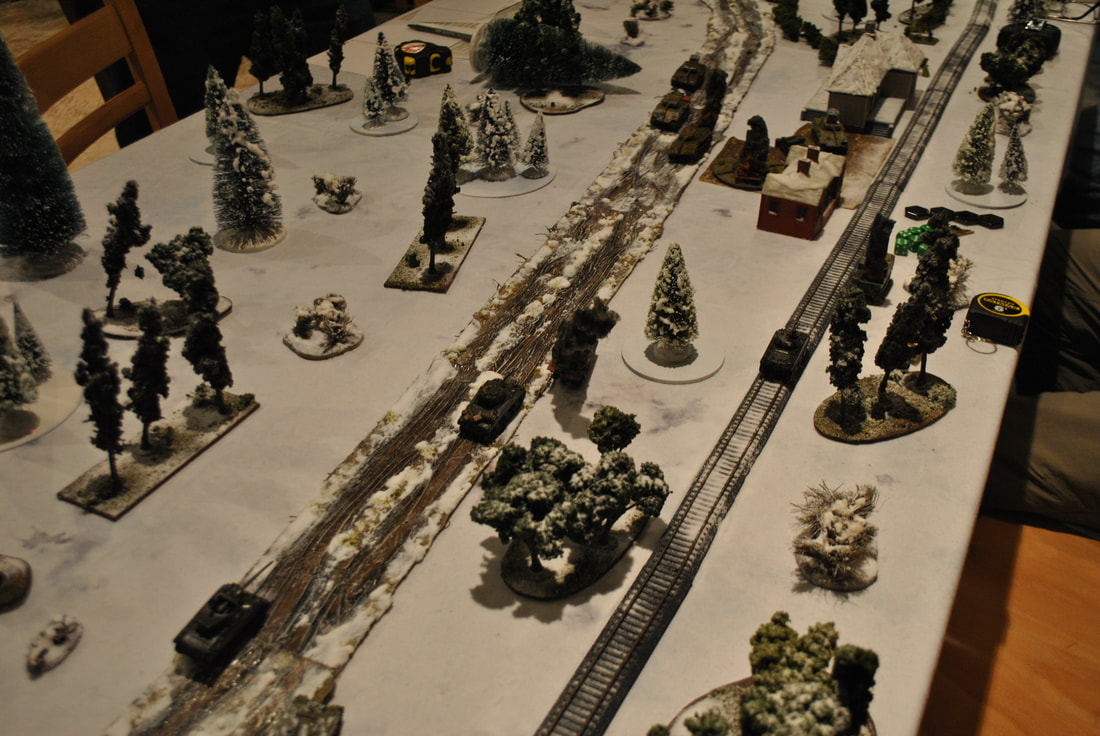
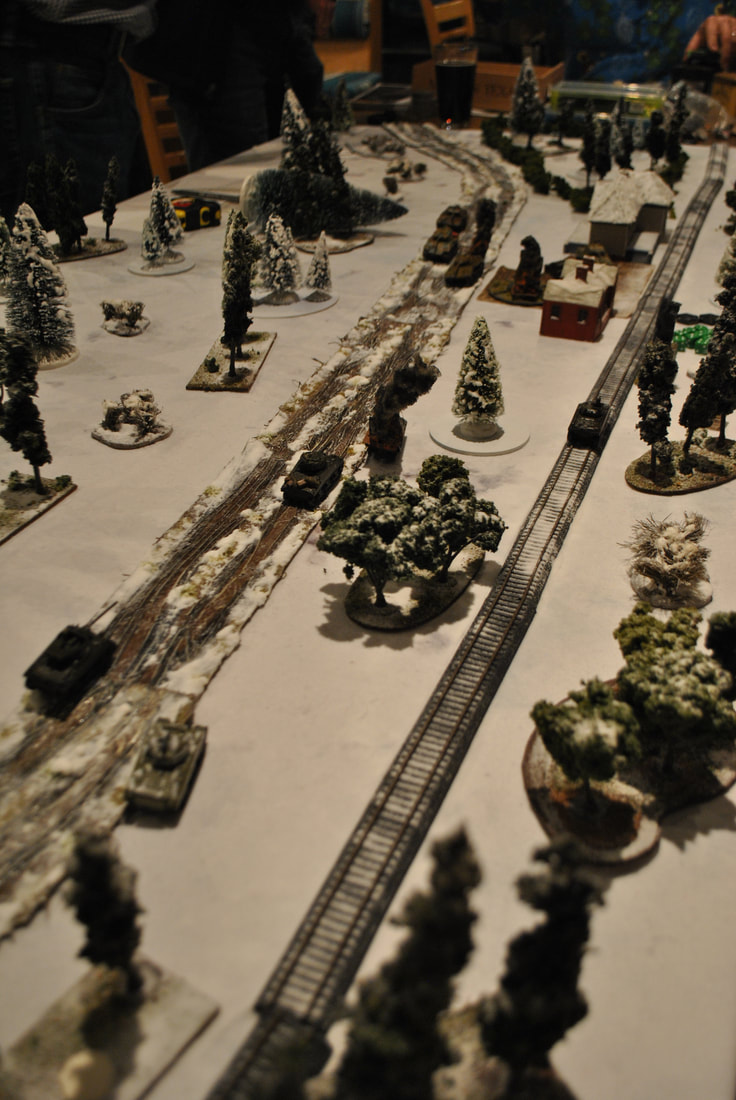
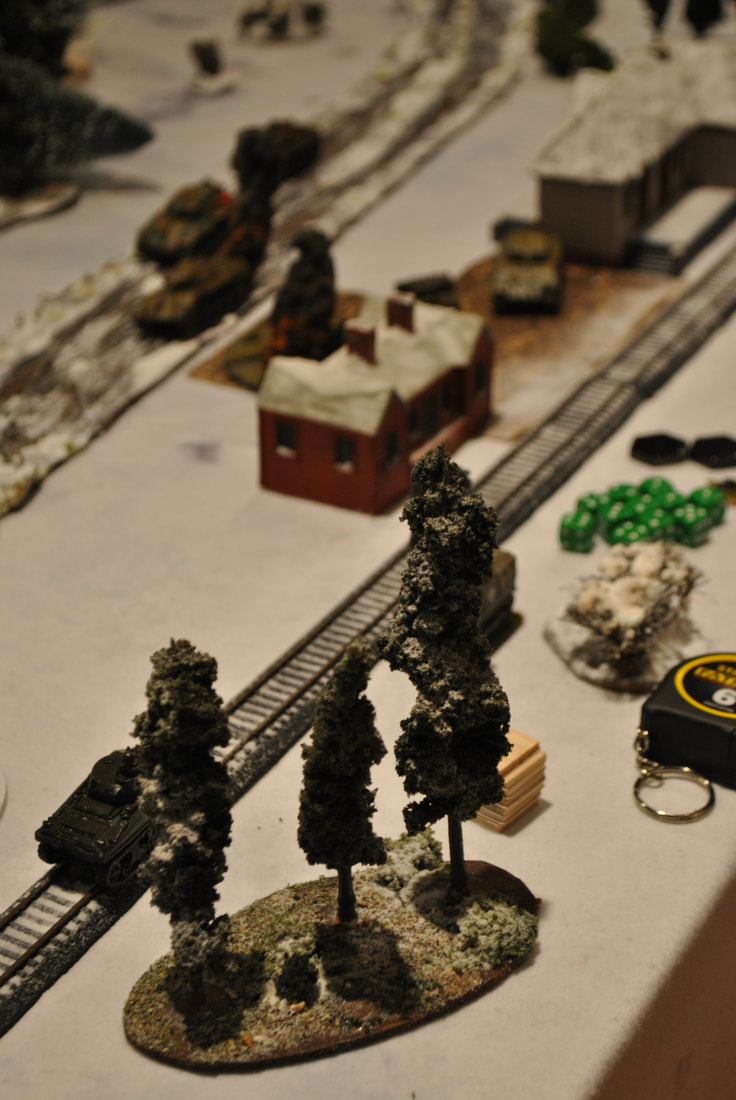
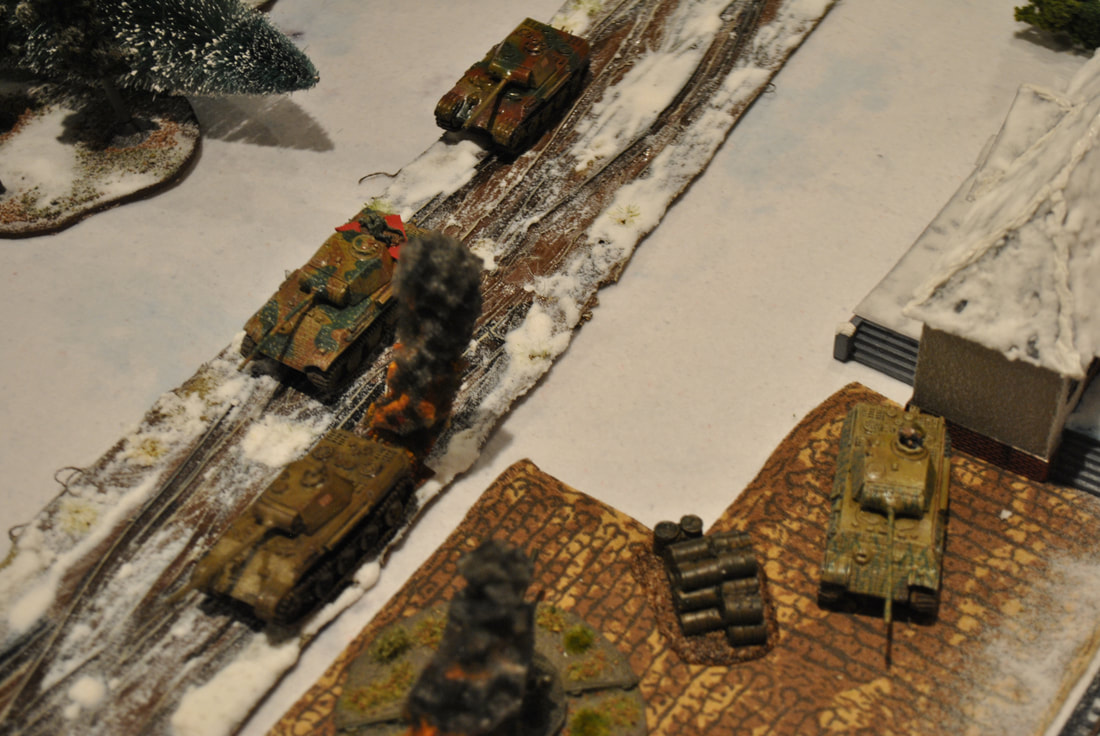
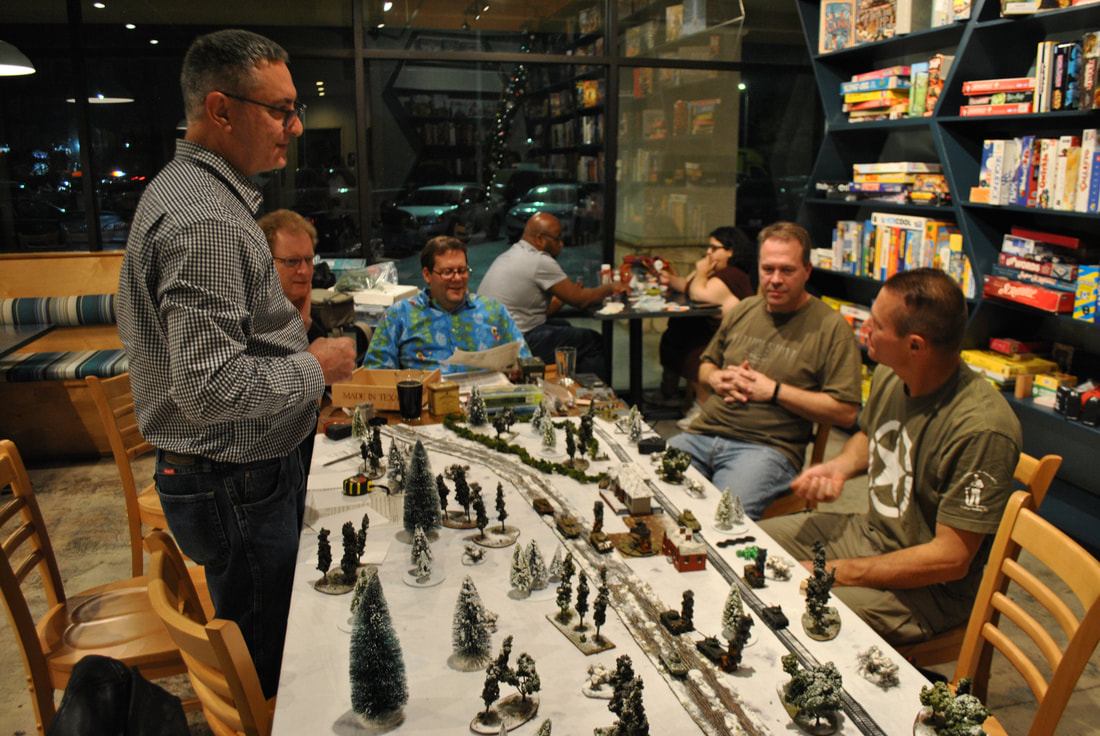
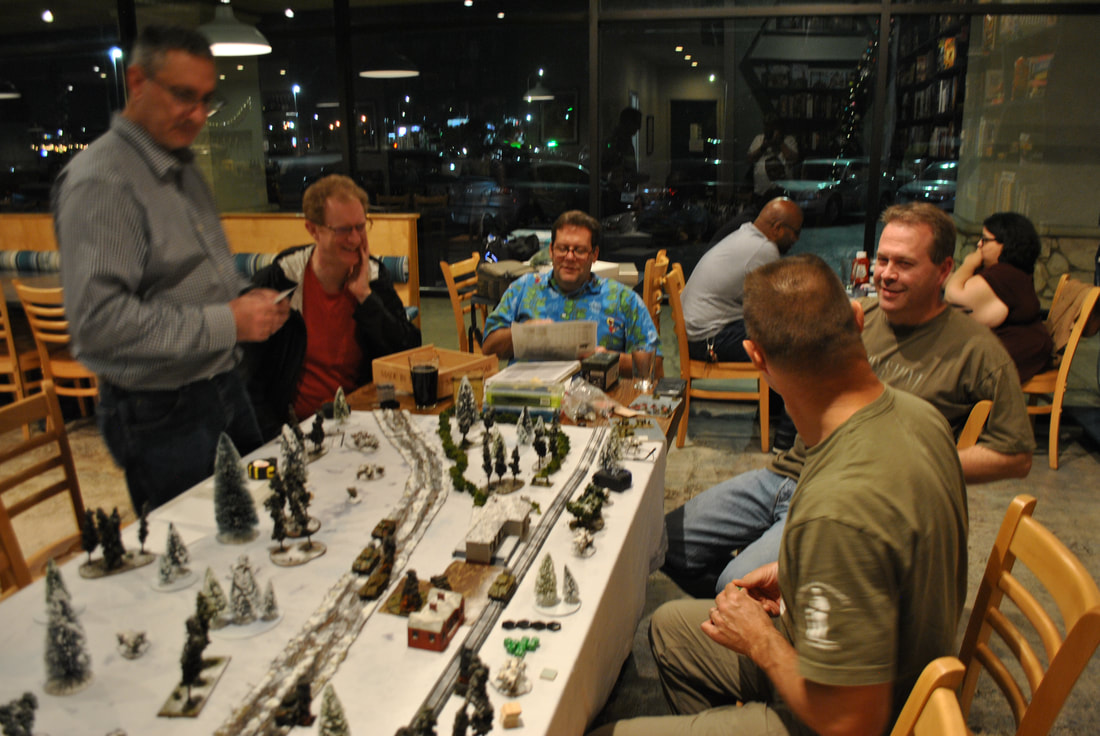
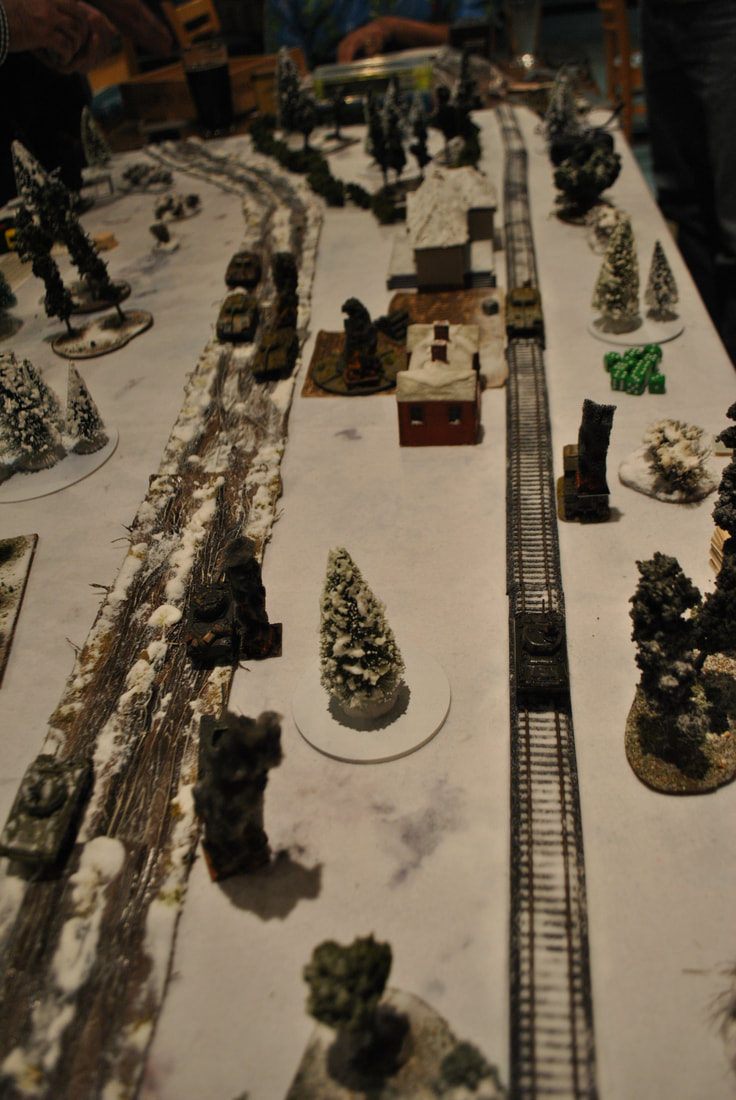
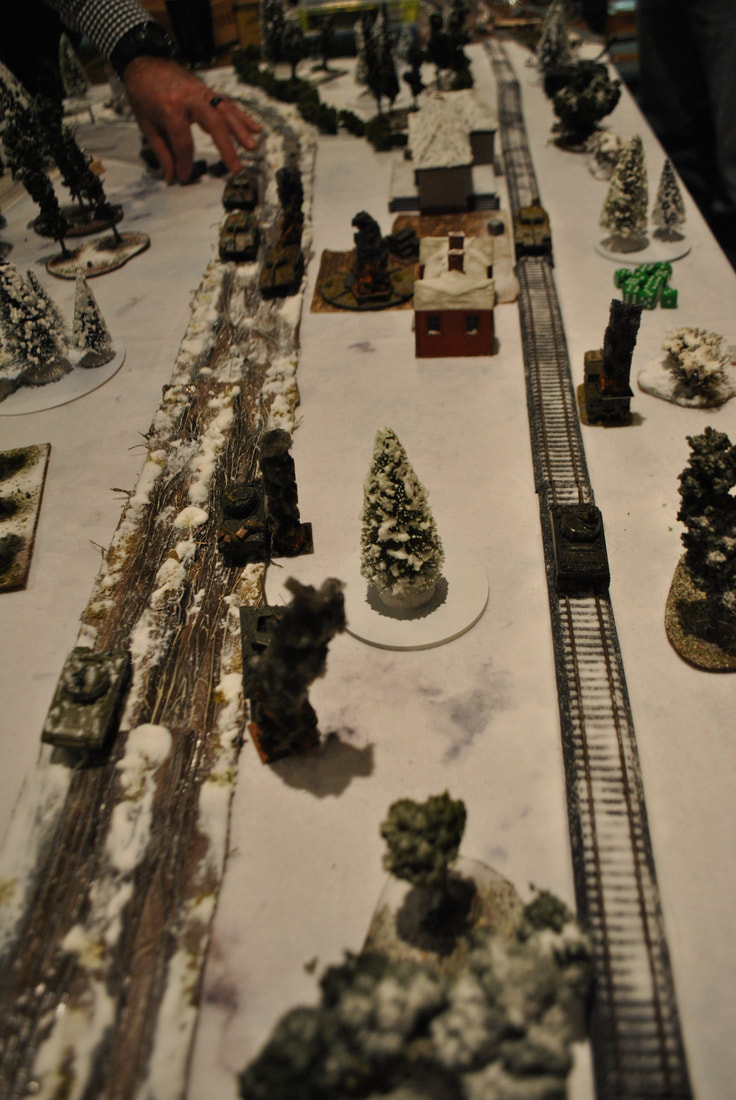
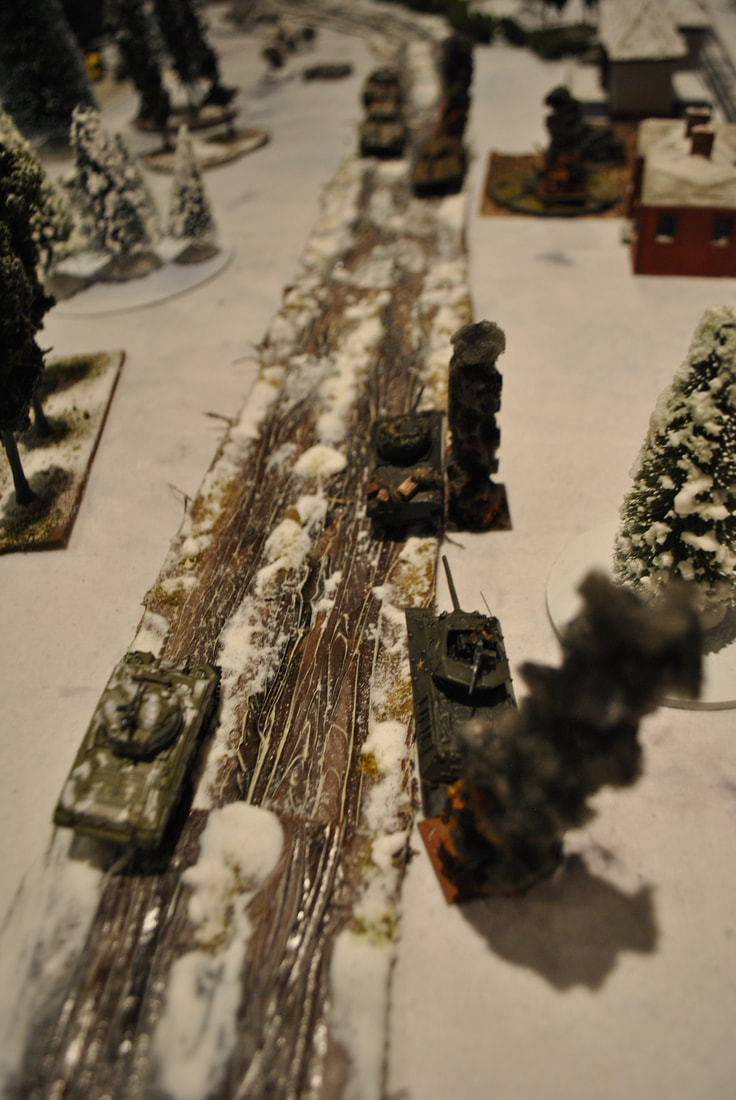
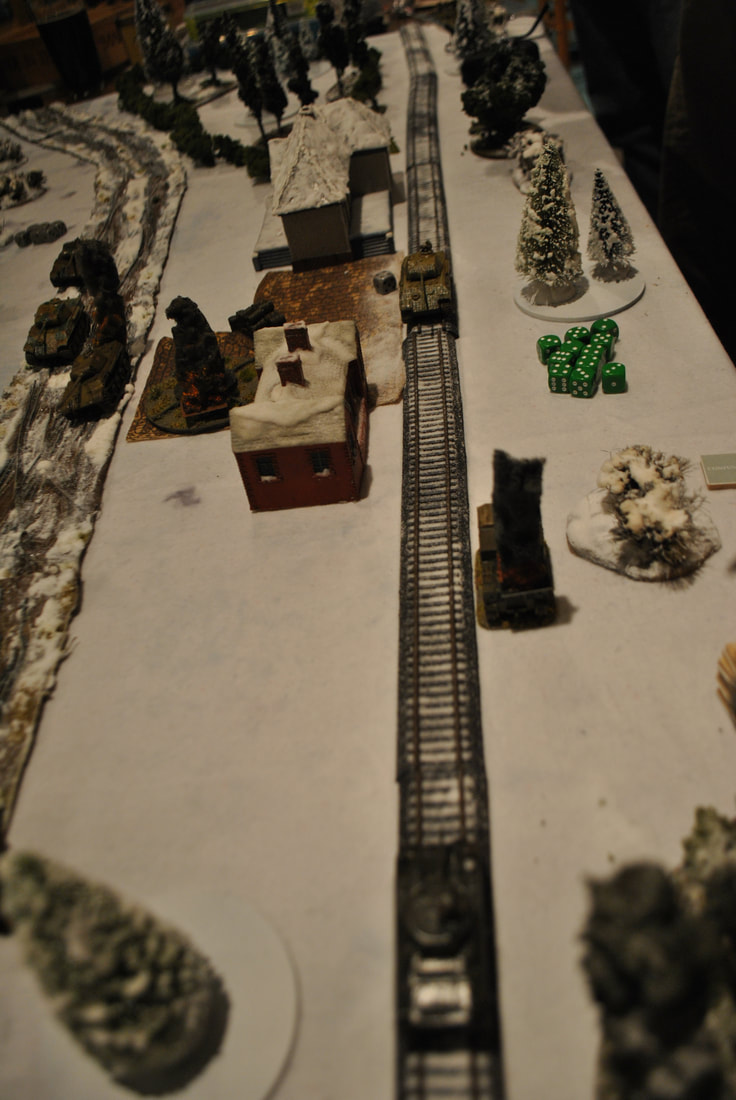
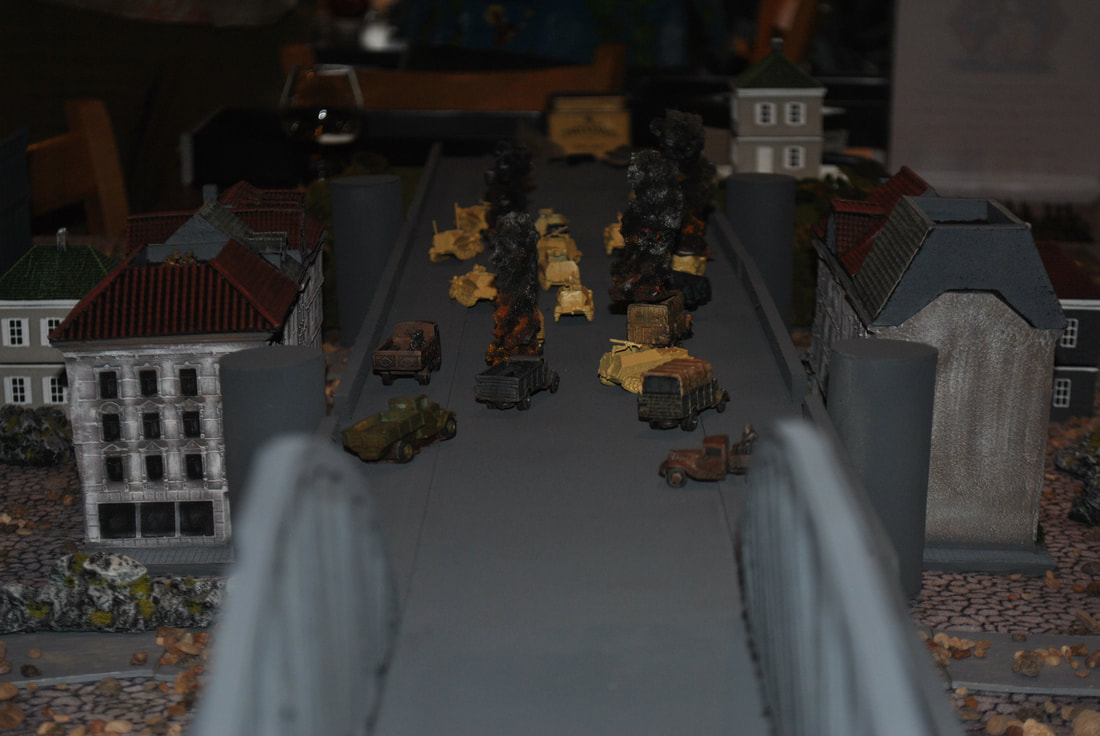
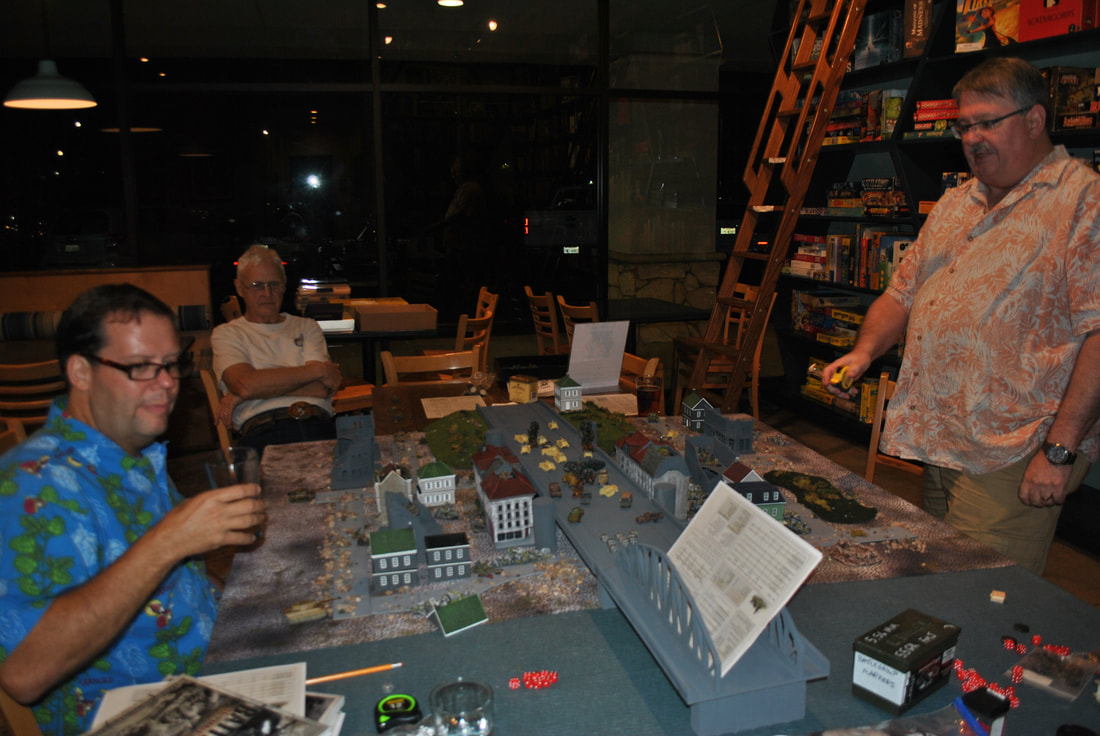
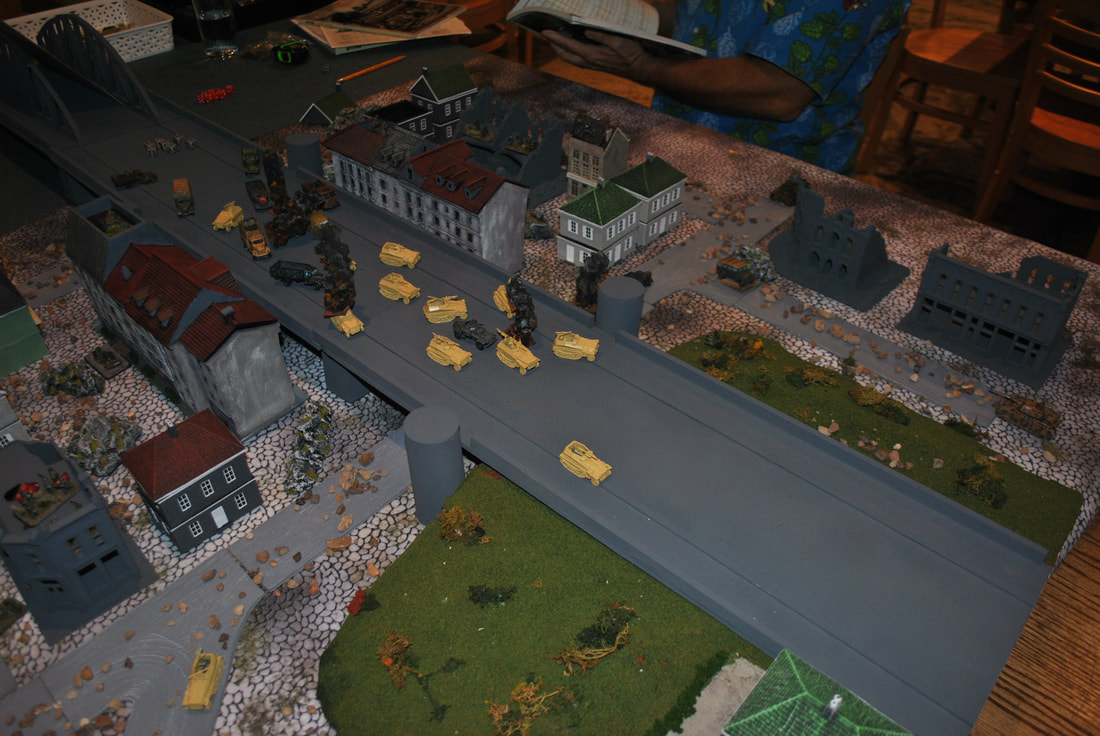
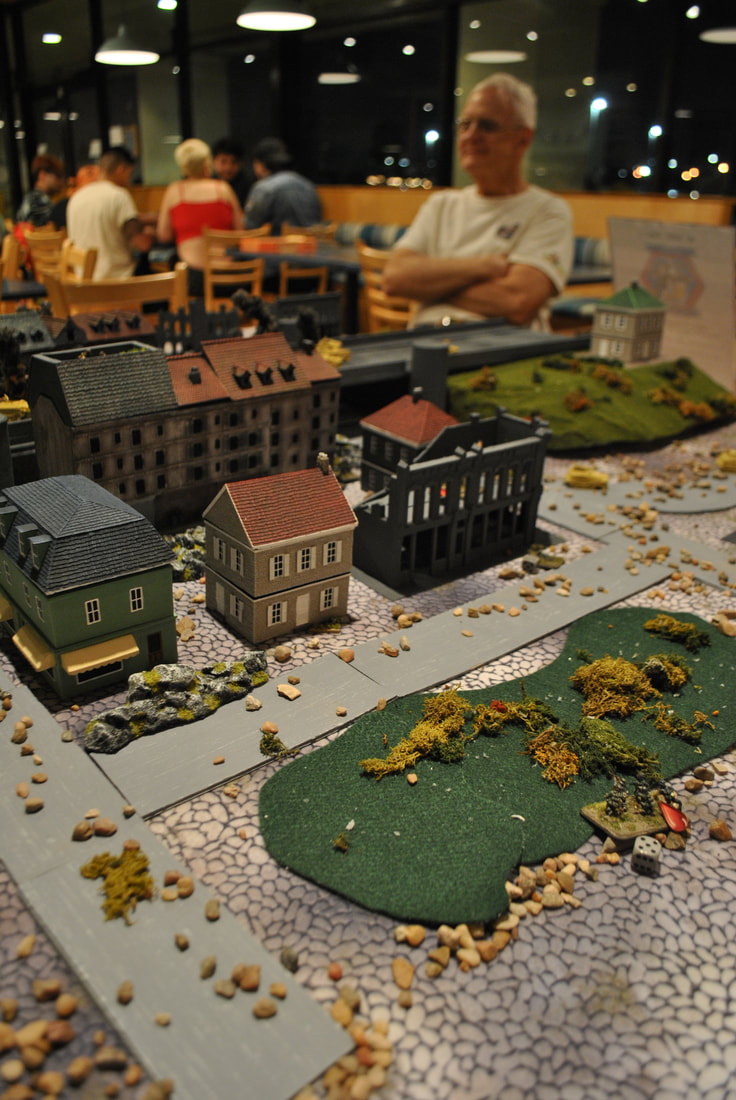
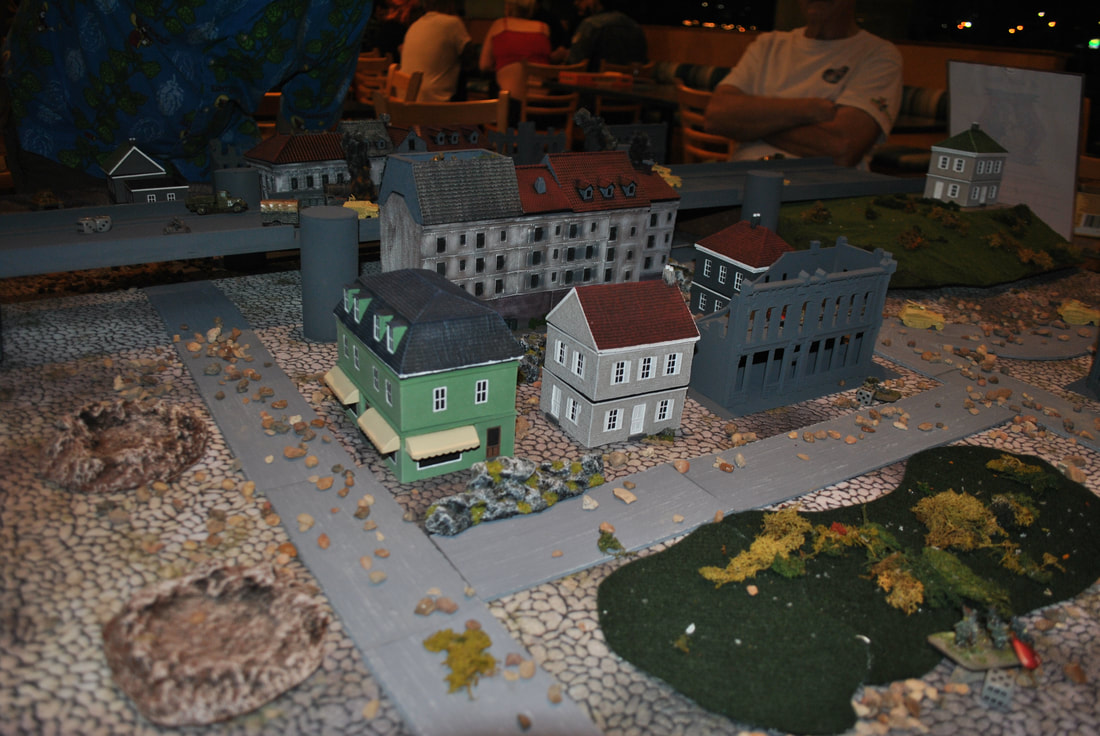
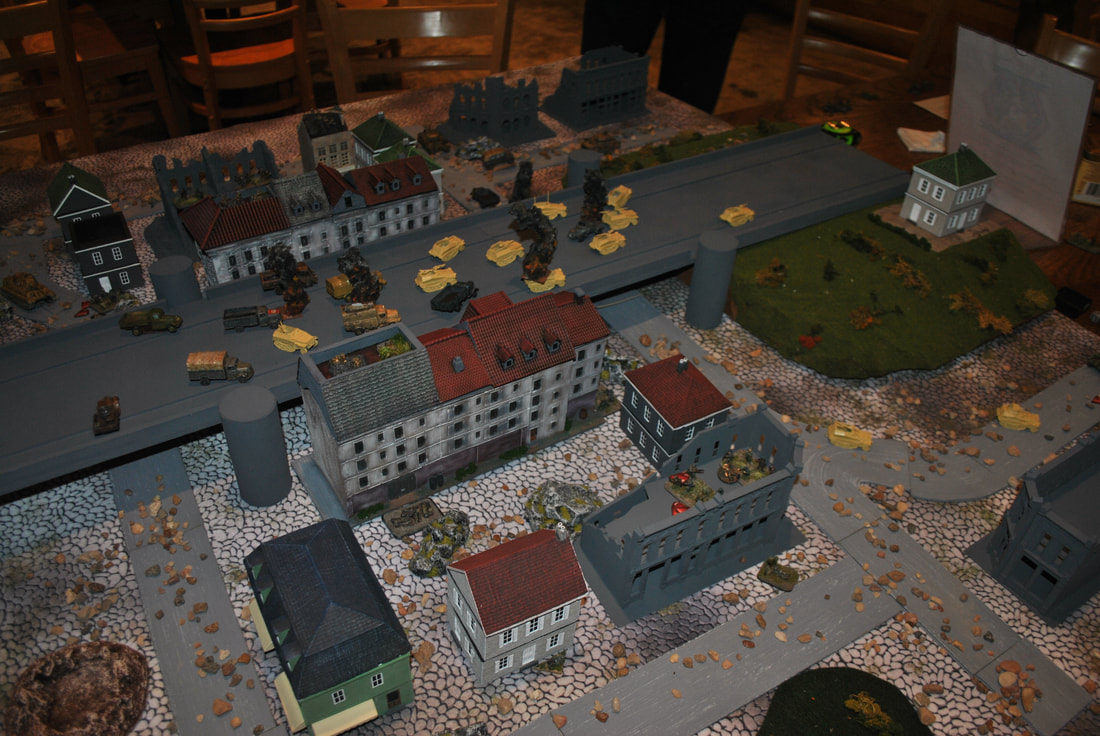
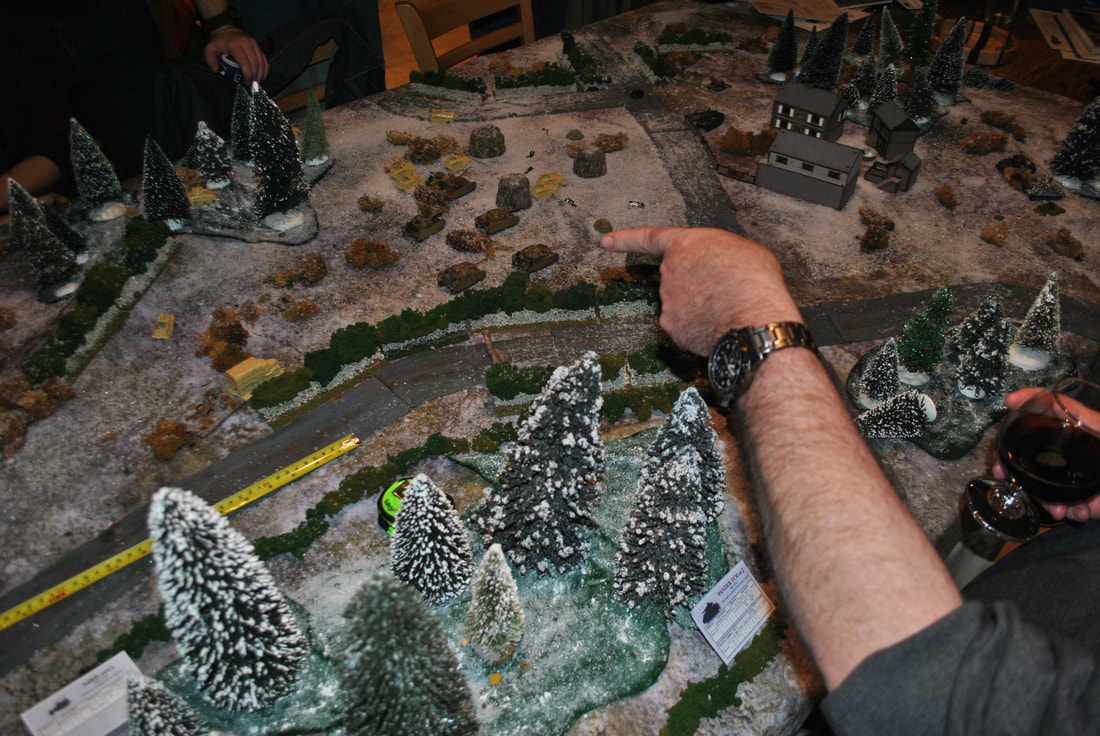
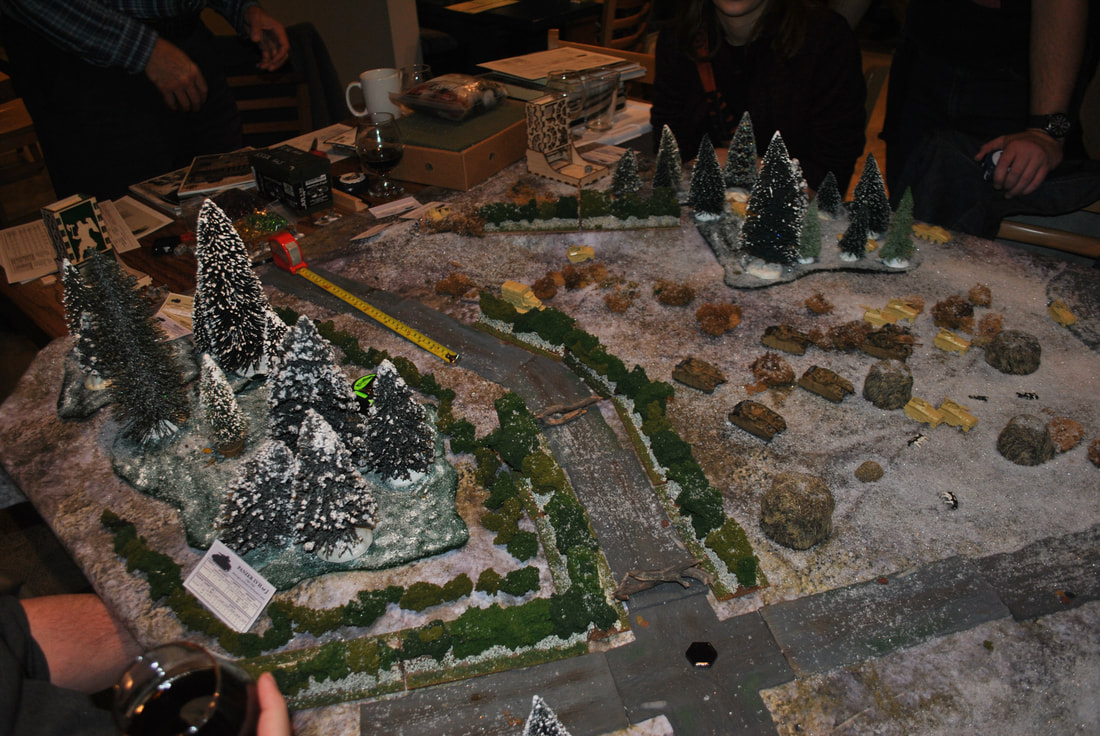
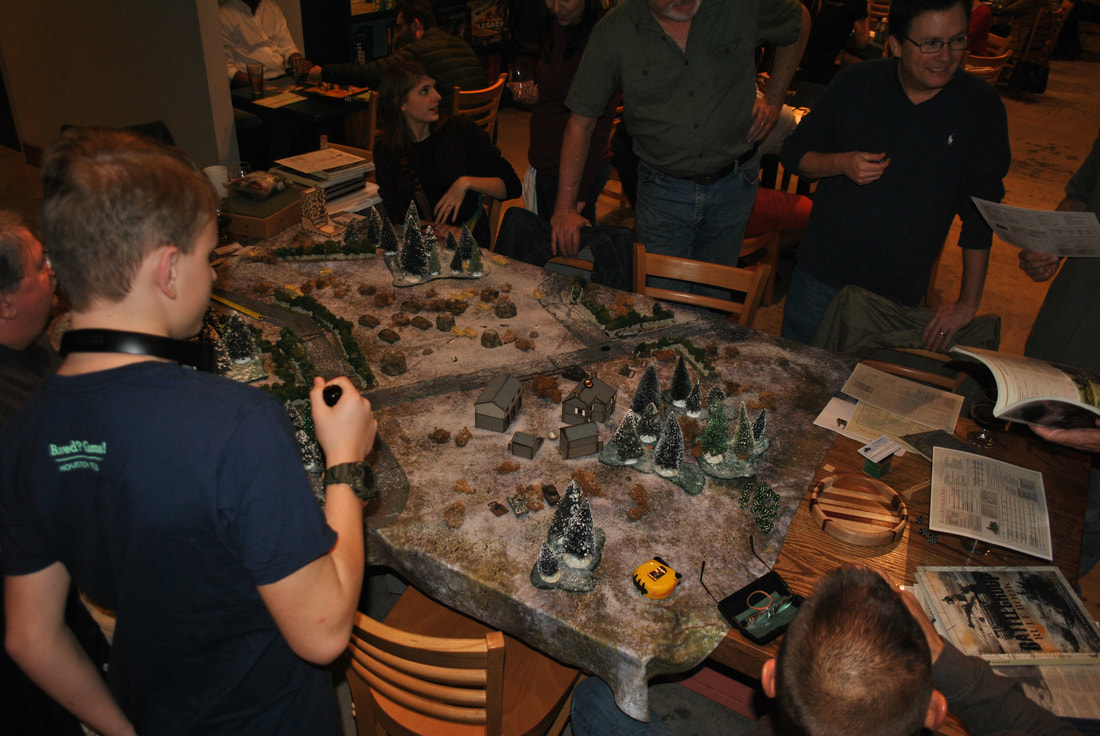
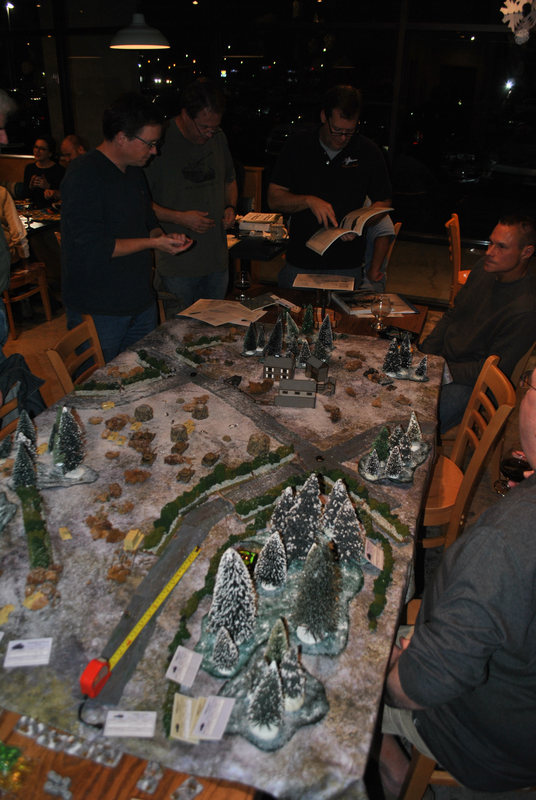
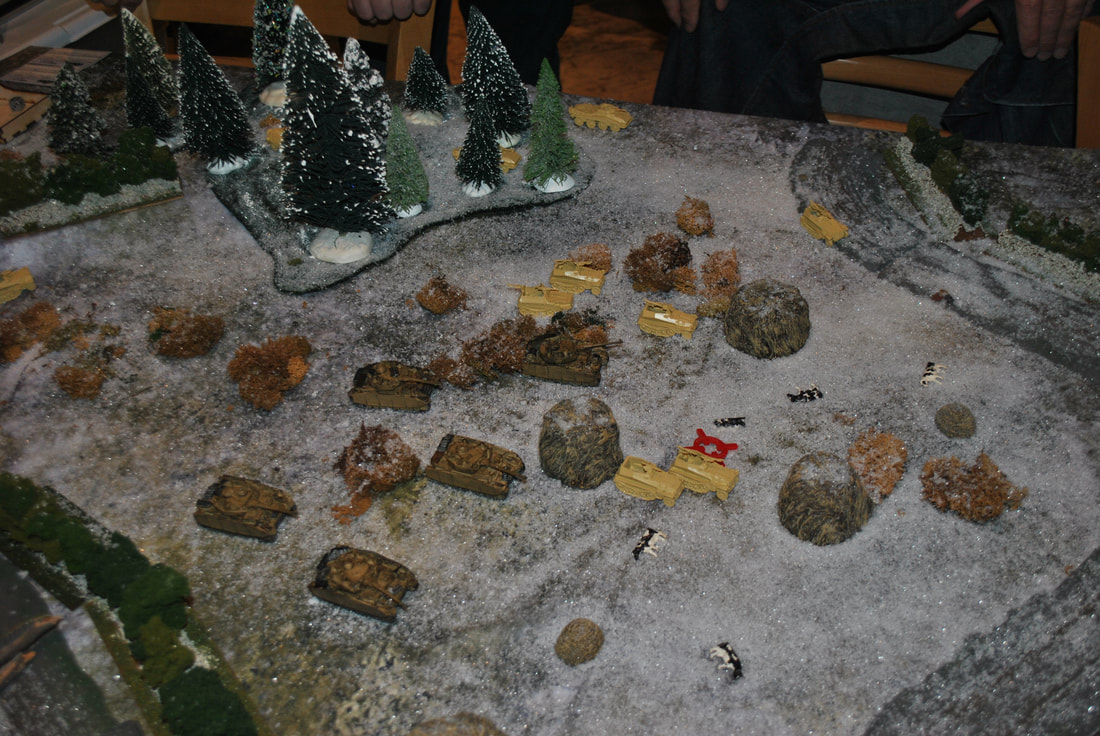
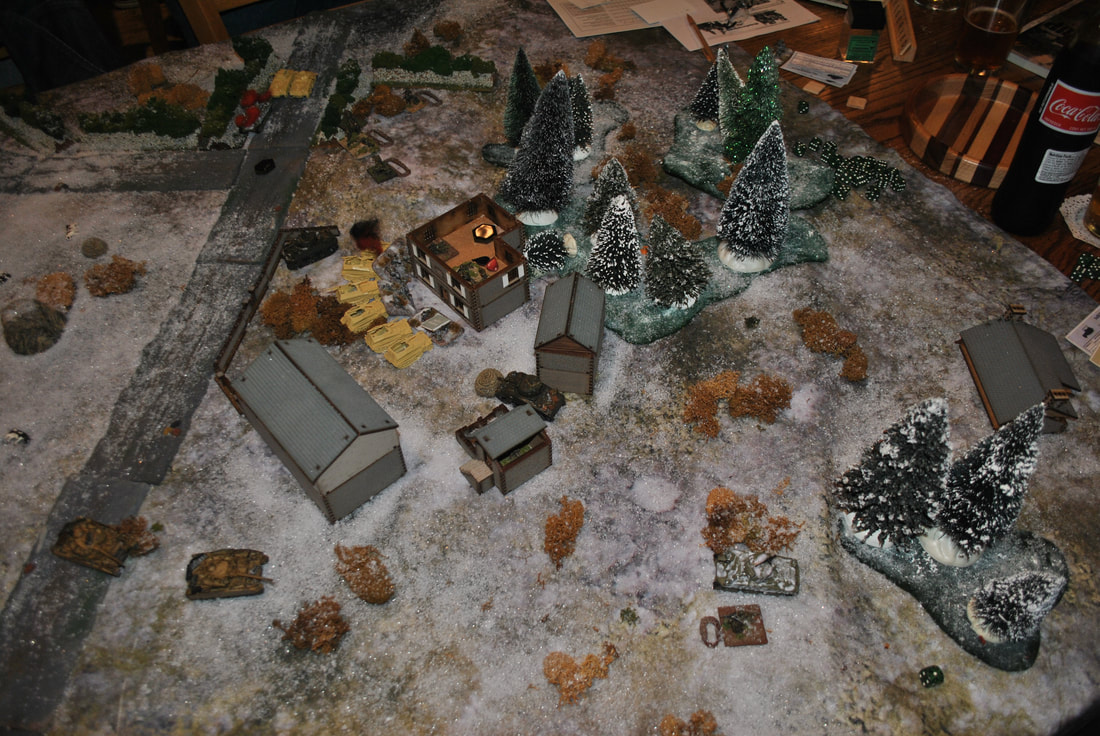
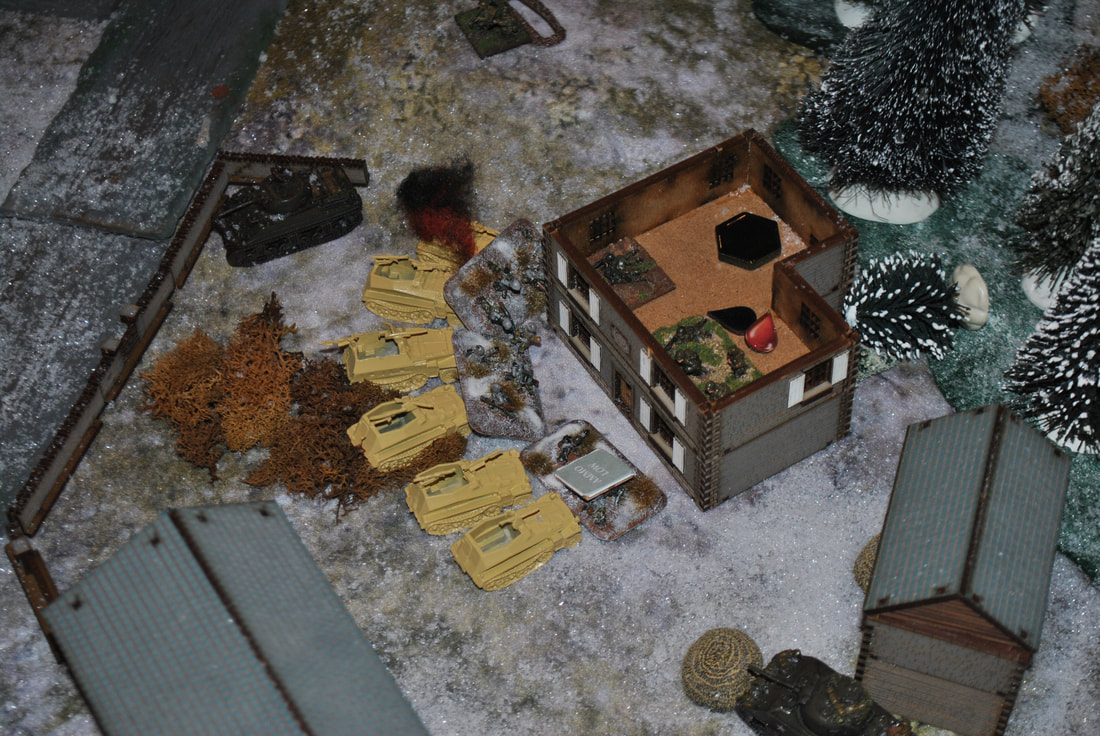
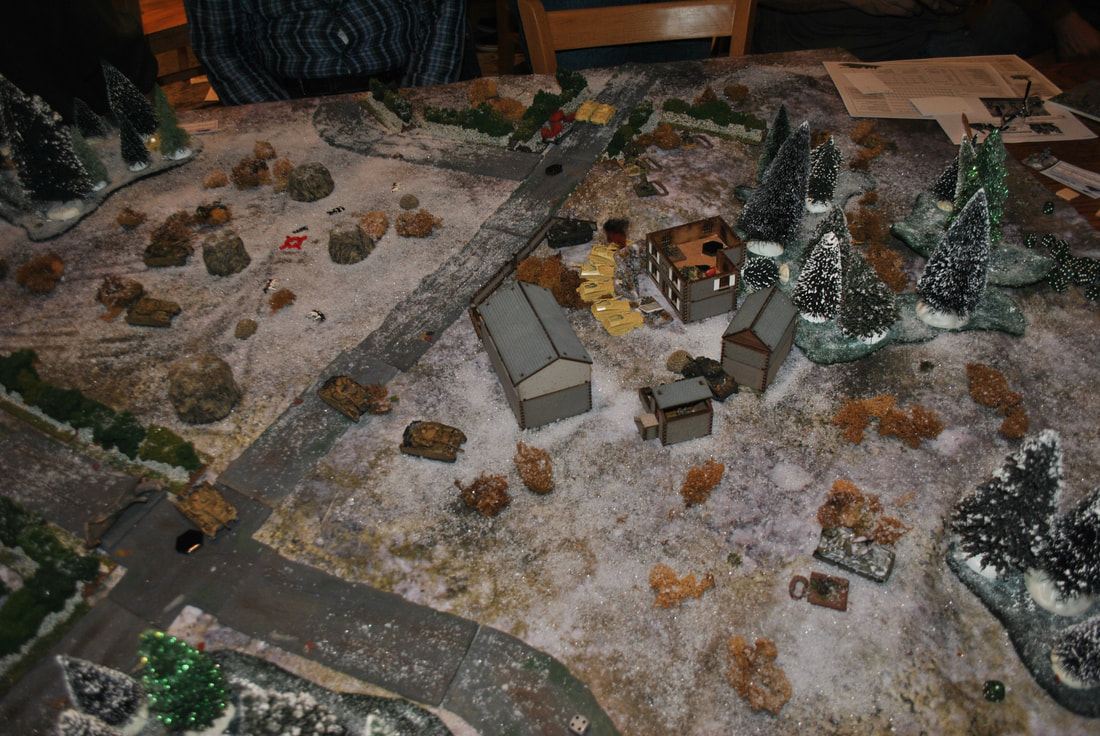
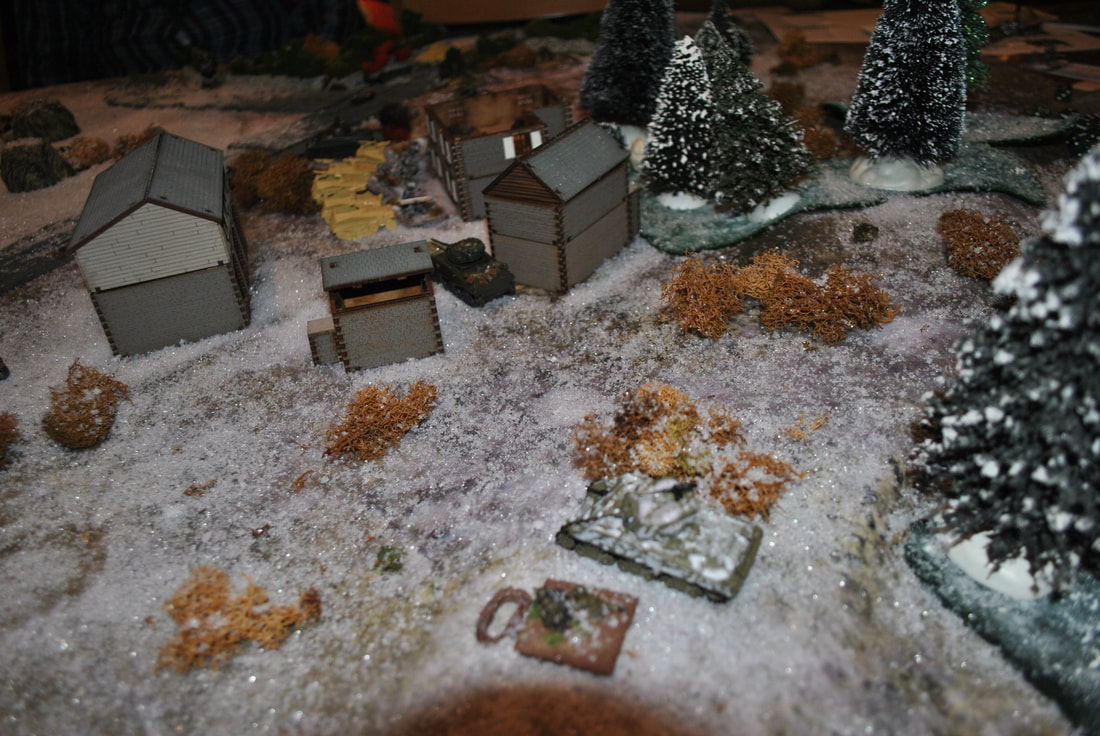
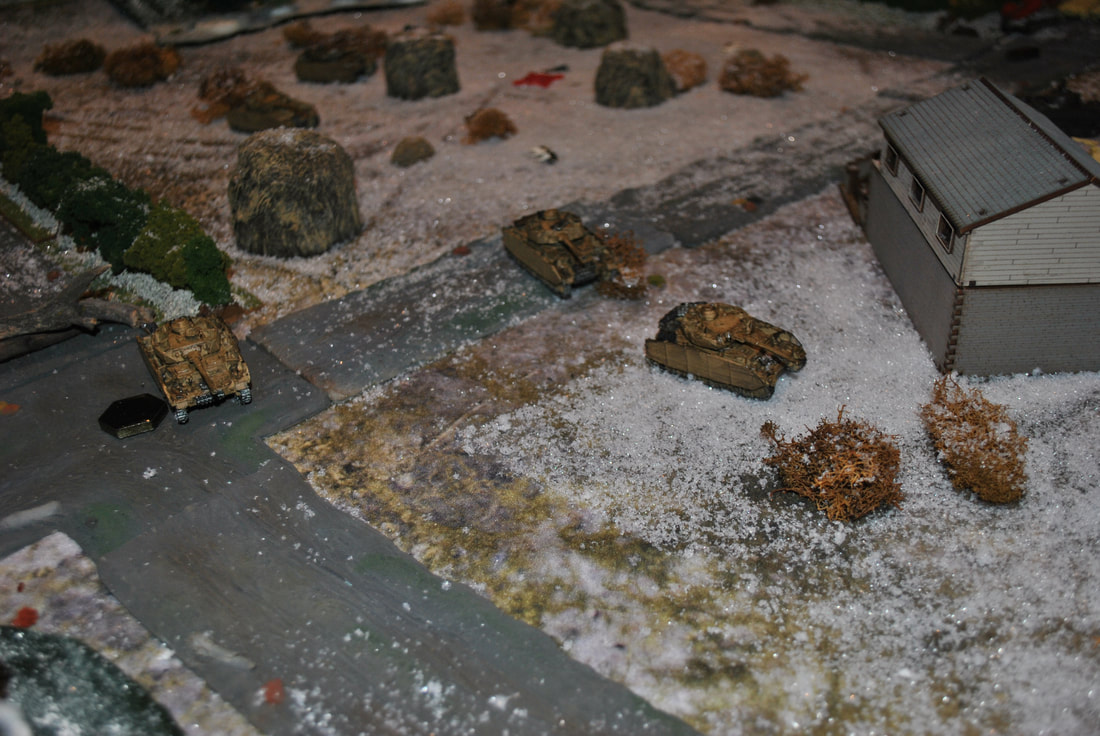
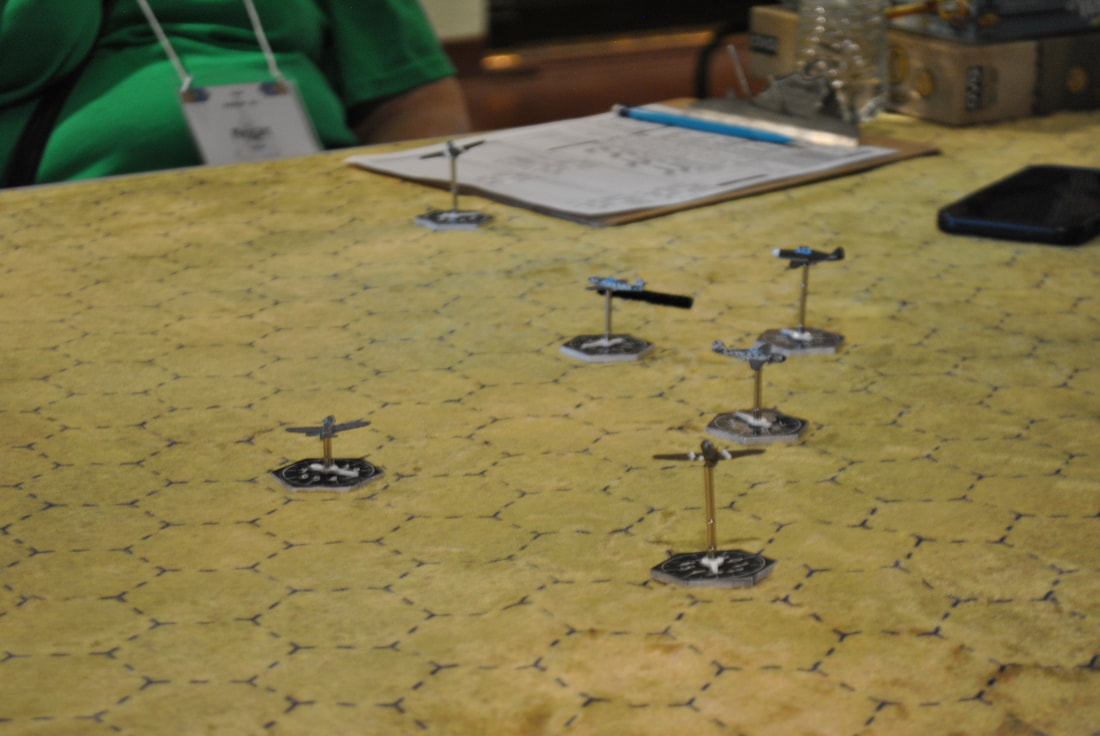
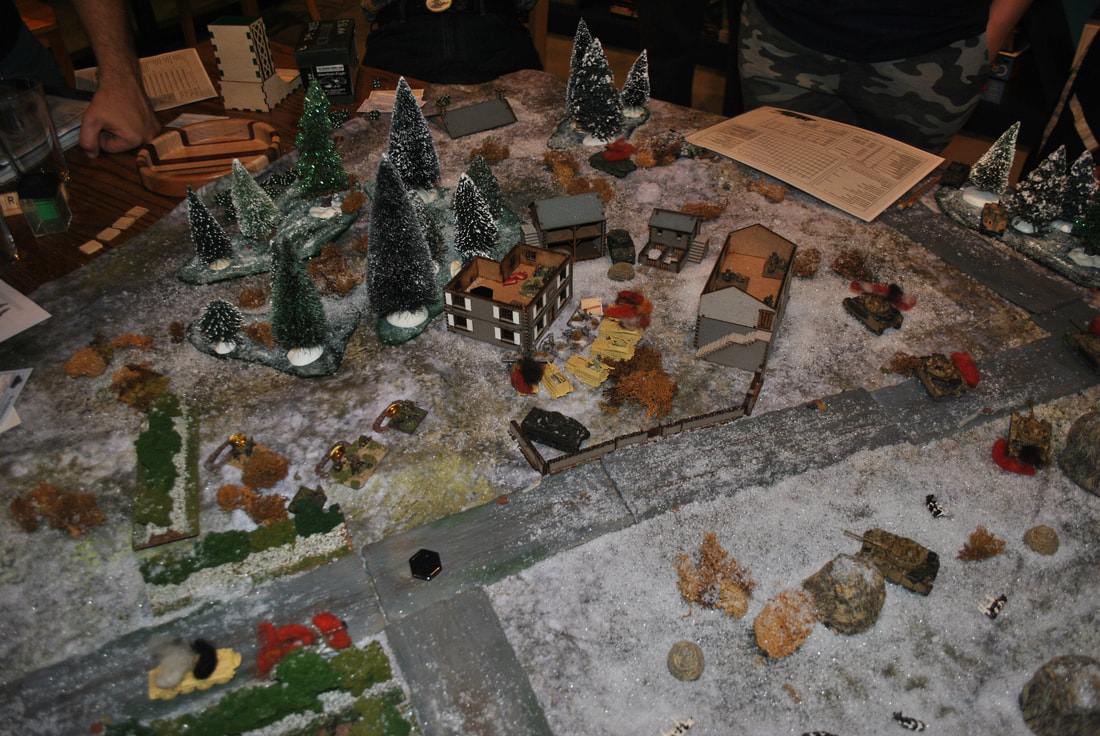
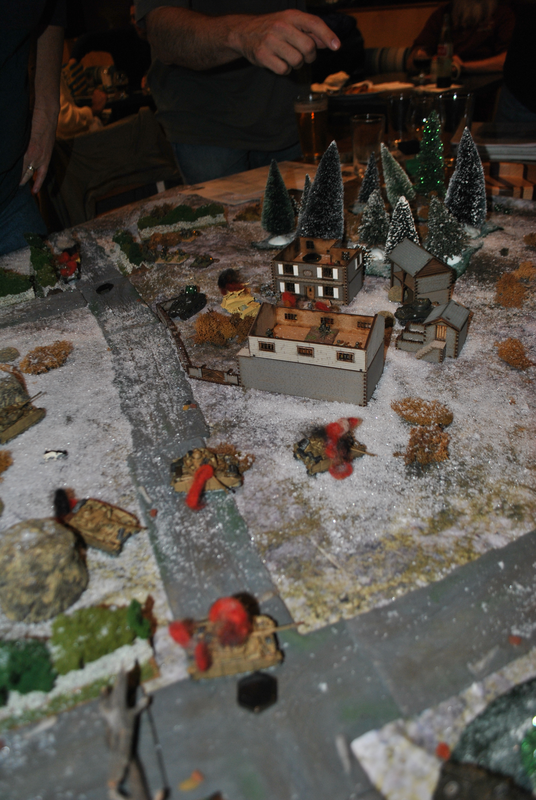
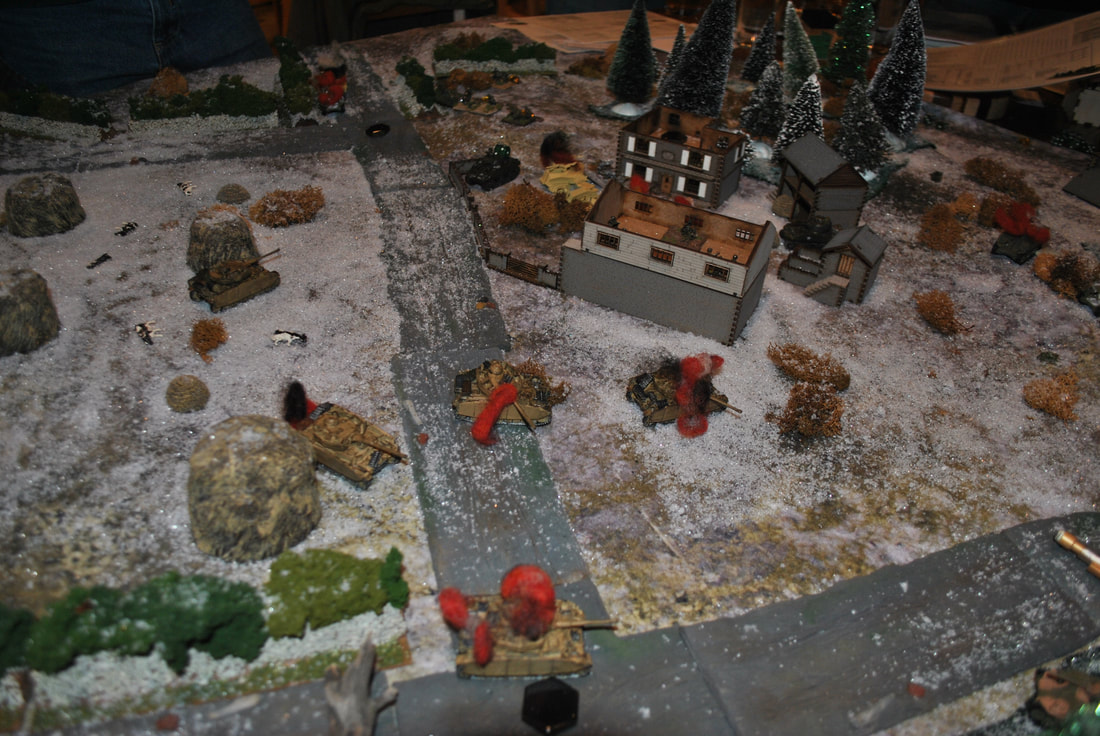
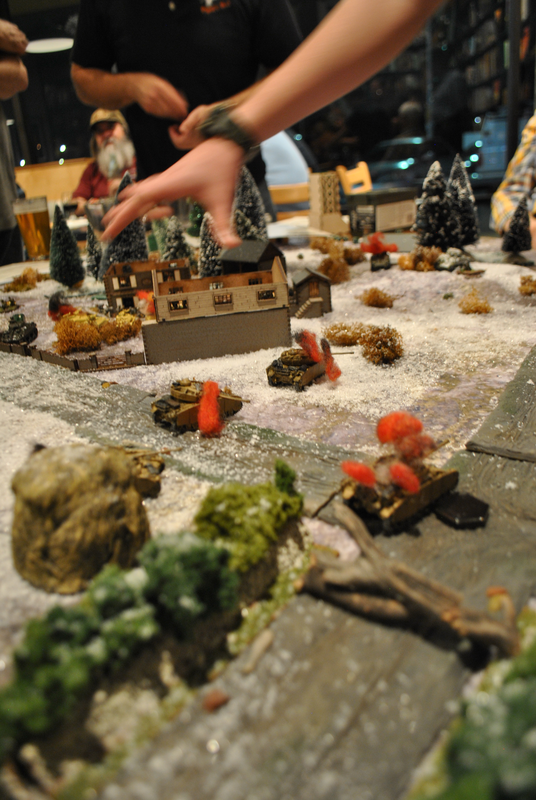
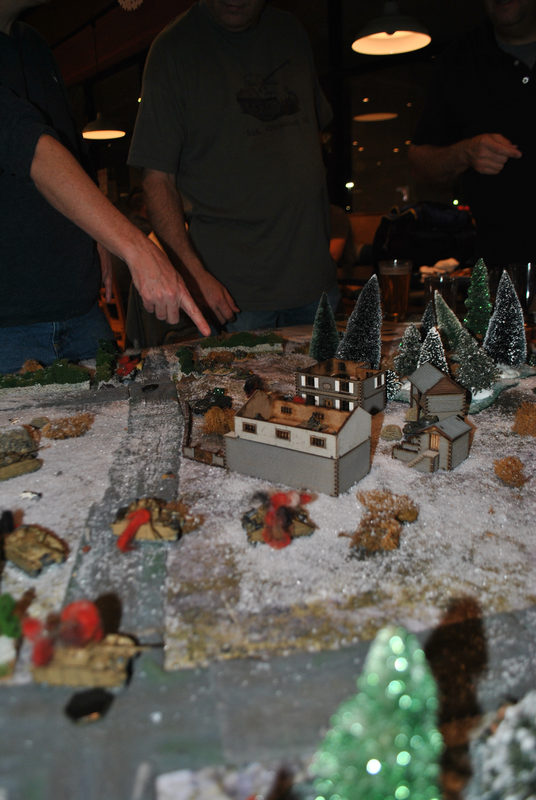
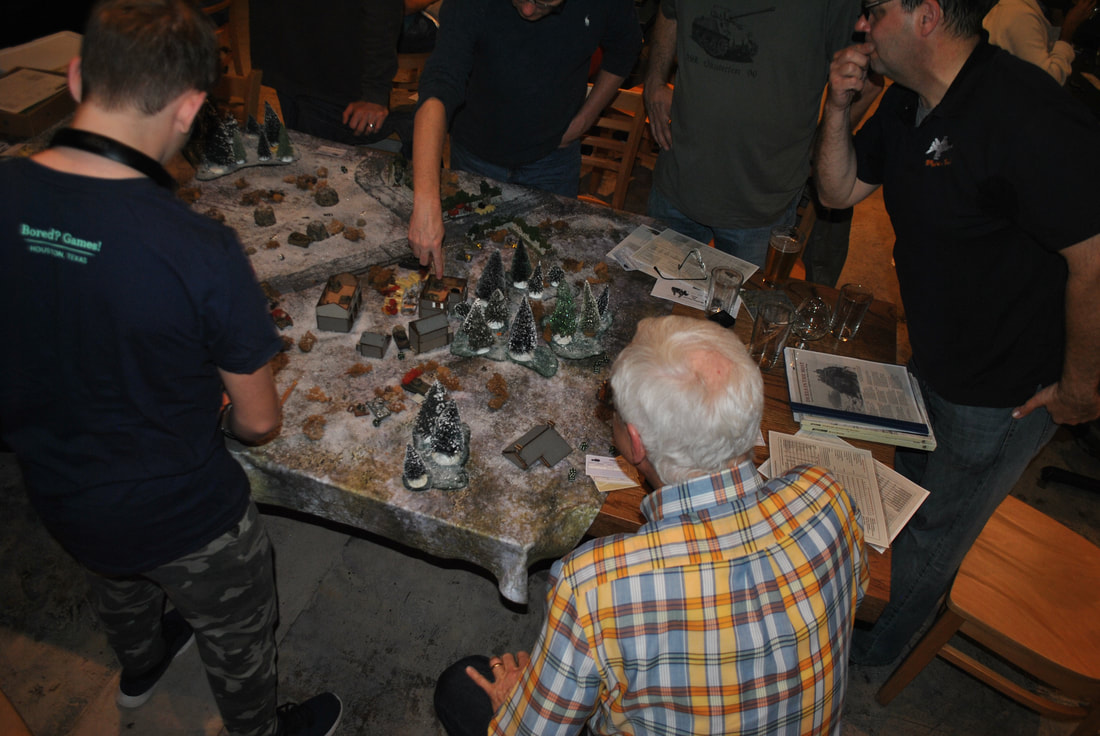
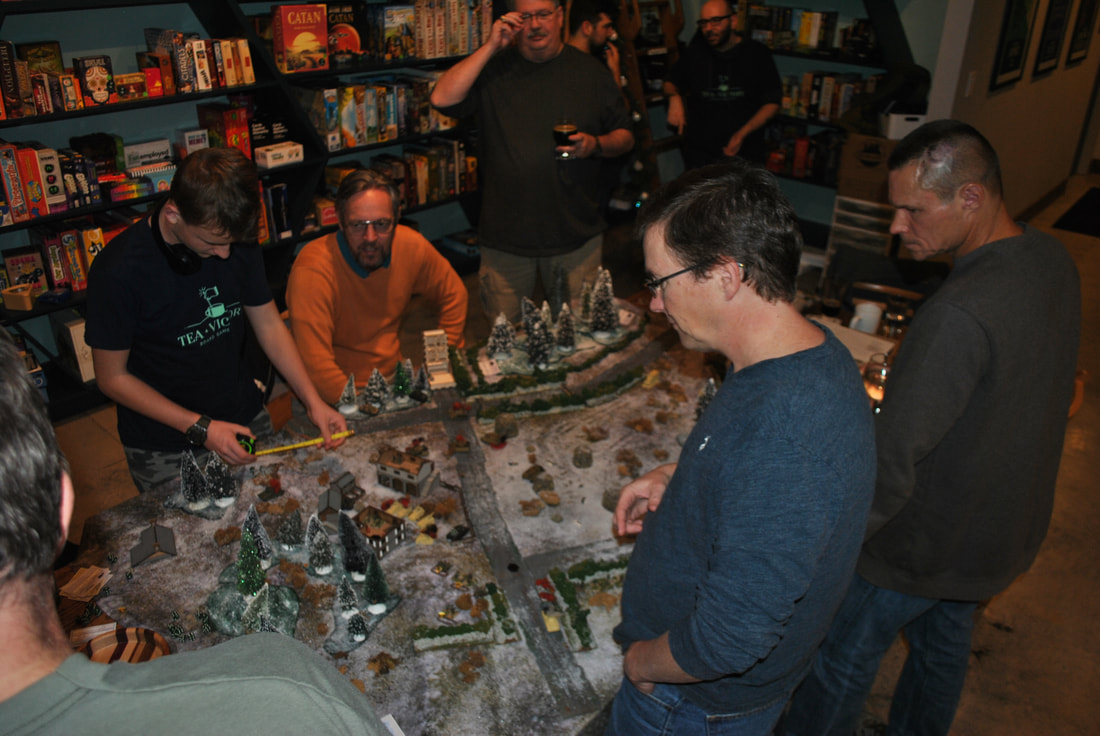
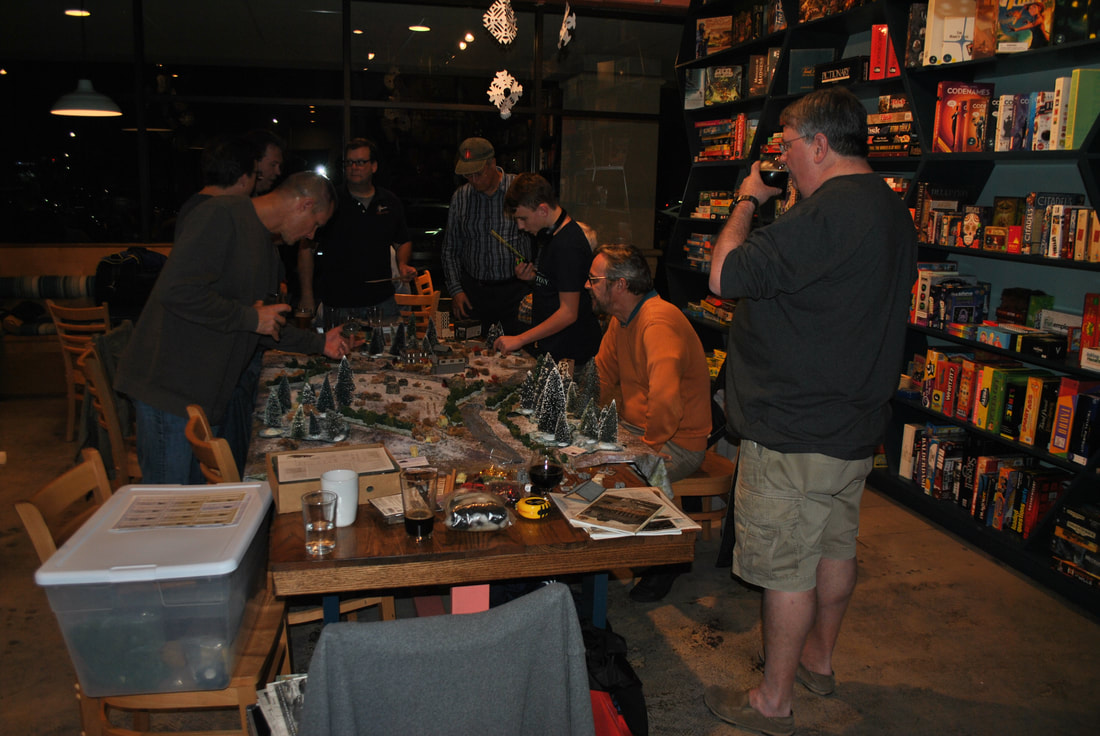
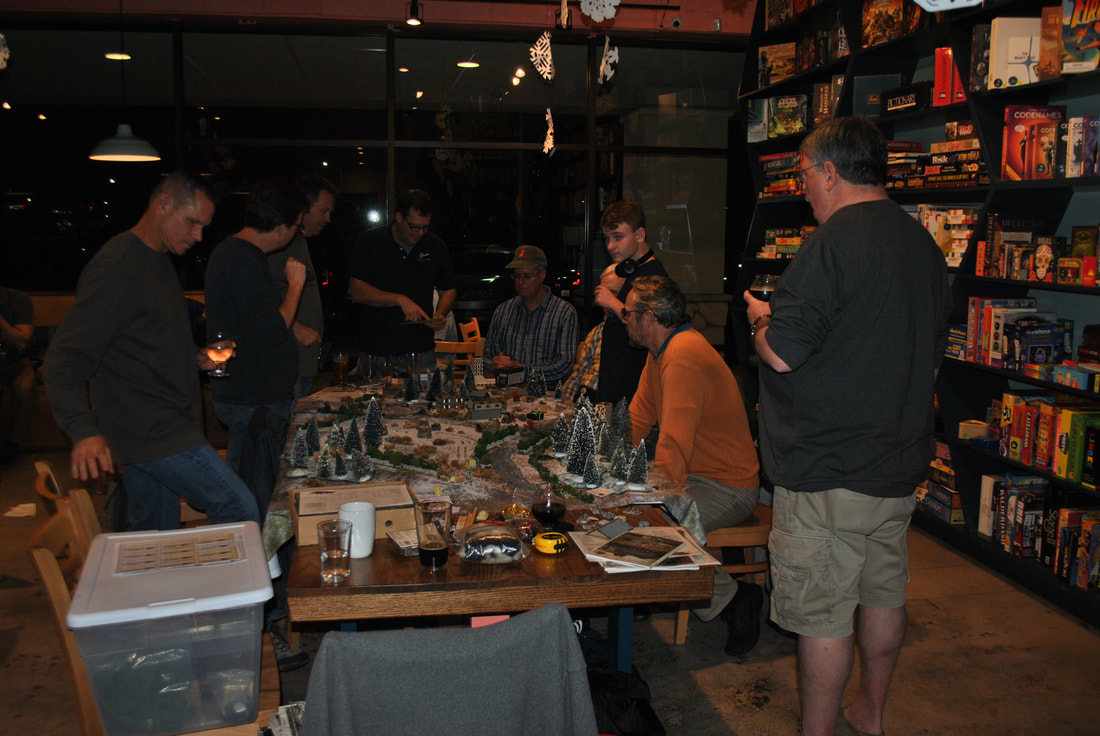
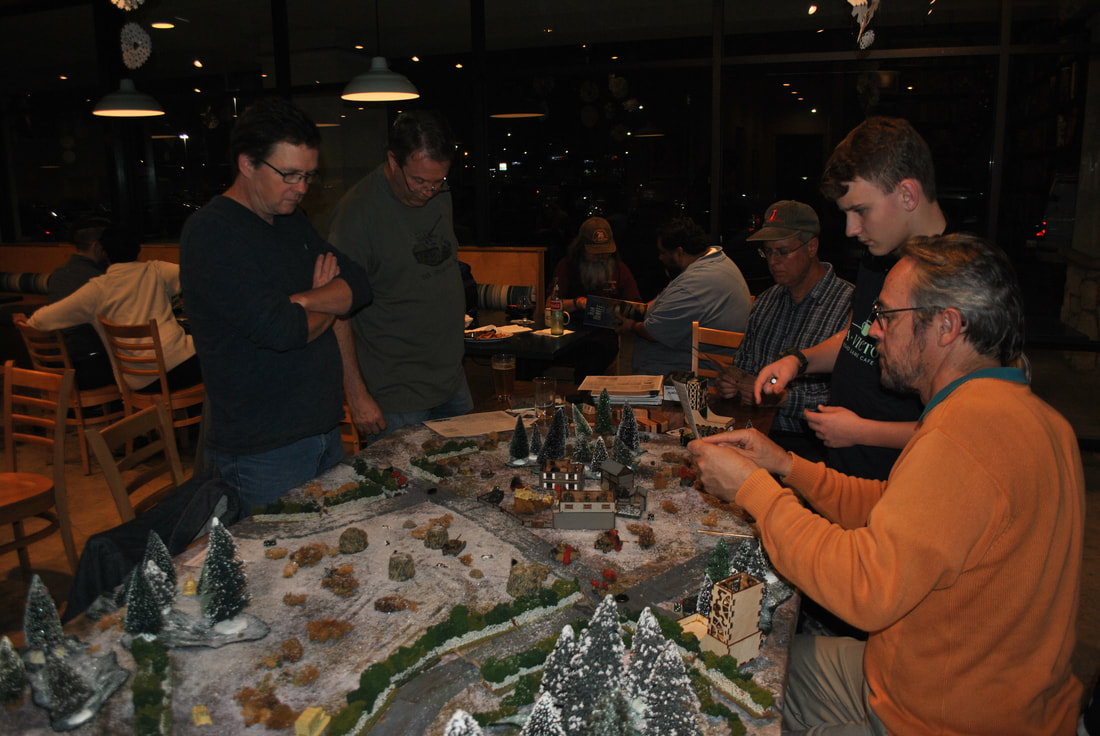
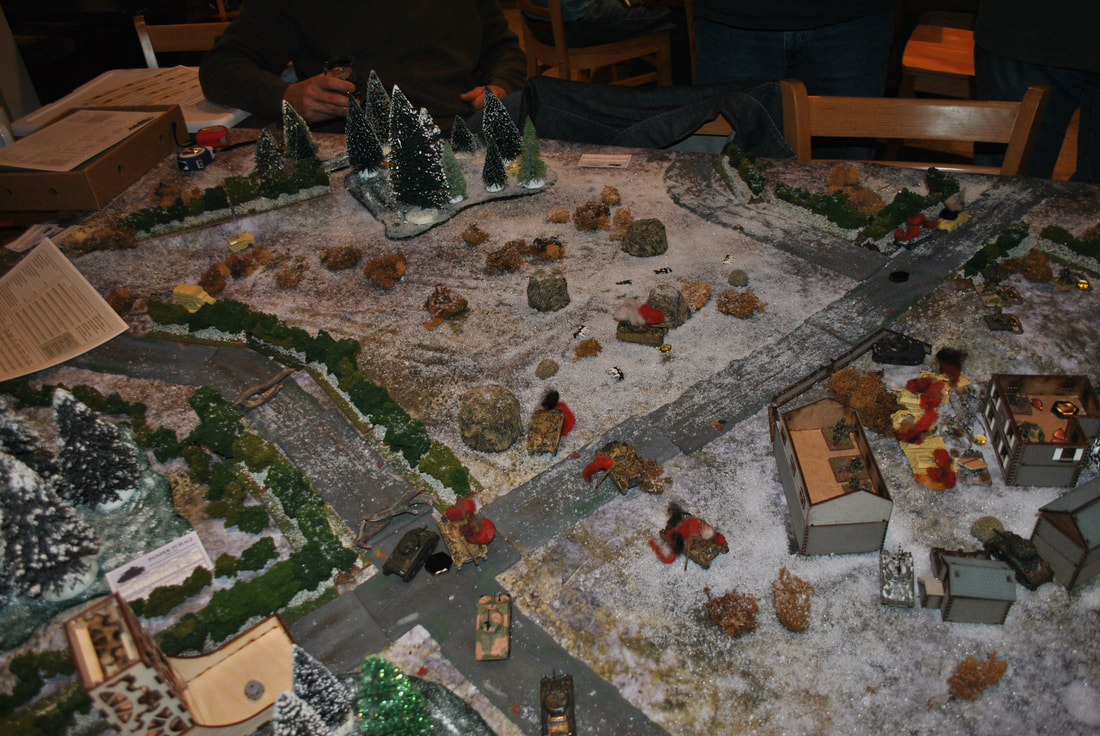
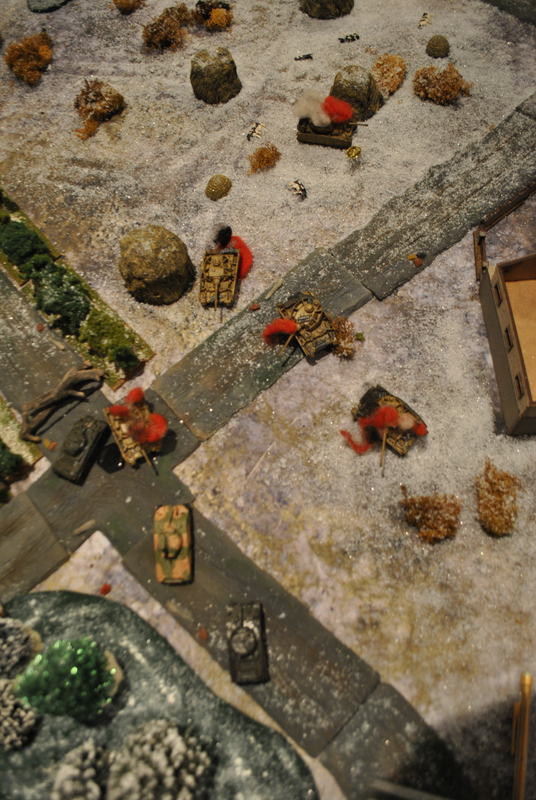
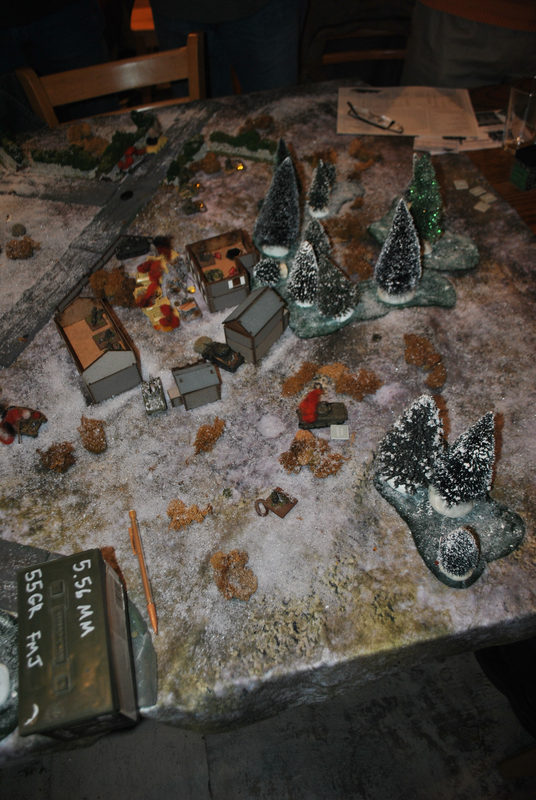
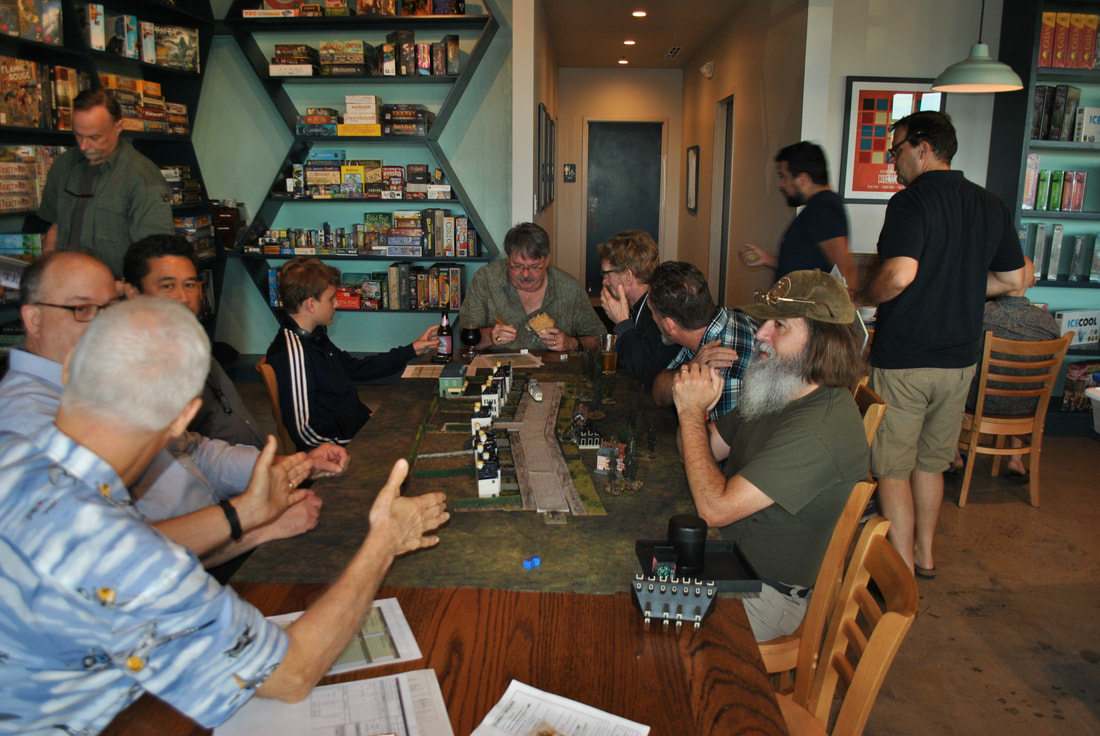
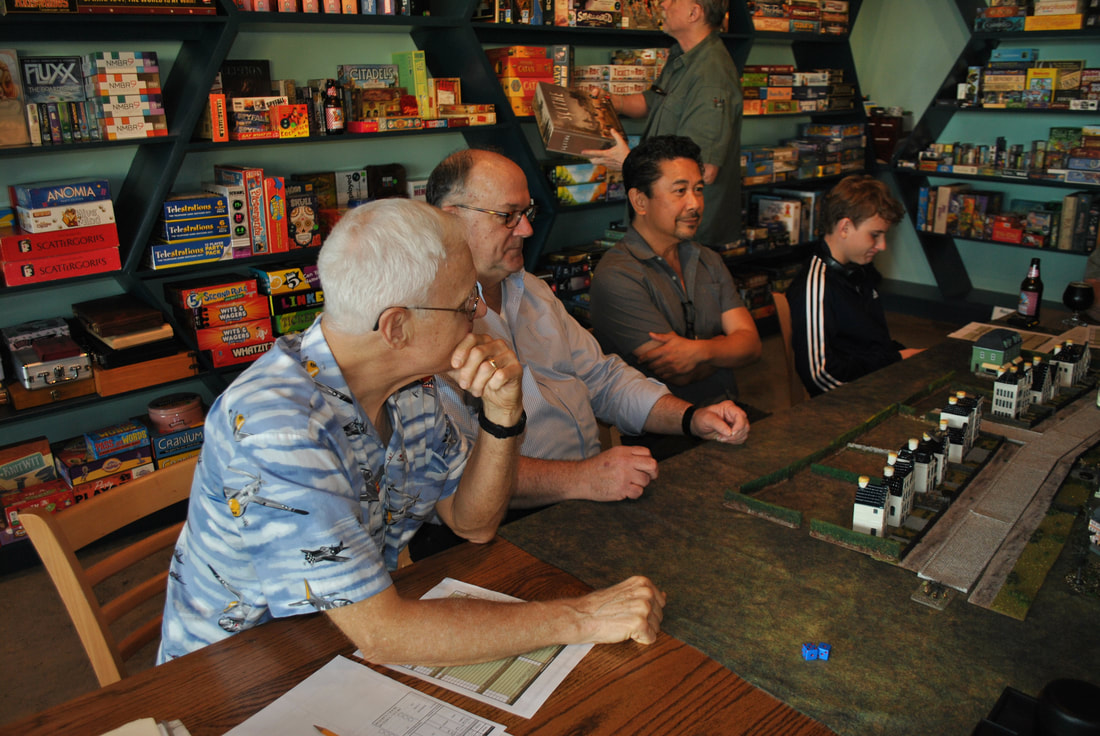
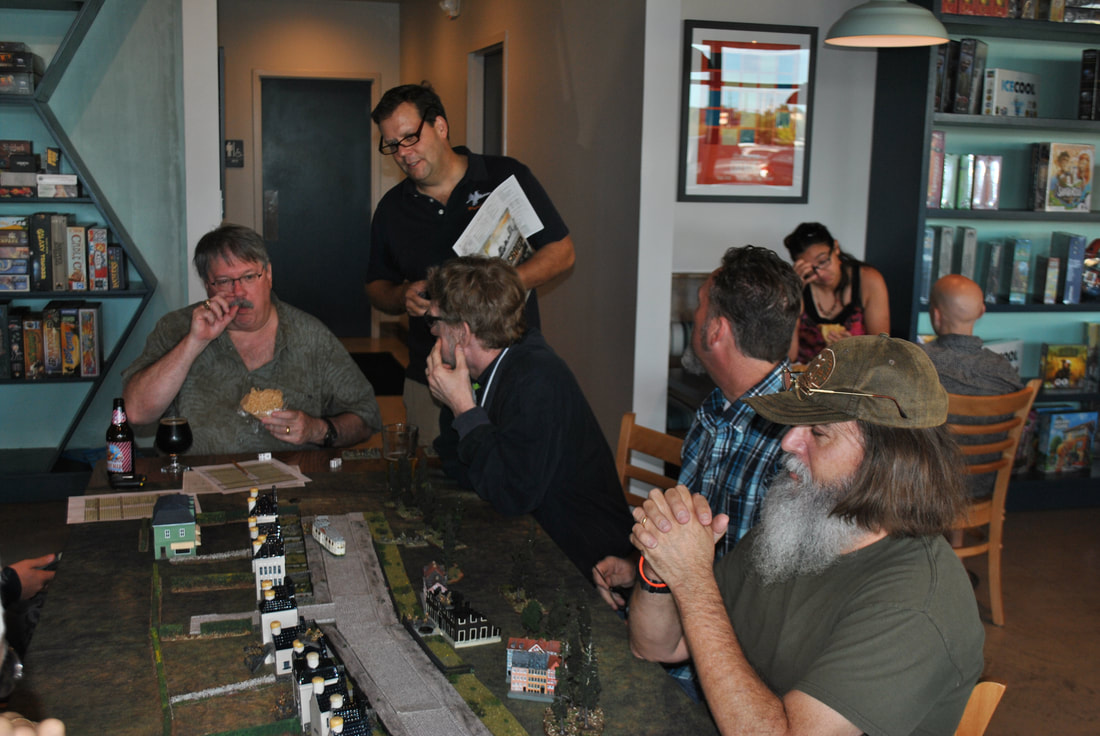
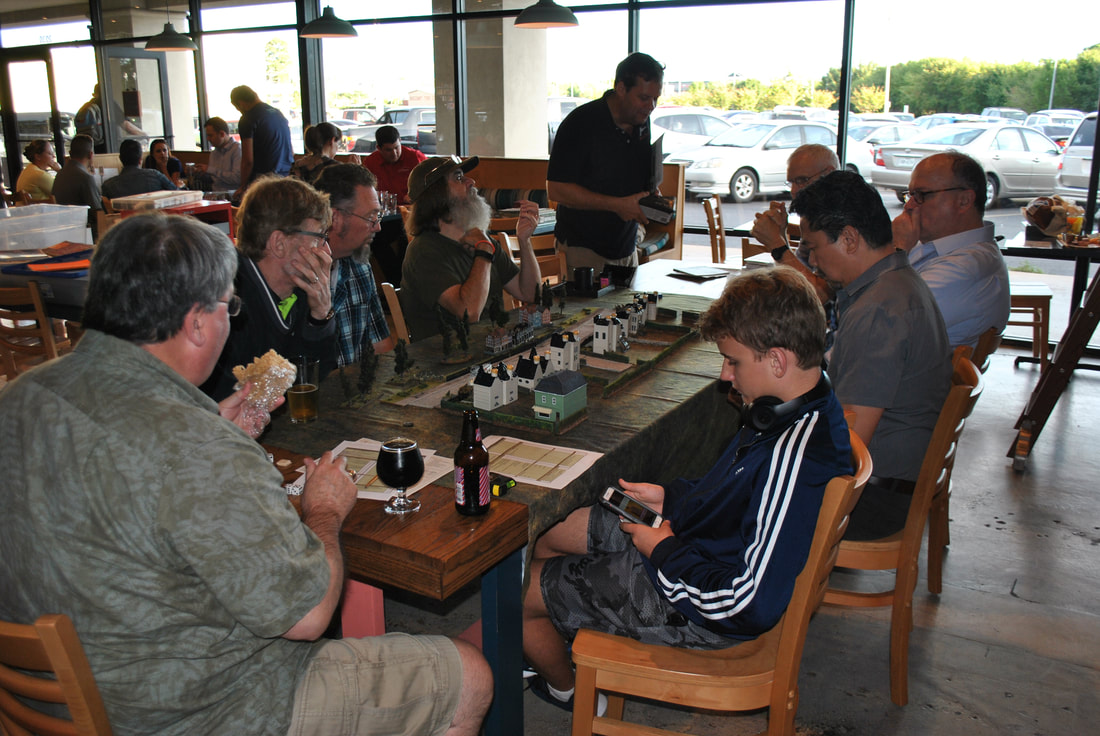
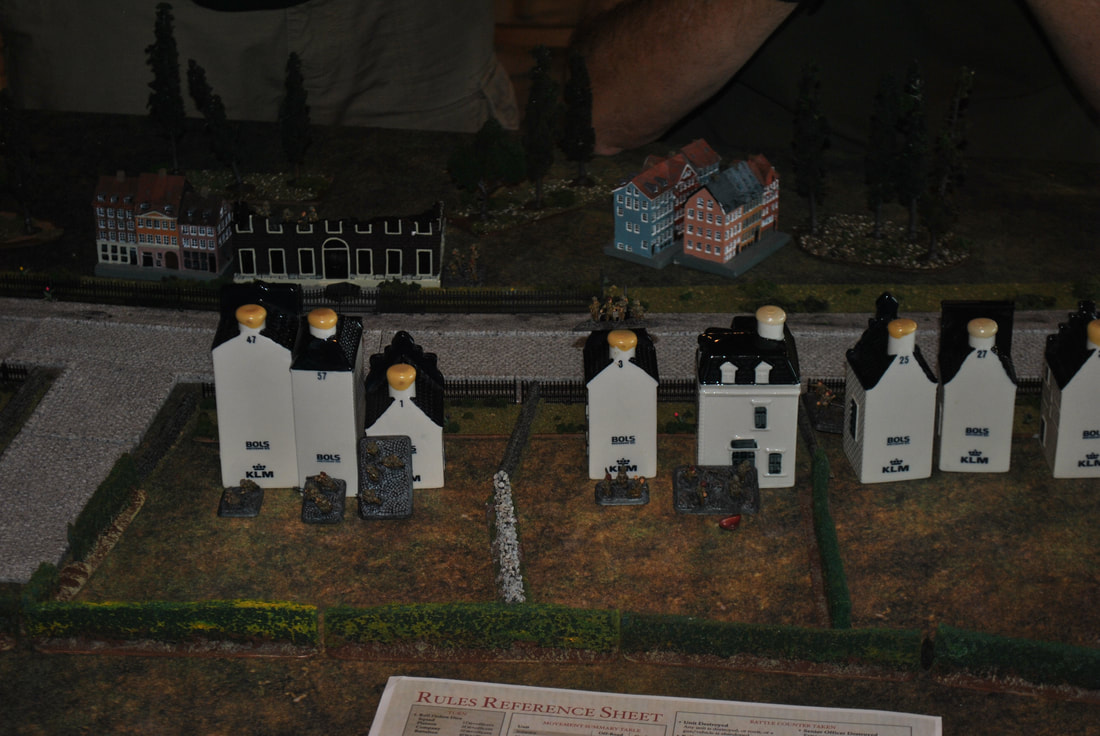
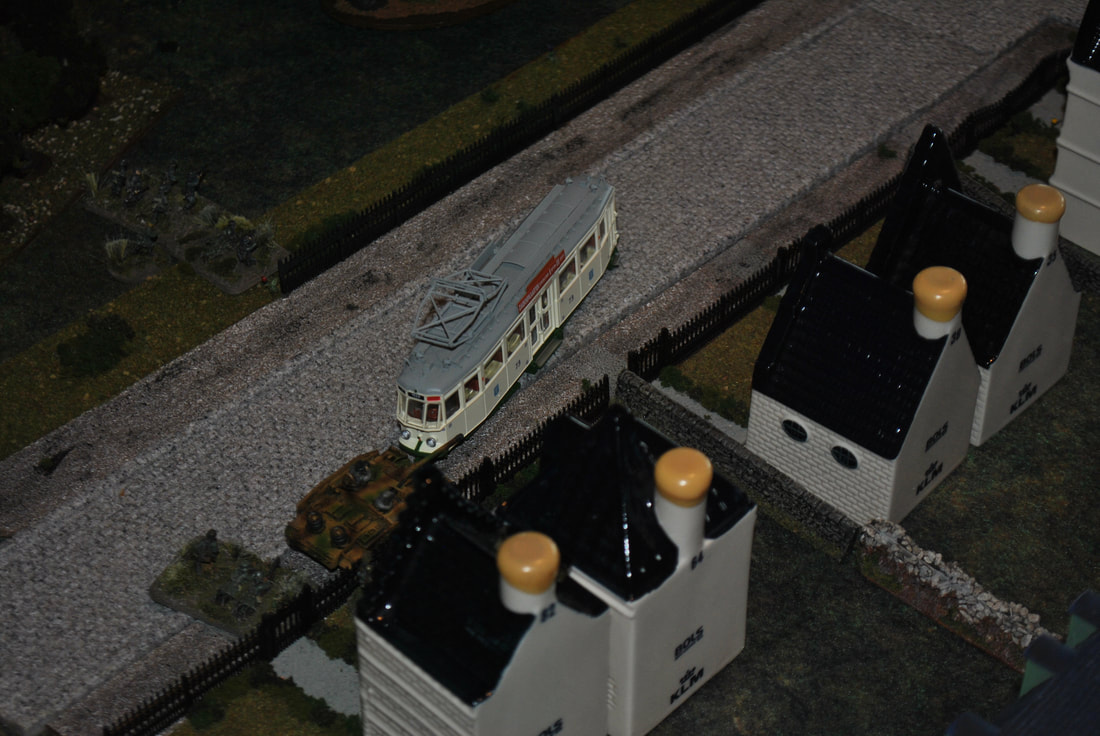
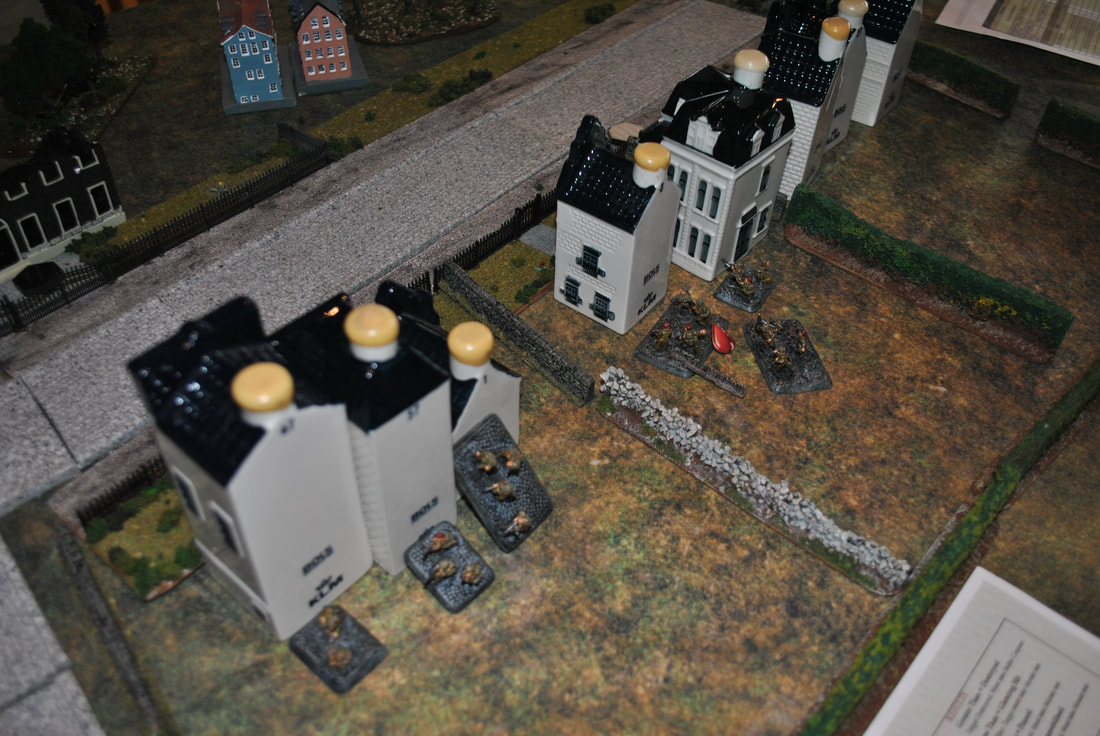
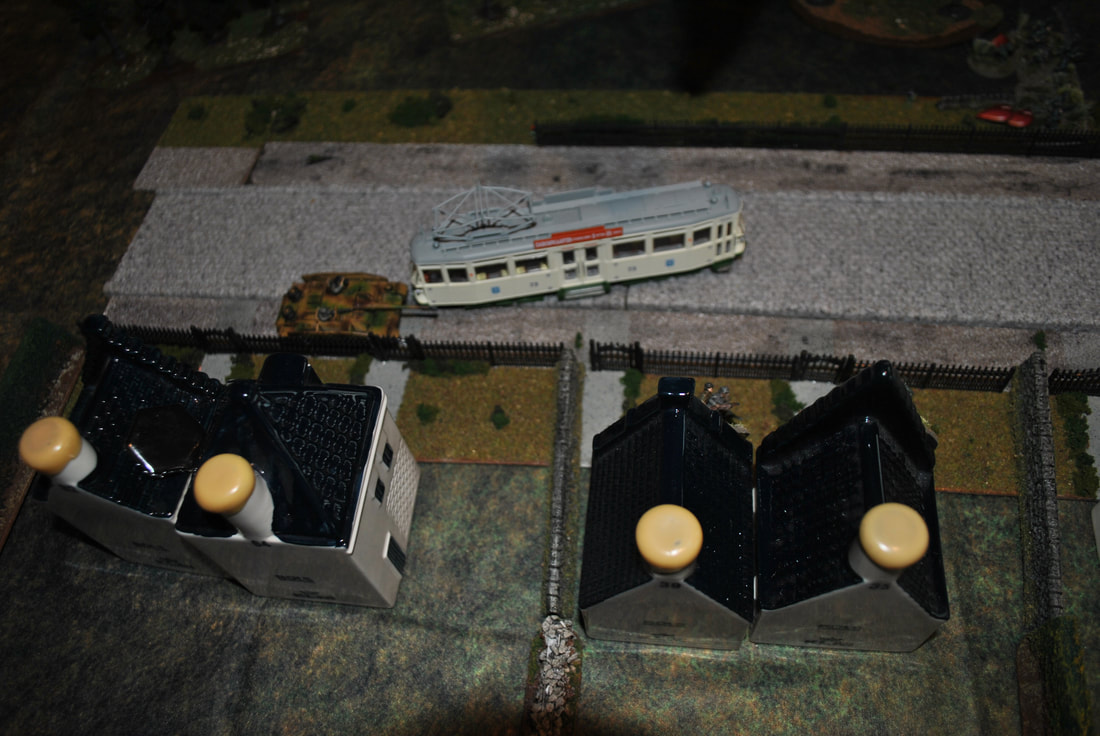
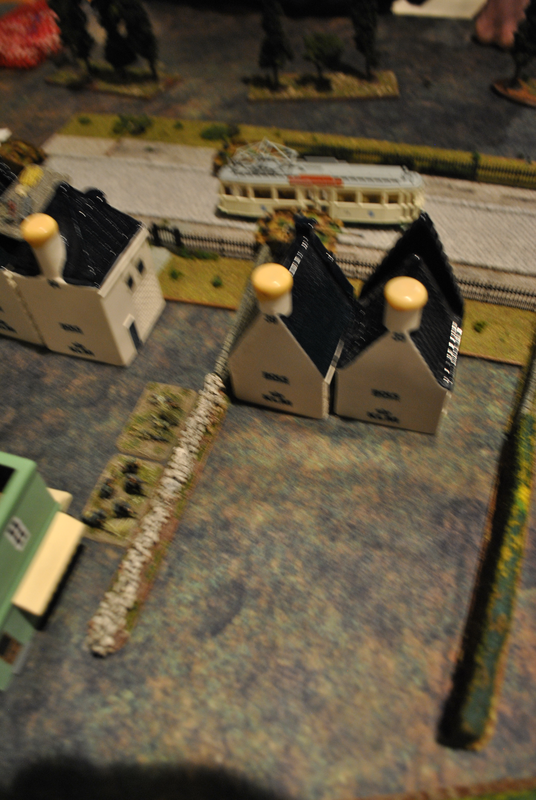
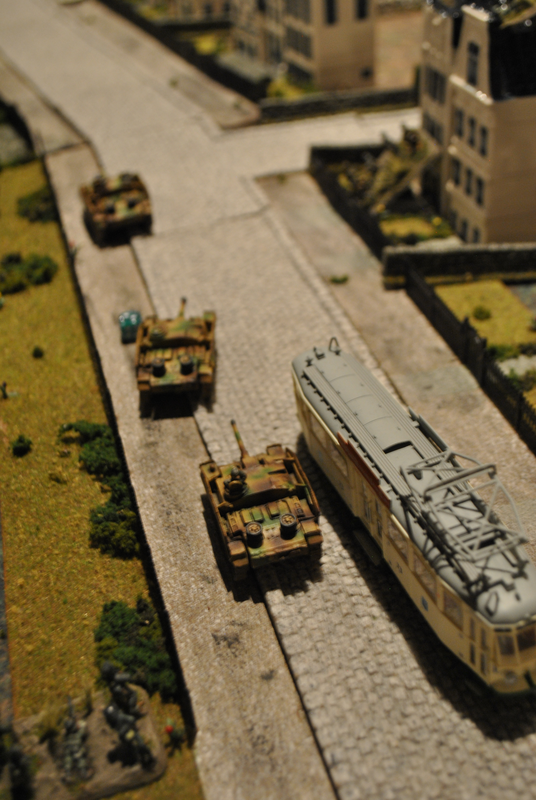
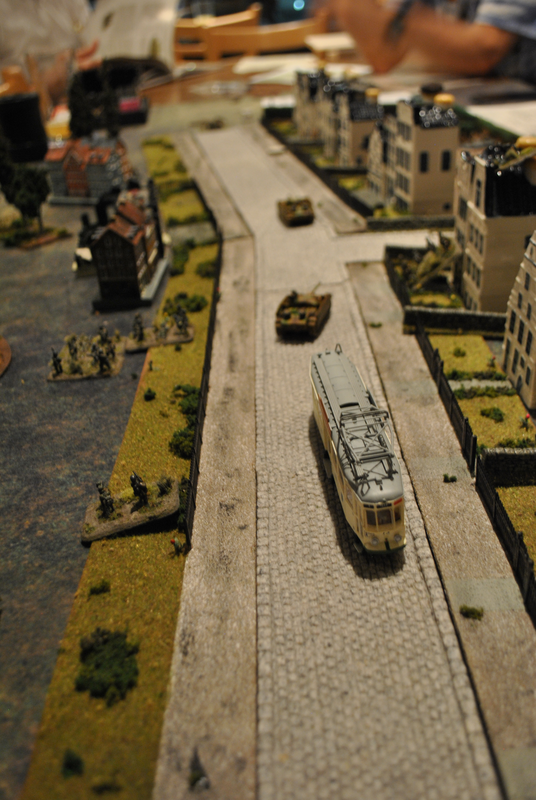
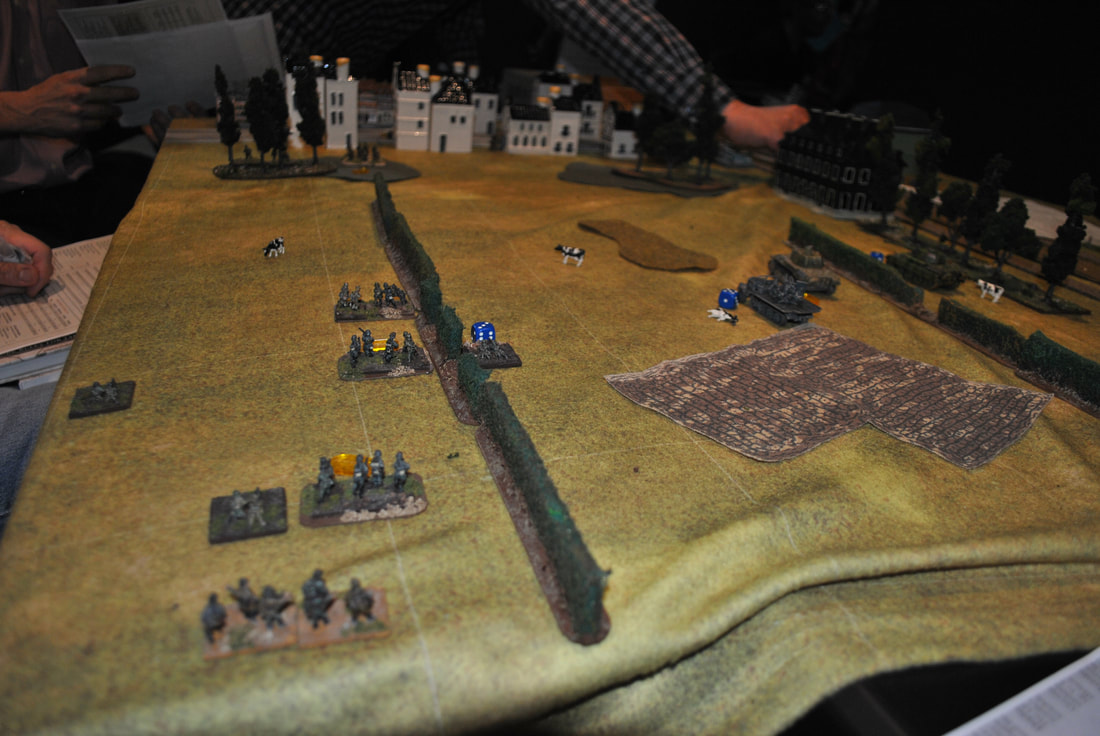
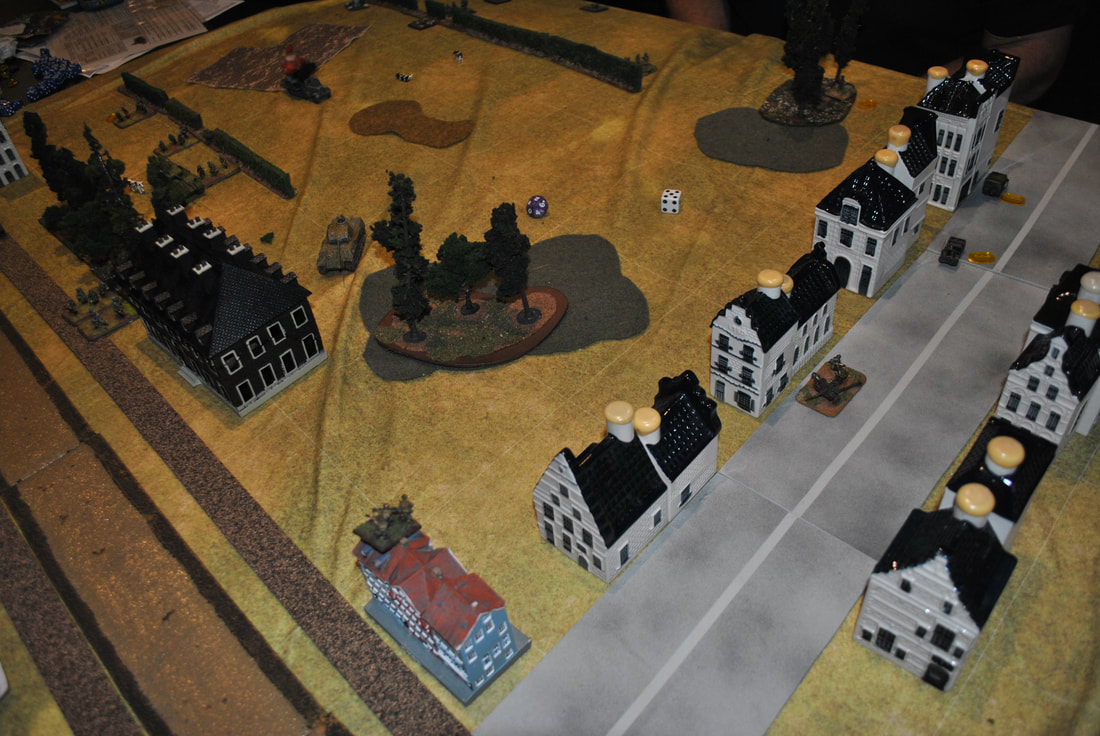
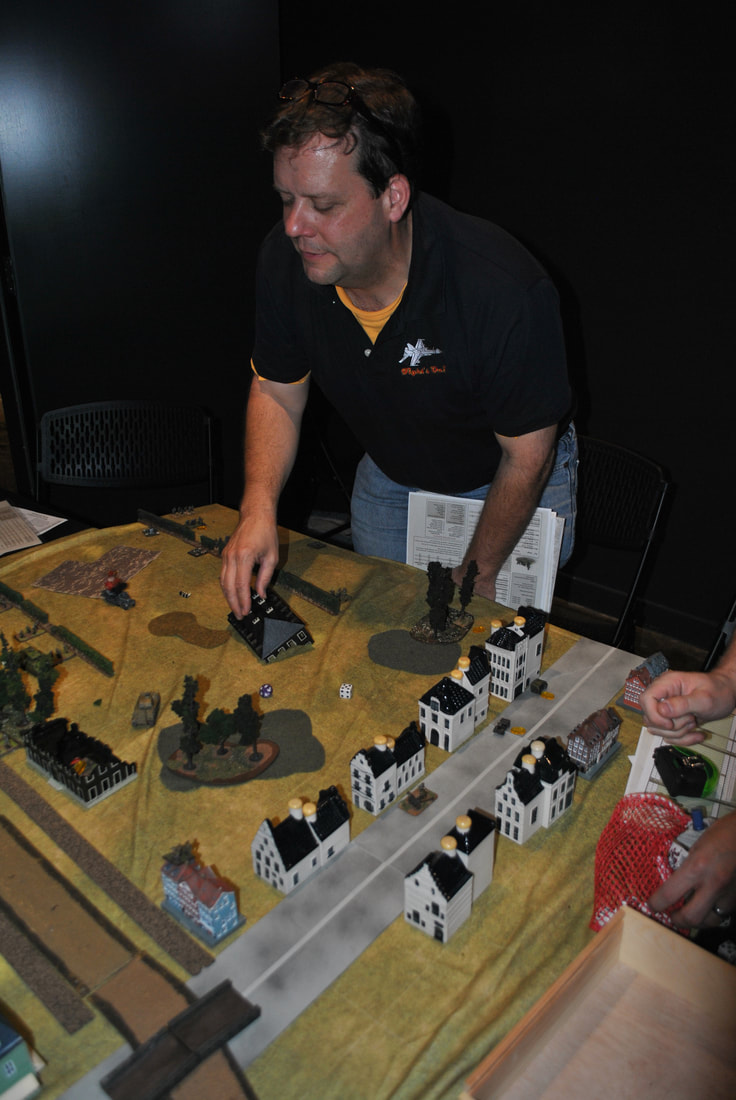
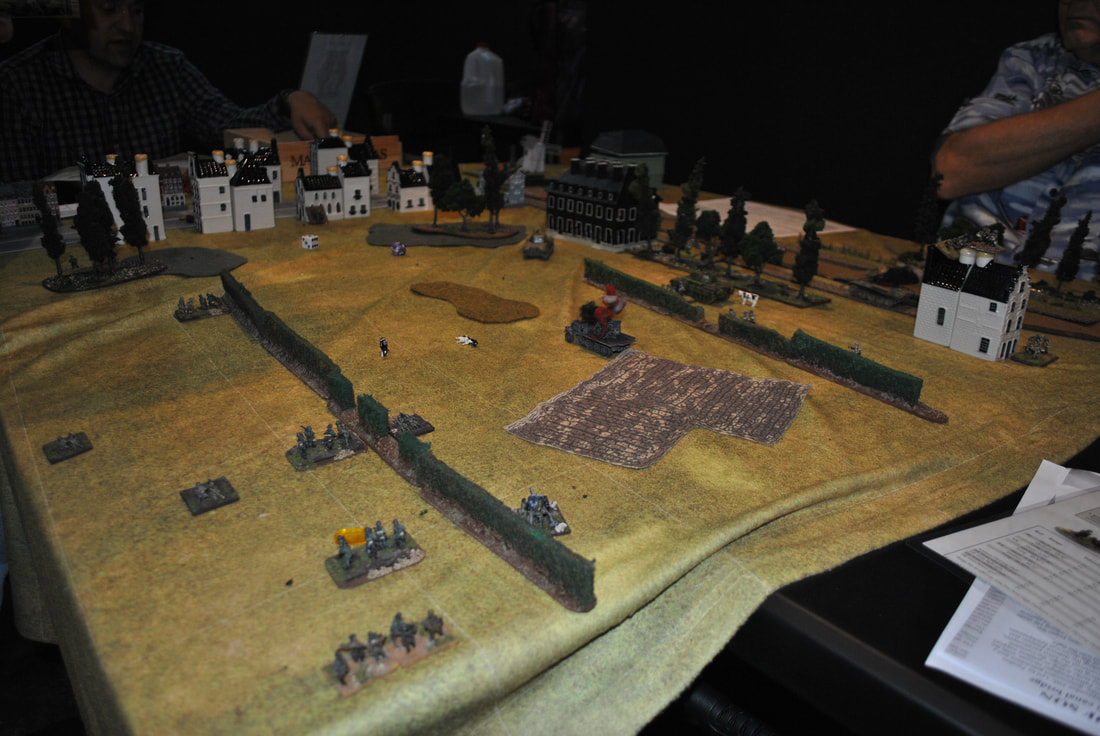
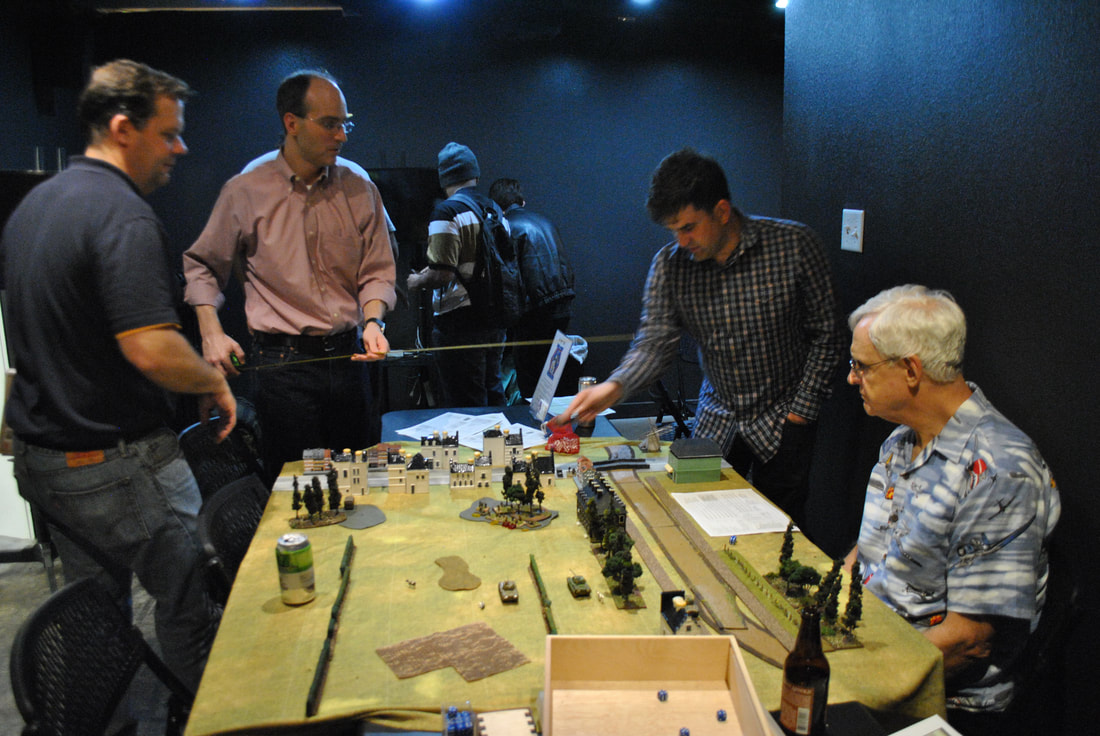
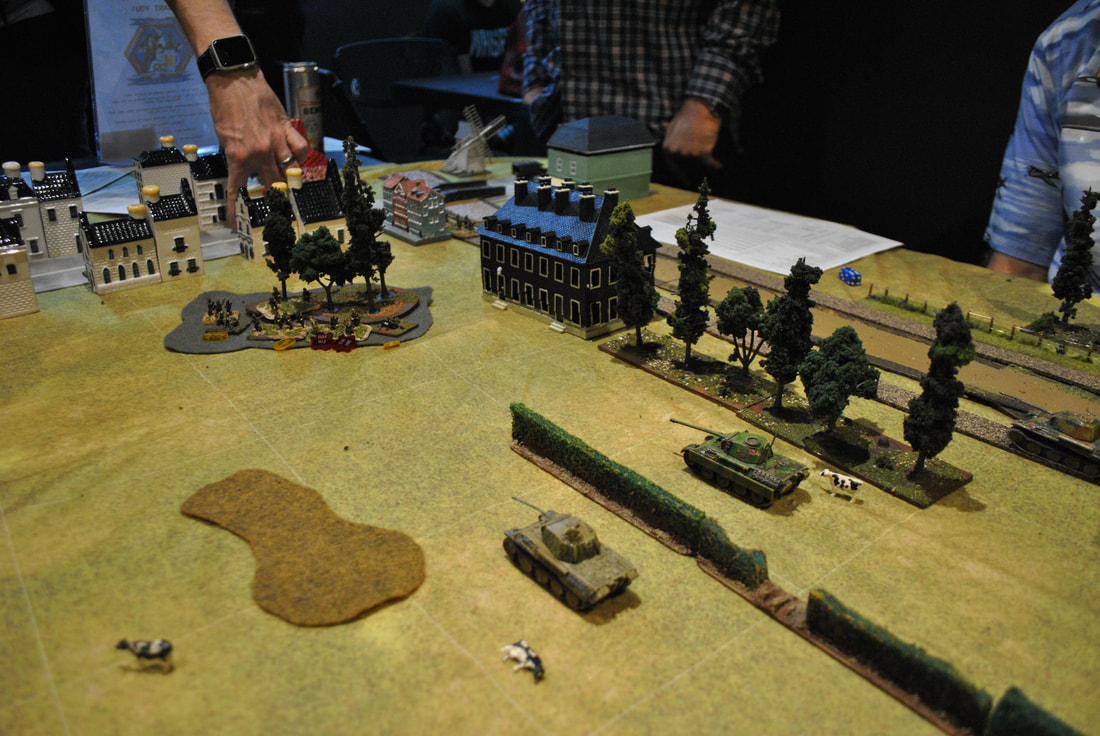
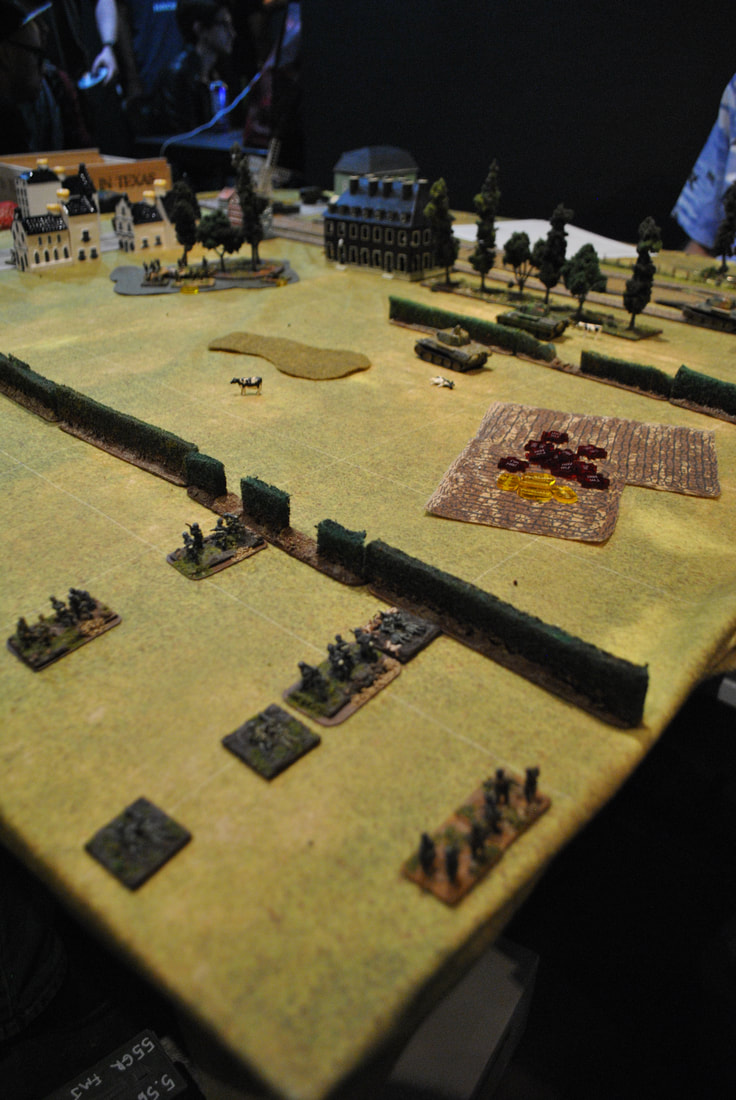
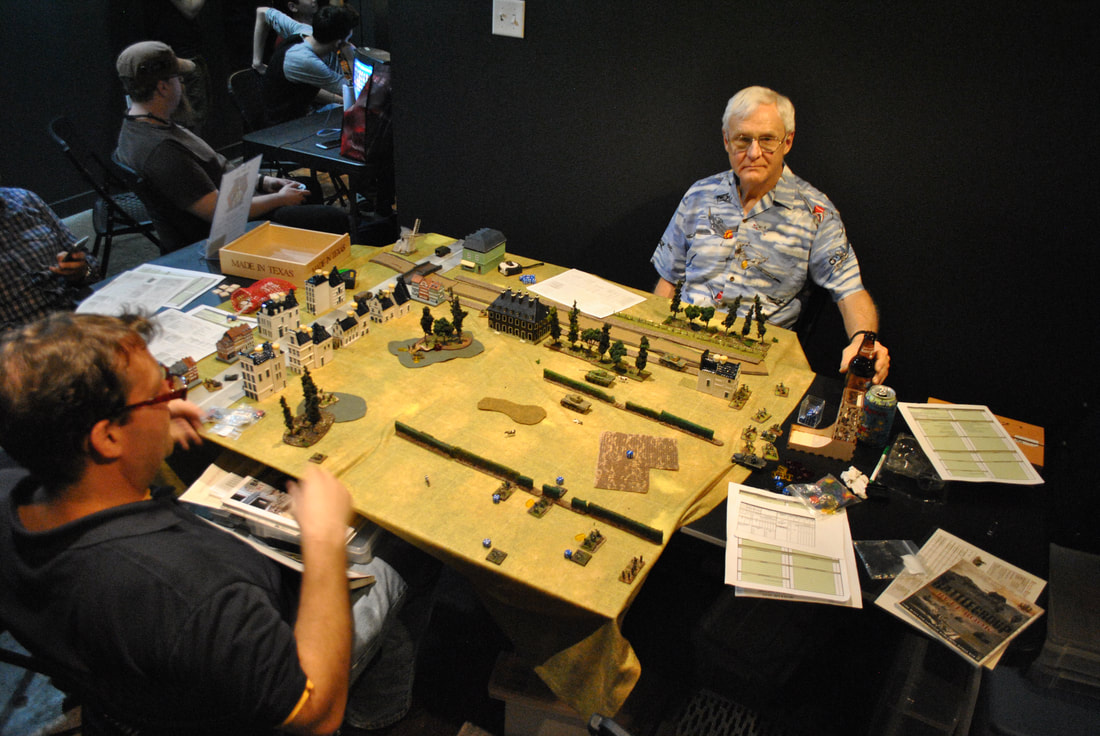
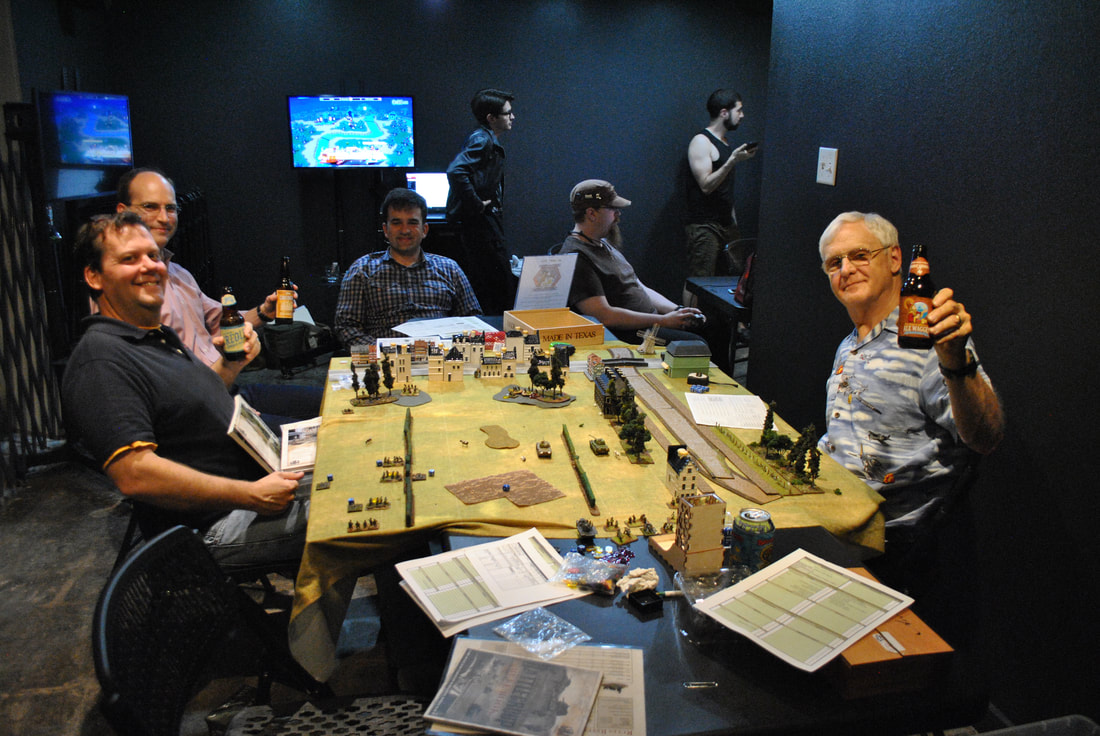
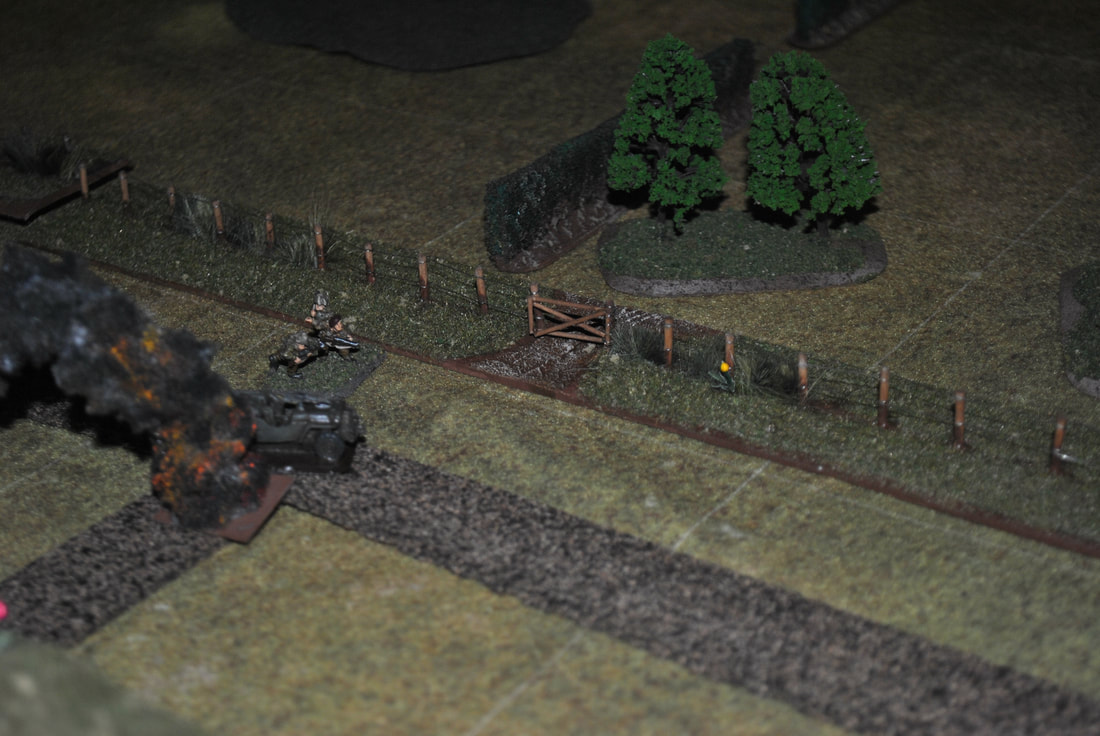
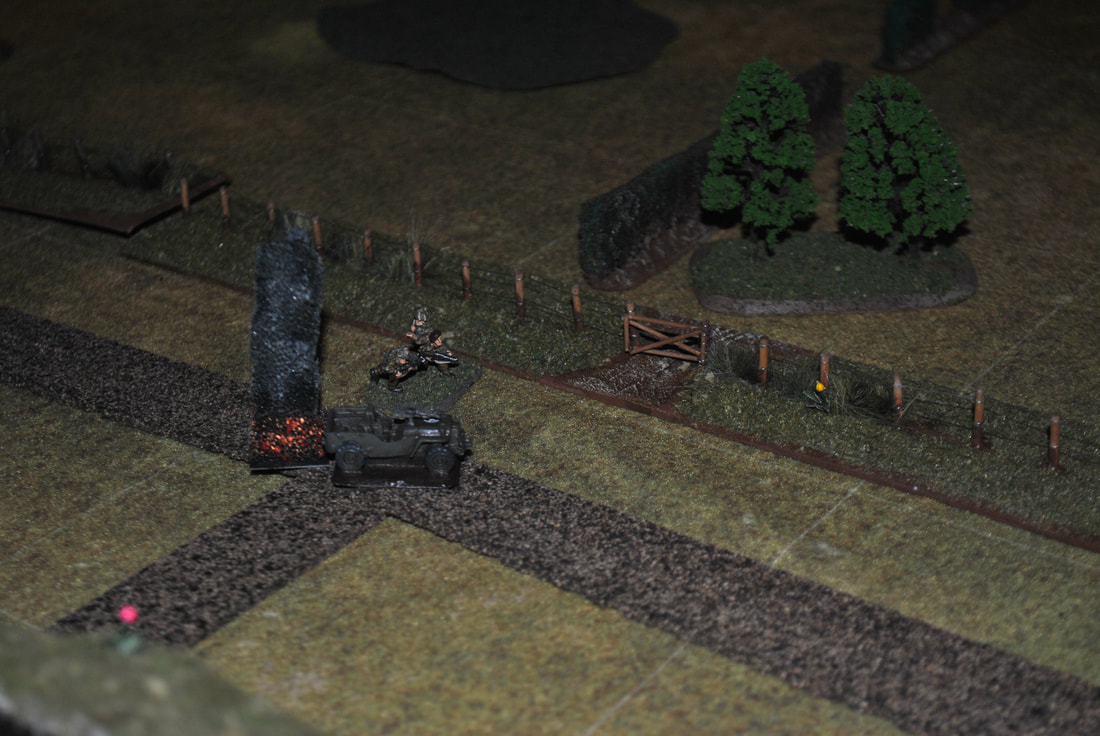
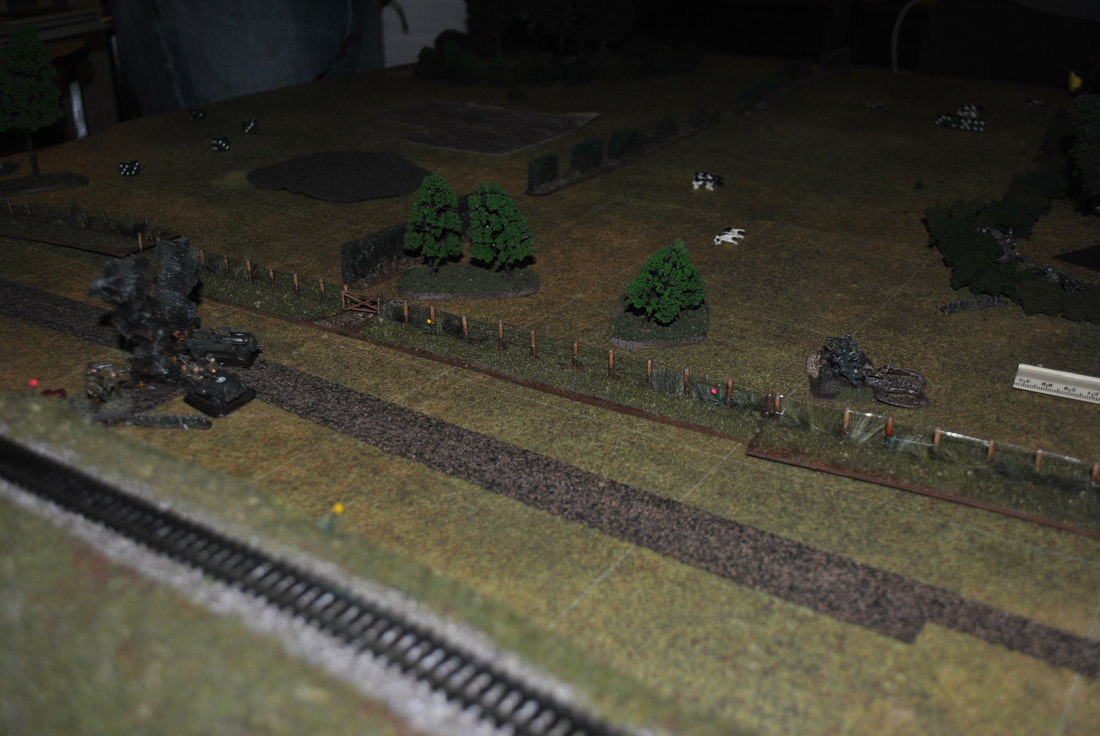
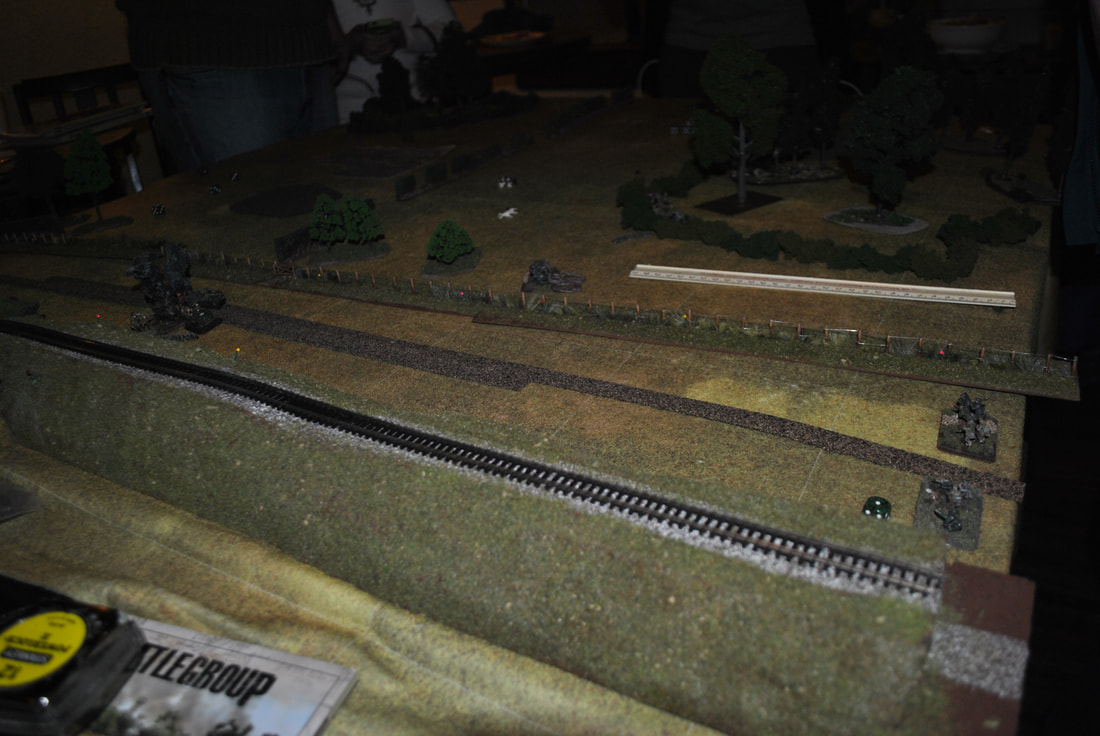
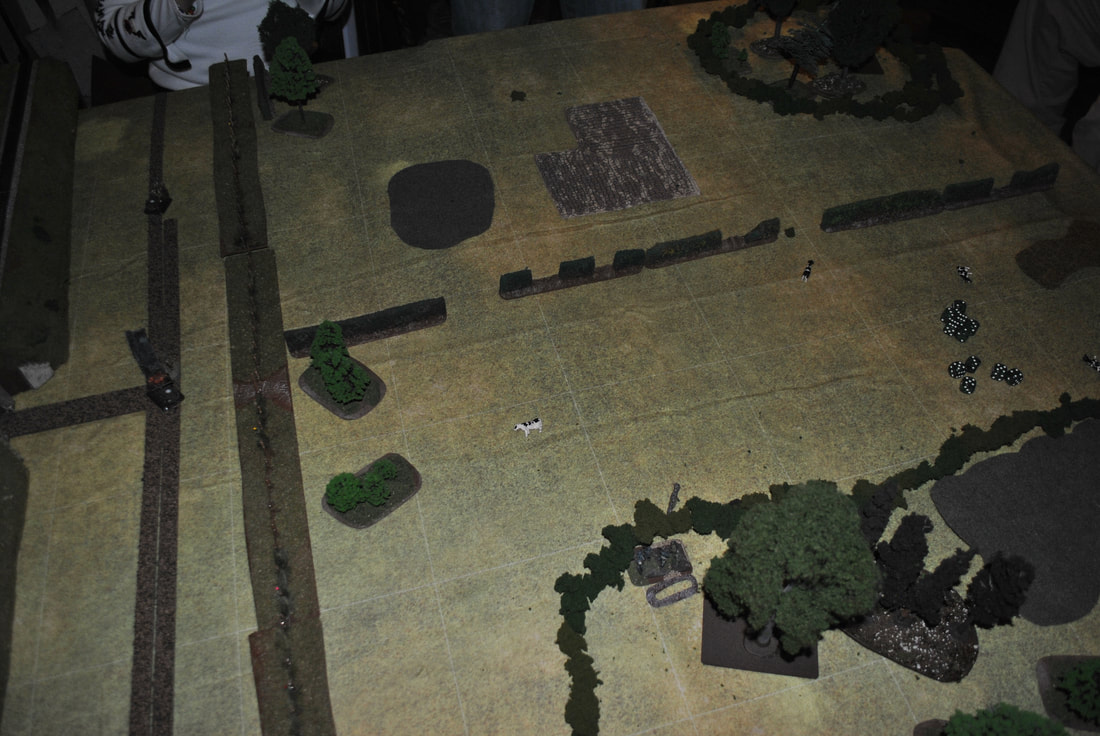
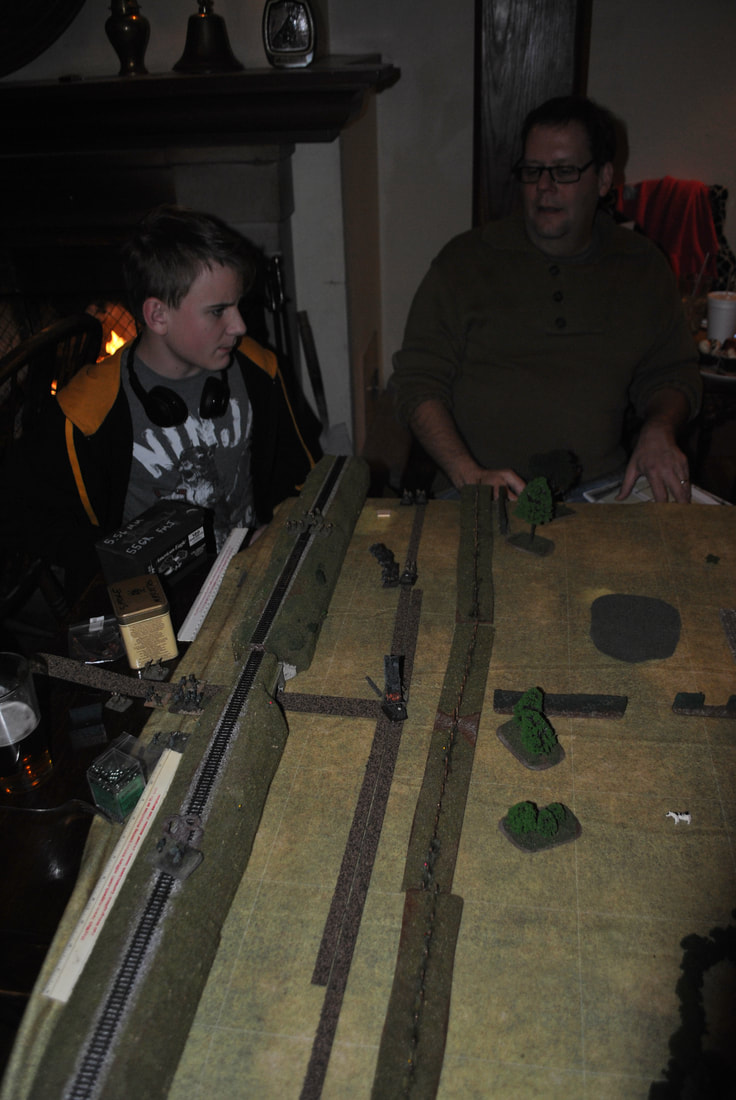
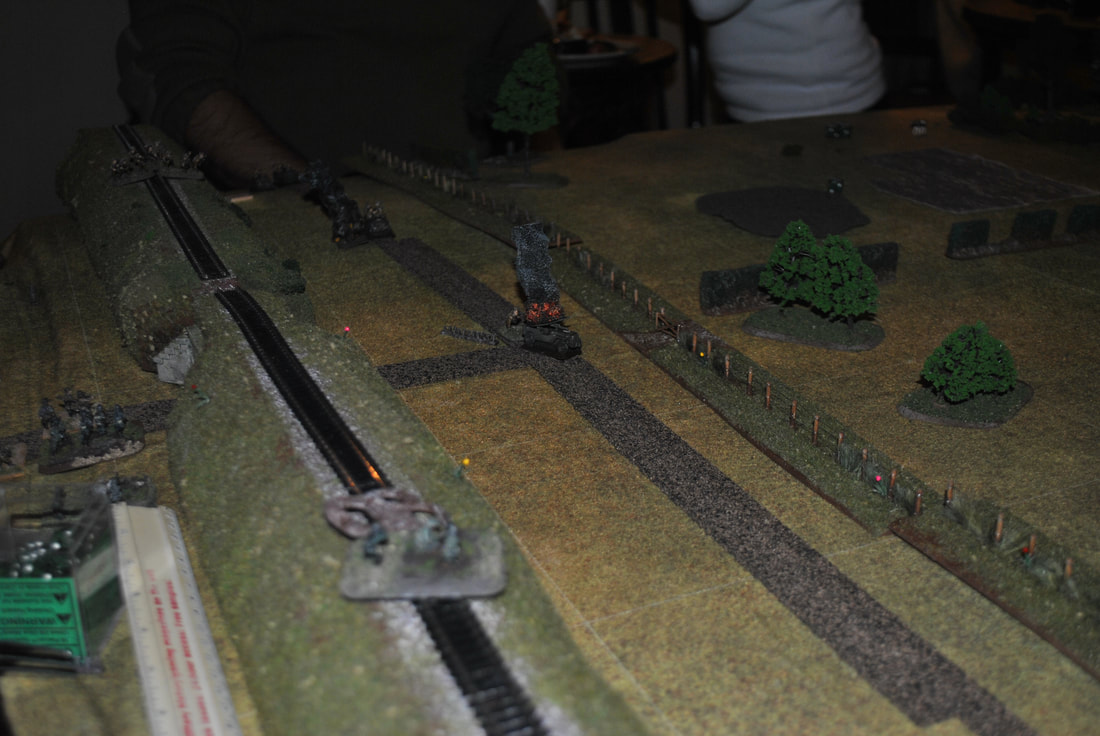
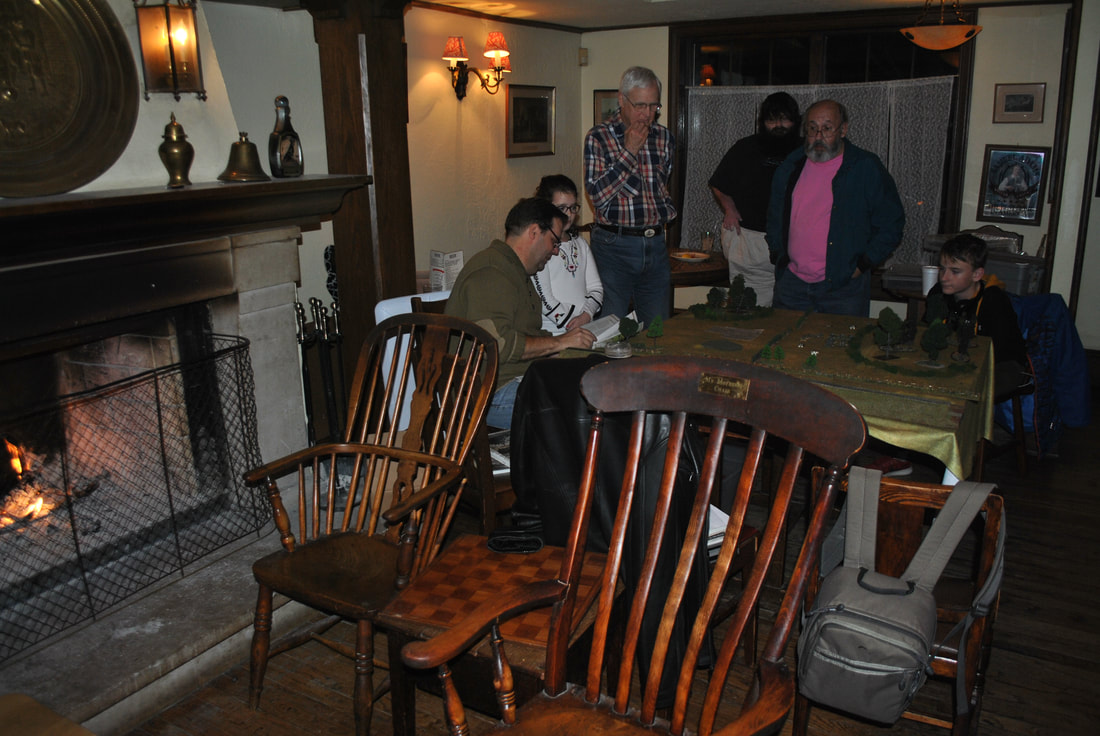
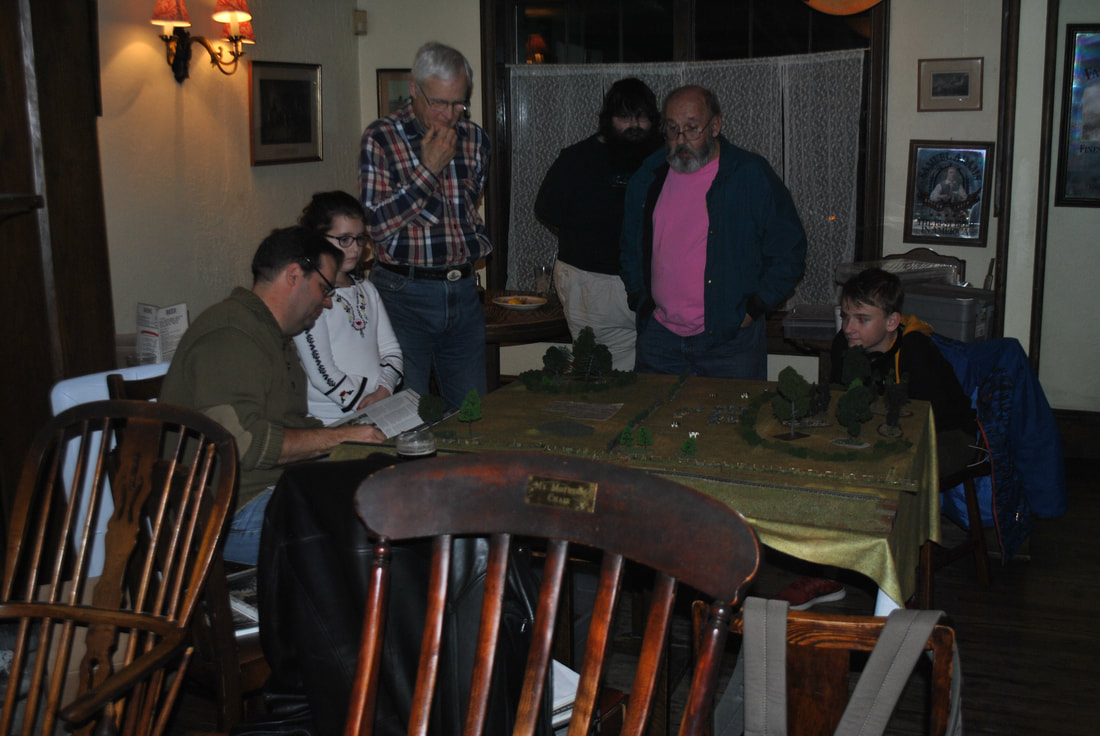
Our February, 2020, game night featured the first scenario of the Kasserine campaign in the Battlegroup Torch book. The following notes from the game were penned by the evening's host, Rob. I'll be using the Topgun style of debriefing and objective review of what happened and how to improve our play in future games. Scenario was a recon probe by the Germans up the Kasserine Pass against a small US infantry force of TF Stark, throwing up a hasty defense outside a small farming village. The US was disadvantaged from the start in Battle Rating (24) being reduced by a D6 roll to 20. Then pulling additional BR counters at game start for being out-scouted vs a Recon force and the Germans claiming the bridge objective outside the US setup area. US players setup forward defenses inside the small village taking advantage of the sturdy buildings' hard cover 4+ save. This setup prevented supporting fires from the 37mm ATG due to Line of Site issues and created small pockets of unsupported units with minimal enfilading fire opportunities. Minefields and wire blocked routes of advance to the sides of the village and in the rear areas. Generally wire and minefields work best as a first layer of defense and covered with multiple fields of fire. Minefields in Battlegroup affect units in 5" radius and both minefields and wire are considered Dangerous ground allowing only D6" move through them. US made good use of their bazooka team in the village knocking out an armored car and 251 track and using ambush orders for their infantry units. Having lots of ROF 6 and 7 units on ambush fire helped when Germans units began infiltrating into the village, and helped abort one air attack and destroyed the German ATG track and deployed gun team with BAR and sniper. The German side used their armored cars as fire support vehicles and did not maneuver much past the bridge objective and southern outskirts of the village. The infantry platoon in armored tracks went into the village to disembark and the tracks lined up in a vineyard to use their MGs to support the platoon units fighting through the village. This was a concentration of firepower that exceeded what the unsupported US could match in the small confines of the village. US units began to collect pins and casualties which led to more BR and eventually ended the game. US took additional BR from a successful airstrike, BR which was drawn when the first armored car was destroyed by bazooka fire, but such is war. The Stuka struck terror into the inexperienced US troops and destroyed a unit with it's bombs. In review of the tactics, US players could have setup differently and ignored the village due to it's dense layout of vineyards and buildings and setup further back in their deployment area for a defense in depth with more mutual supporting fires (there were no objectives in the village, control of the road exits were the objectives), or upon seeing the German attack develop into the village, pull back out of the village to cover positions in the rocky ground (4+ save) to force the Germans to continue their advance beyond the village into open ground (6+ save). German players have the option to ignore the village, and zoom the armored cars up the roads (not mined until deep in US zone) and claimed the objectives in the rear for easy additional BR. US AT power in turns 1-4 was limited to a 37mm ATG, and x2 bazooka teams. Germans had x4 armored cars and x4 251 tracks. This quantity of armored units could surge past the limited defenses, especially with the Reserve Move order which we have not yet mastered. Reserve Move is a Reaction Order, similar to Ambush Fire. We have not used this order once in any game of Battlegroup in two years and should examine it's potential. Putting a unit on reserve moves allows the player to take a Top Speed order (move twice) at any time before or after an enemy order. Example- German armored car goes on Reserve Move in T1. In US T1, a bazooka team uses an order to reposition to cover the road, but cannot fire at the armored car as it is greater than 10" away. Once the US order is completed, the German player invokes reserve move, and can zoom 48" down the road (moving double road movement of 24"). It sails by the bazooka team with impunity since they have used their order and are not on ambush. US ambush orders can interrupt this armored car though, so continuing with this example the 37mm ATG in the rear on ambush could shoot at the armored car with an Ambush Fire order at any point in the German car's move. But once that firing is over and the ambush removed, the other three German armored cars on Reserve Move can do the same thing and both the bazooka and ATG have used their orders at this point. In summary, Reserve Move is a useful order allowing for positioning changes to be made during the enemy turn, but can be interrupted by Ambush Fire reserve orders. Adds a new tactical element of the game to the traditional Ugo-Igo we have been playing. Mistakes made by the Game Host: The Stuka was the first time airpower has ever arrived in our games and we got it 95% correct. One improvement, if an aircraft is self-spotting it's attack without benefit of a Forward Air Controller (which we've never used), an extra D6 to deviation distance in the accuracy process is required. Dive bombers like the Stuka can also re-roll one dice of direction or distance in this same accuracy check. When a unit is on Reserve Order Ambush Fire and it becomes Pinned, after Rally and removal of the Pin marker, it retains the Ambush Fire order. It is not lost due to pinning, only if used or the player elects to give a new order. When teams are reduced to 3 men or less, observation test has a -1 modifier. A US player identified this mid-game but this may have been missed prior to this catch (vs bazooka team for example). The SdKfz 222 armored car with it's 2cm gun is not ROF10, but ROF6 and suppresses as Very Lt. HE. The Game Host misinformed German players of this stat in the game. Objectives cannot be claimed by driving through them. German unit (unpinned) would need to be within 5", with no US units (unpinned) within 10" at end of turn to claim the objective and cause US to take a BR. Reversing on a road treated as Reversing and lose D6 of road movement. So an armored car could zoom 24" up a road, and reverse to 24-D6" back. But not claim an objective if outside of 5" at end of it's movement. Overall a great experience, we are getting better with these rules. If anyone wants to pick up a copy of the rules to review on their own, domestic source is NWS. https://nwswargamingstore.net/shop?olsPage=t%2Fbattlegroup-books
1 Comment
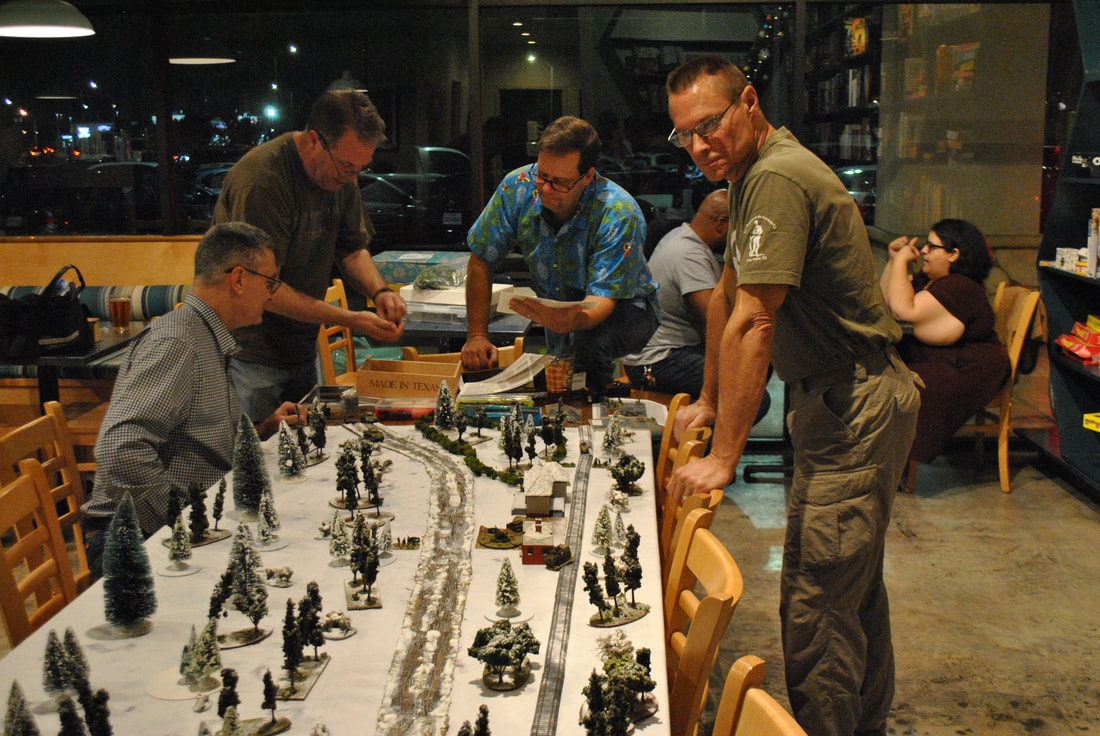
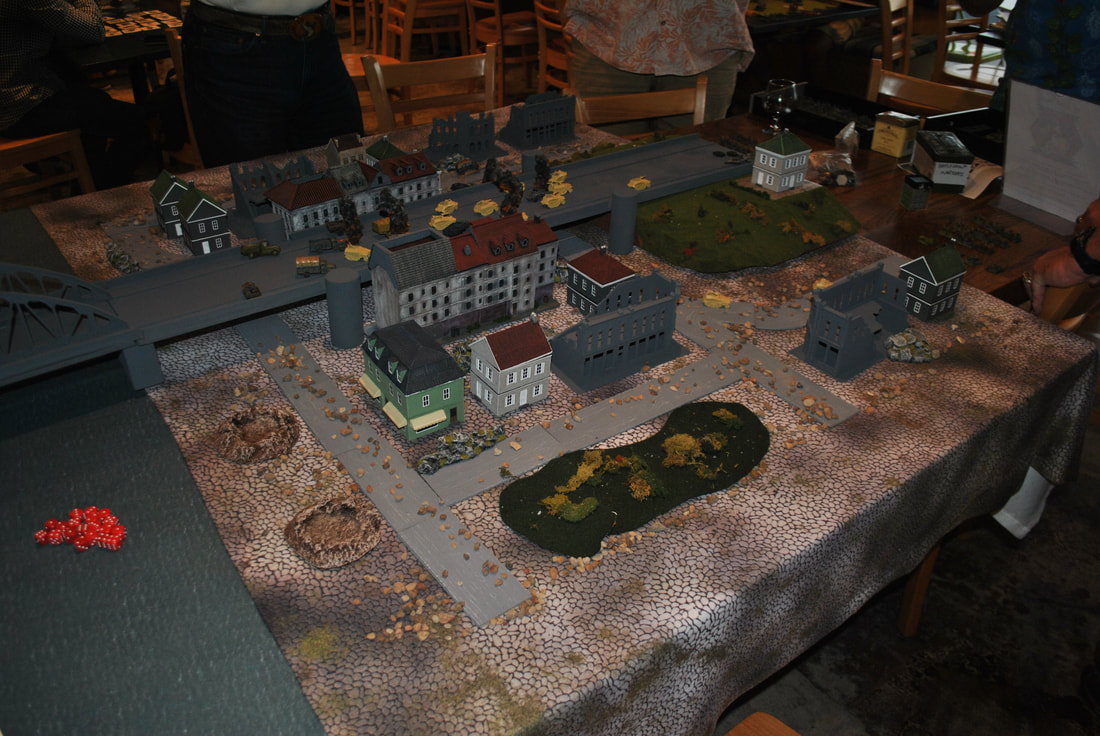
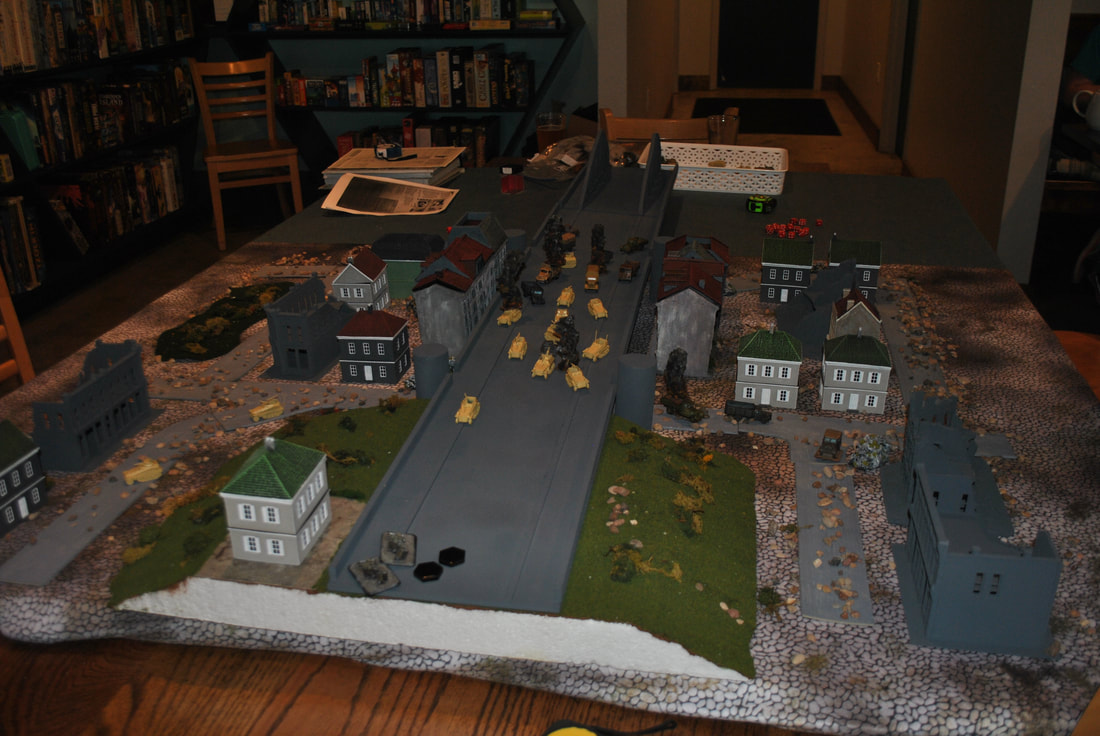
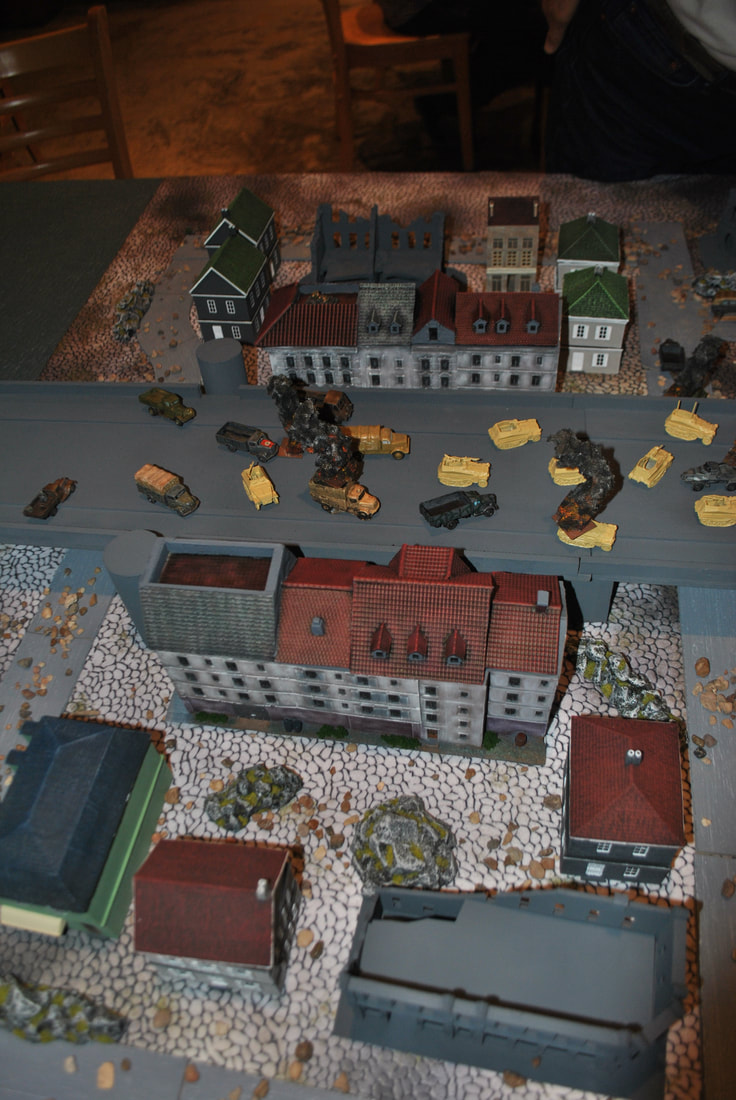
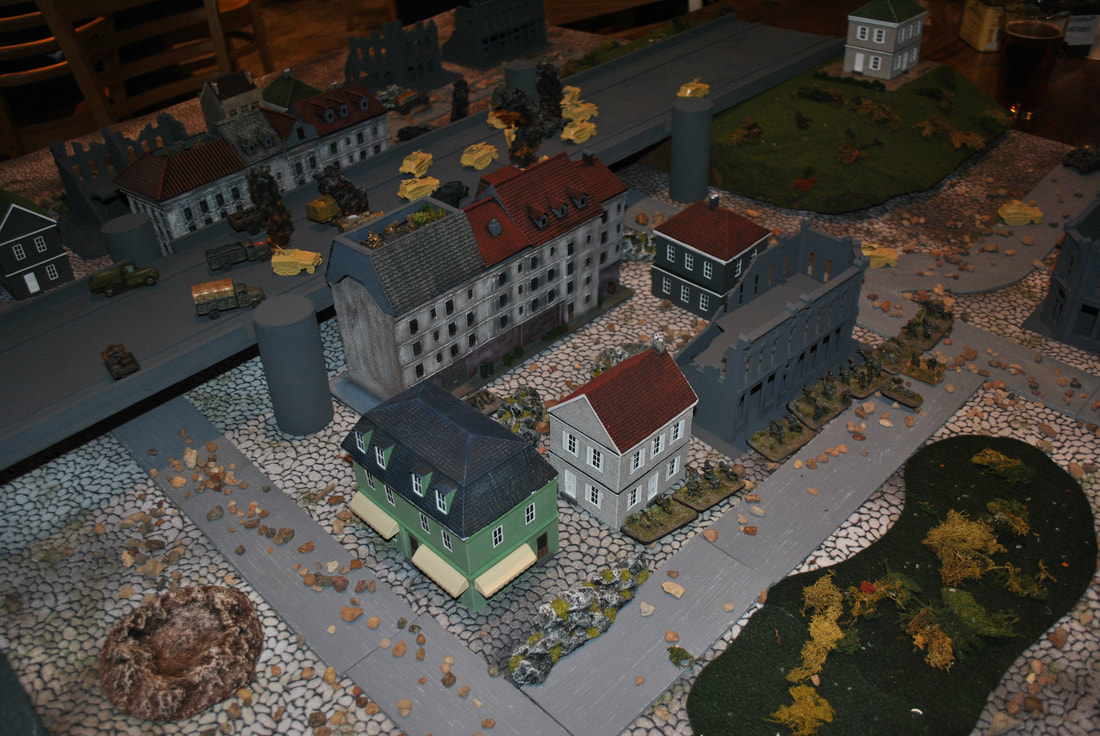
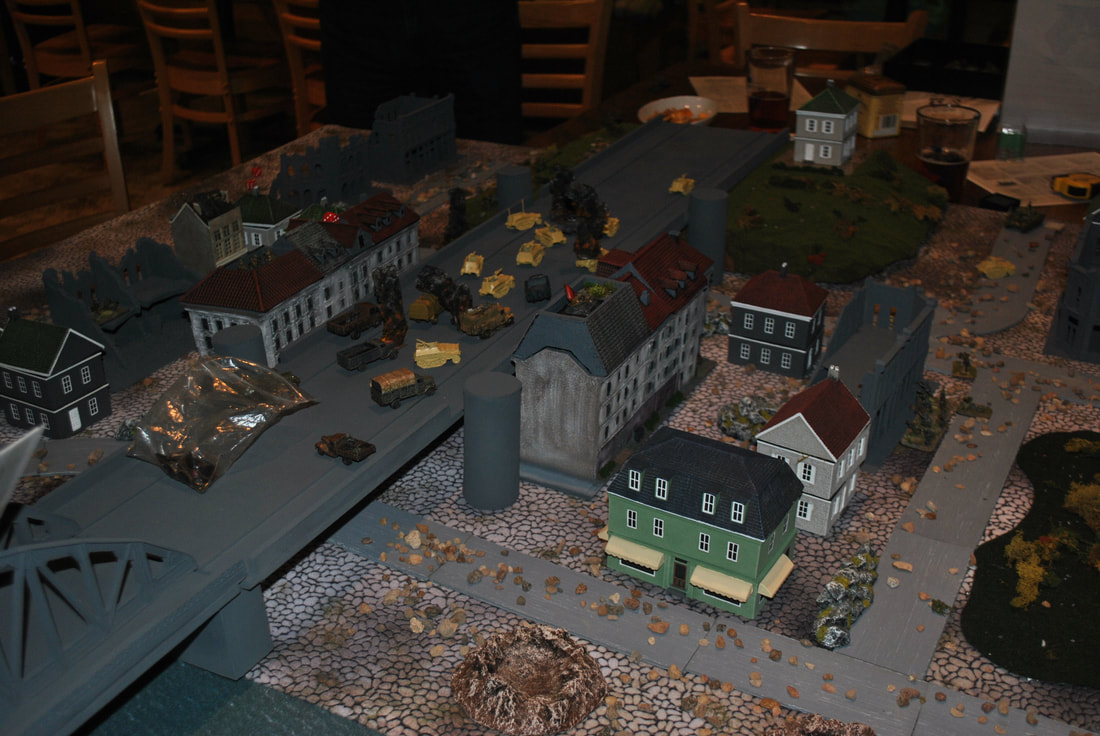
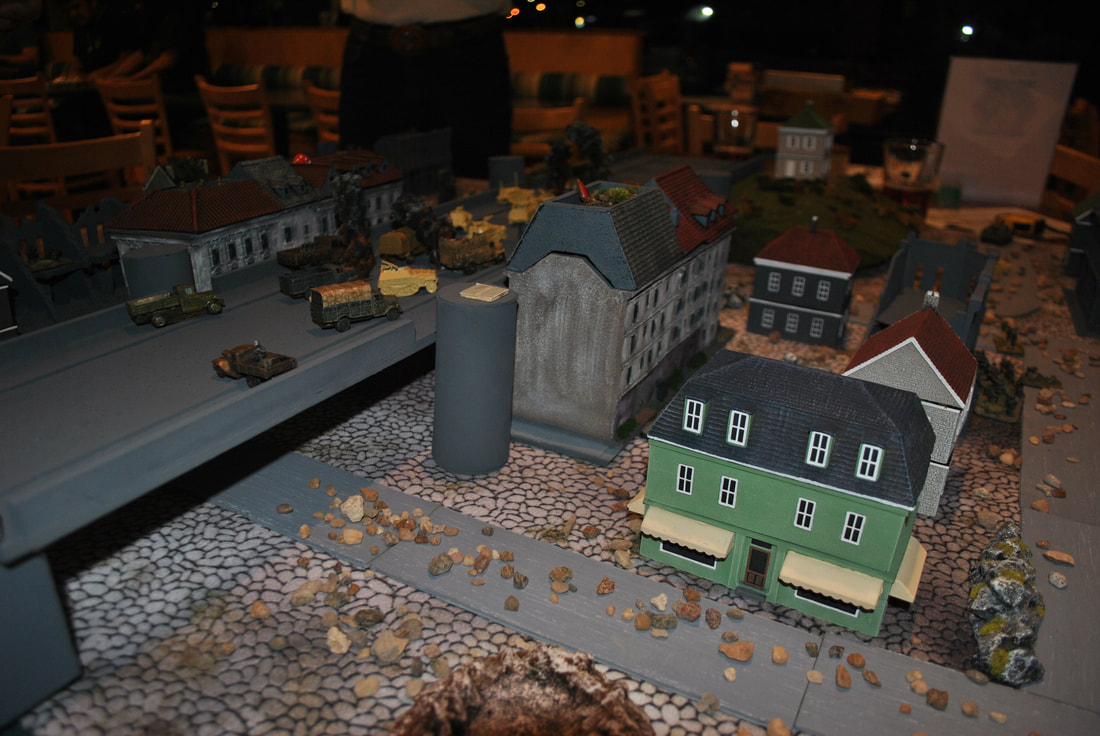
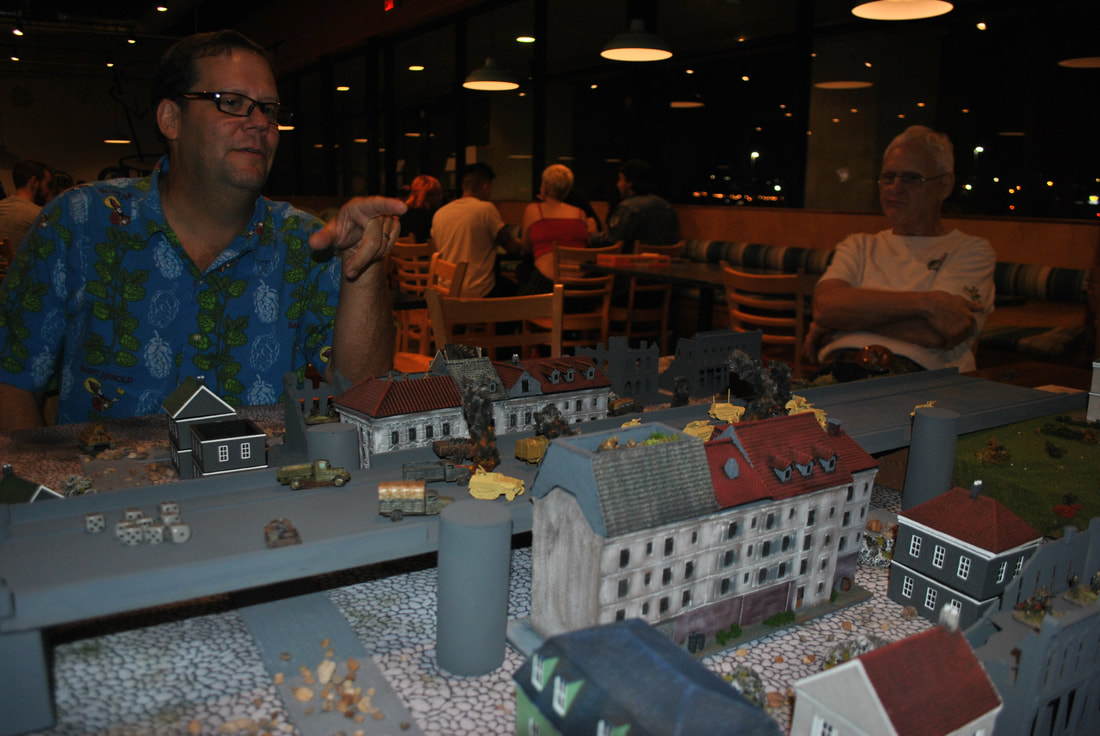
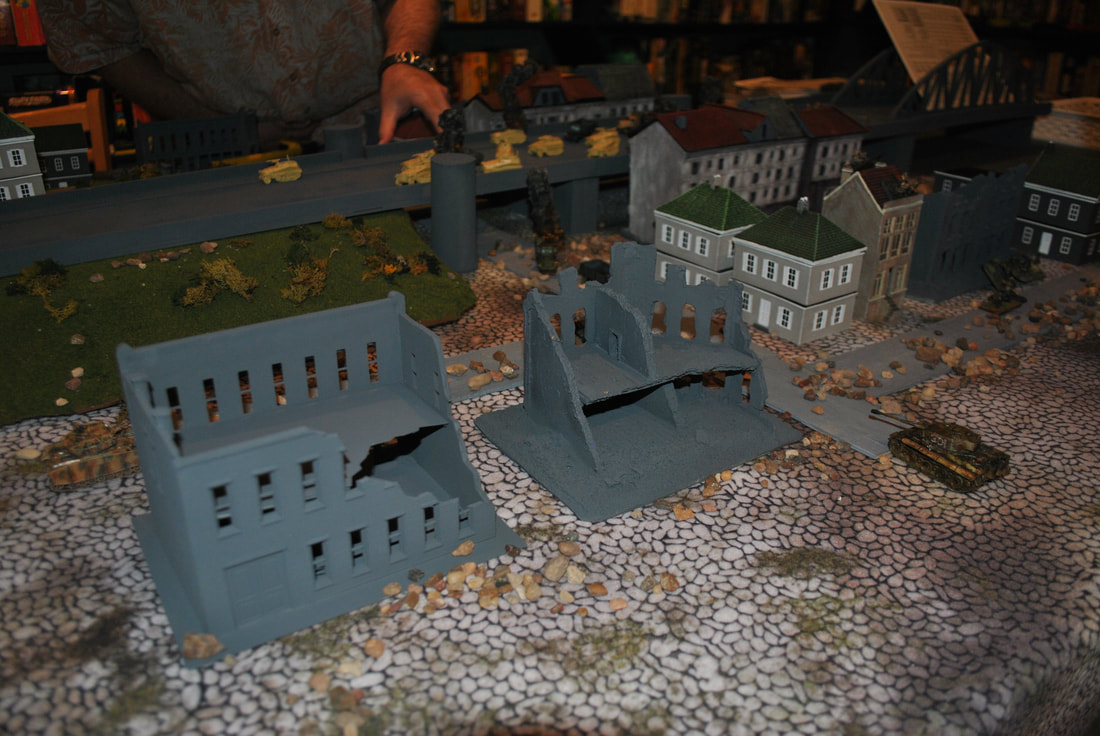
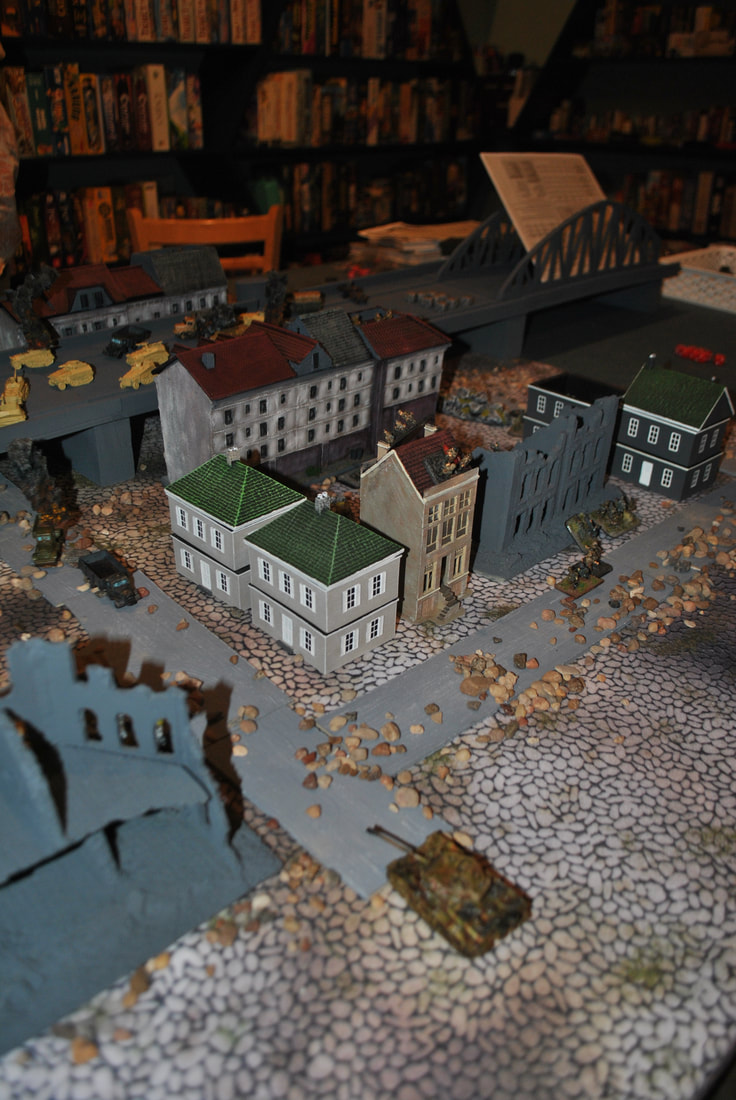
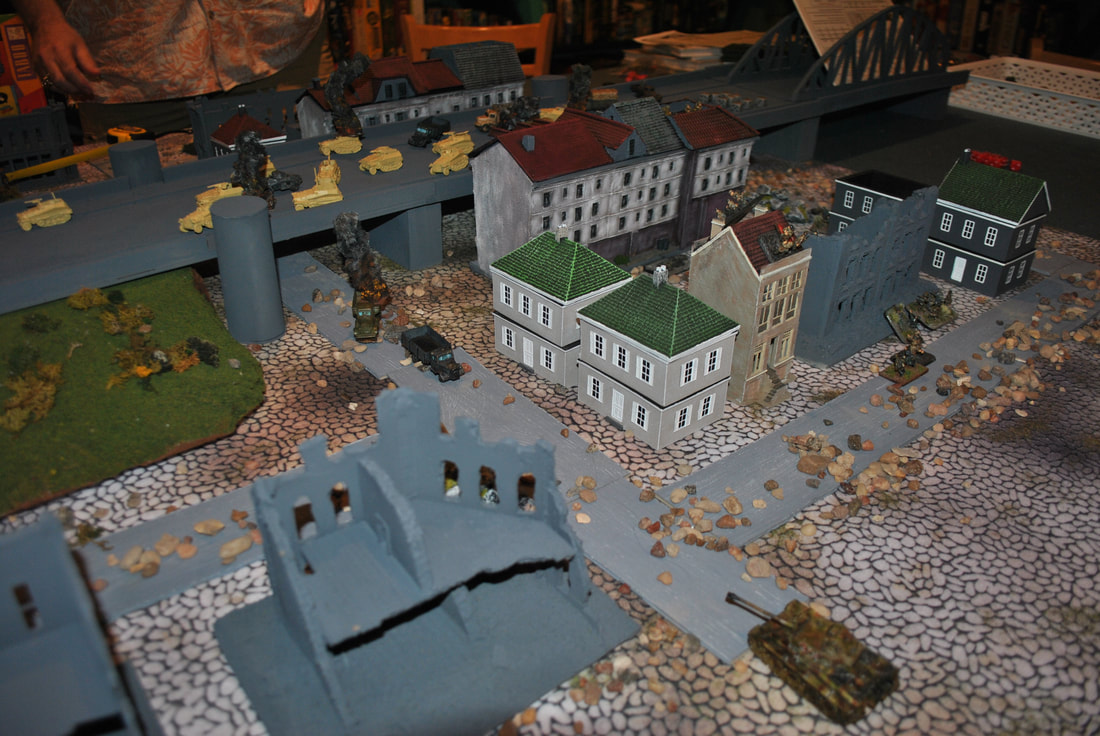
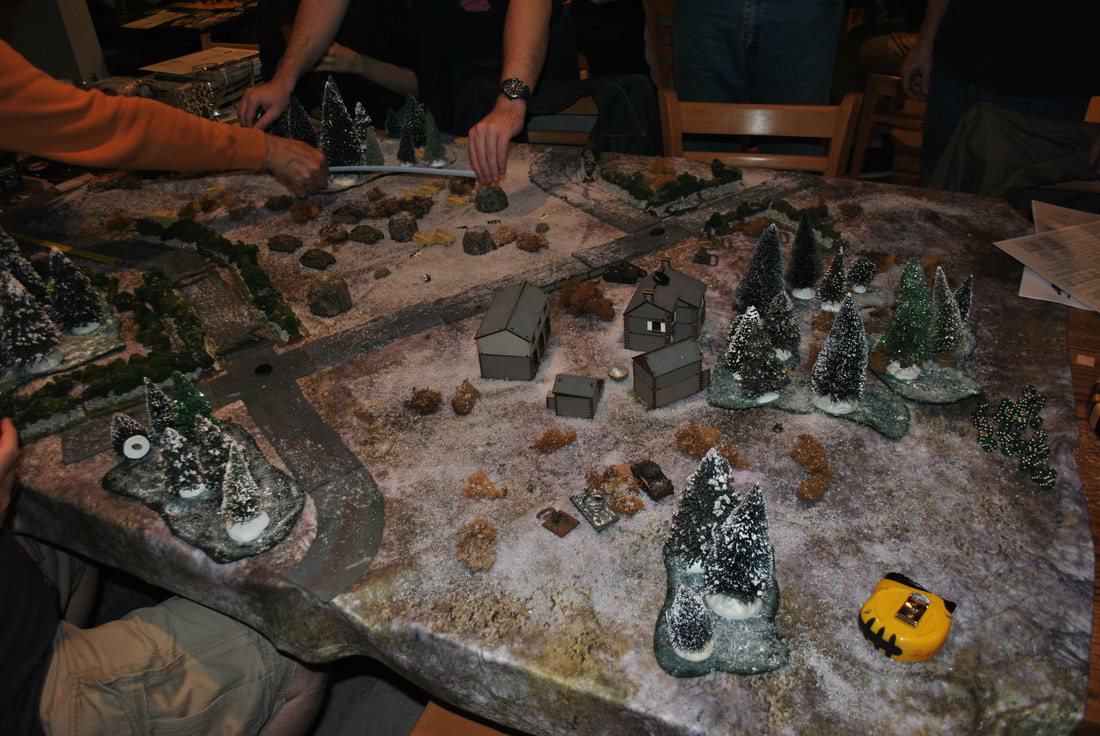
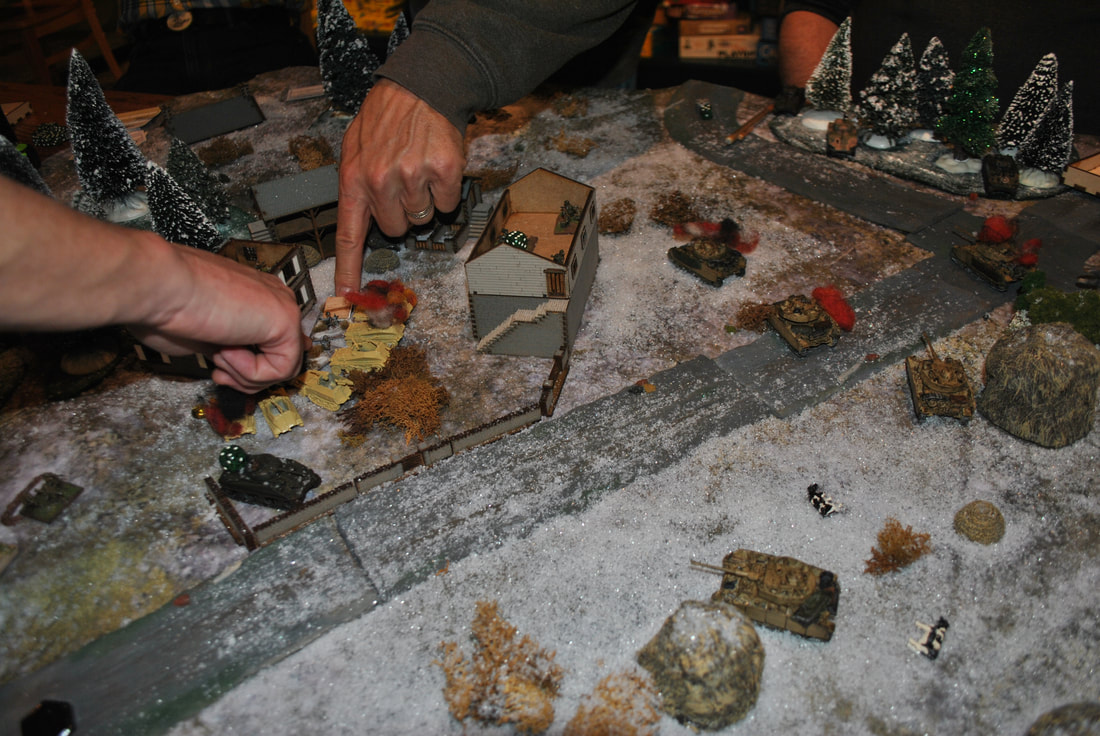
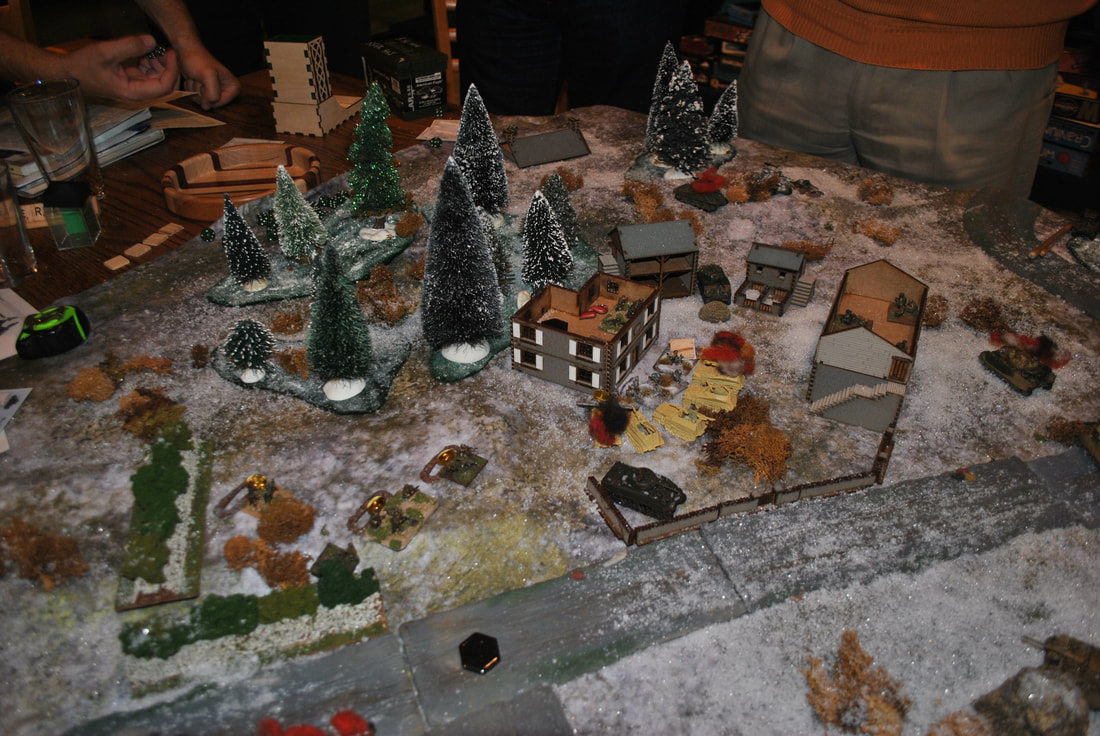
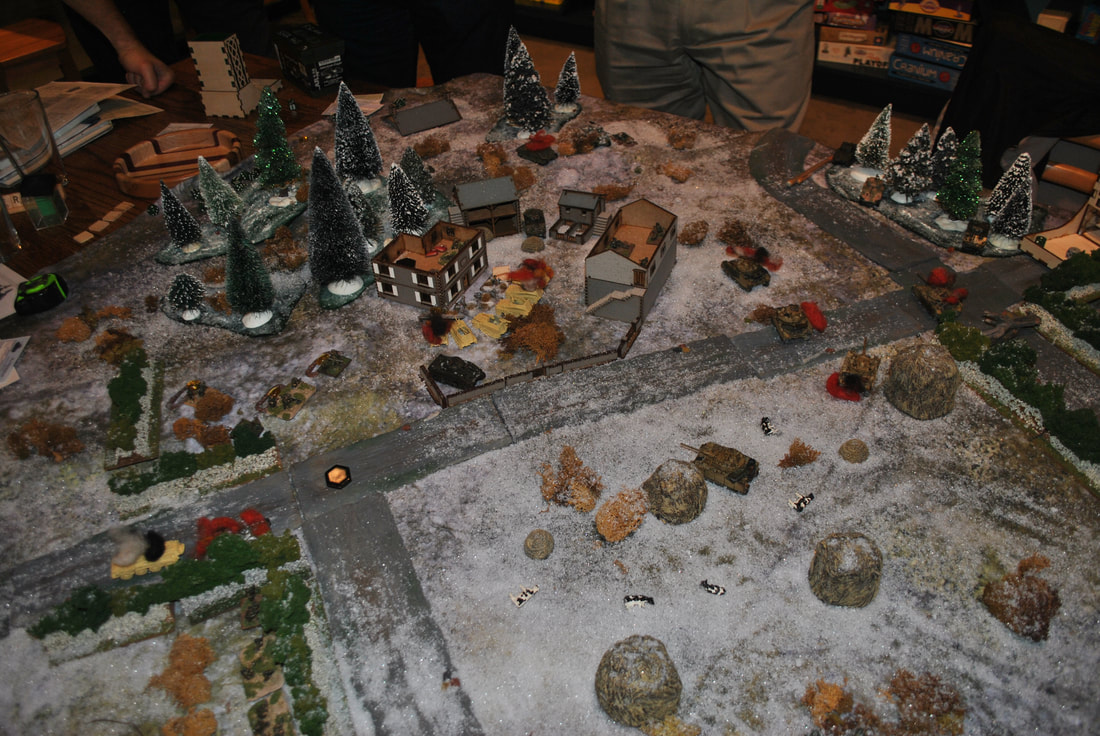
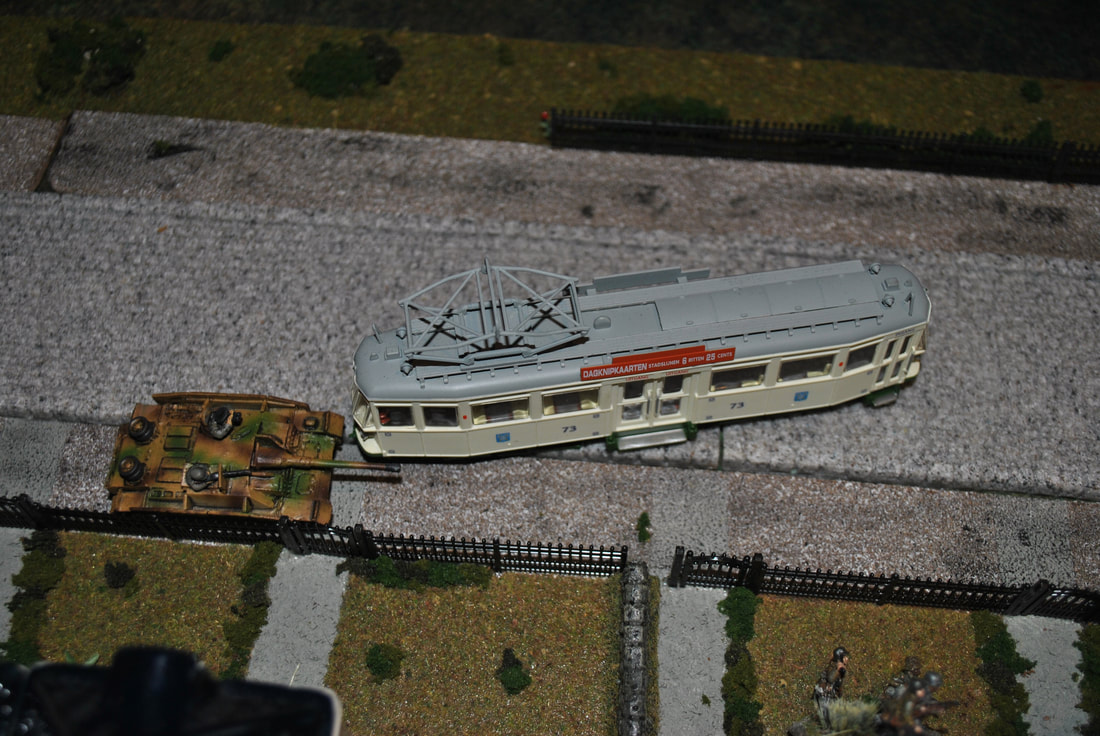
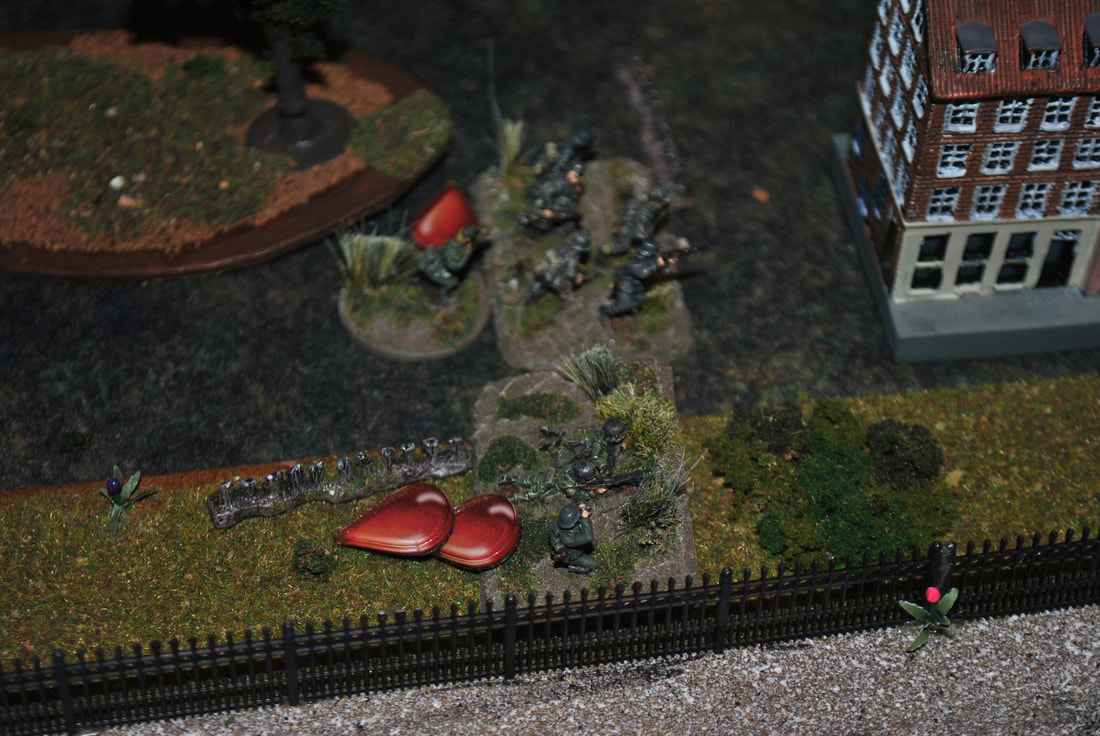
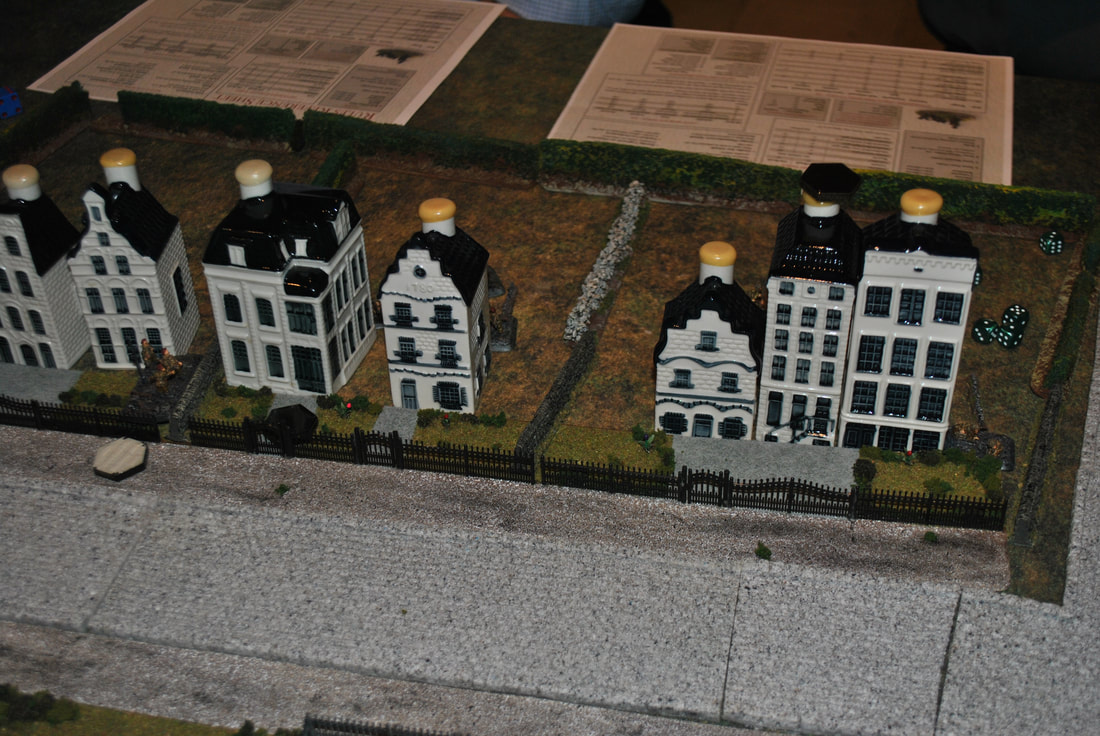
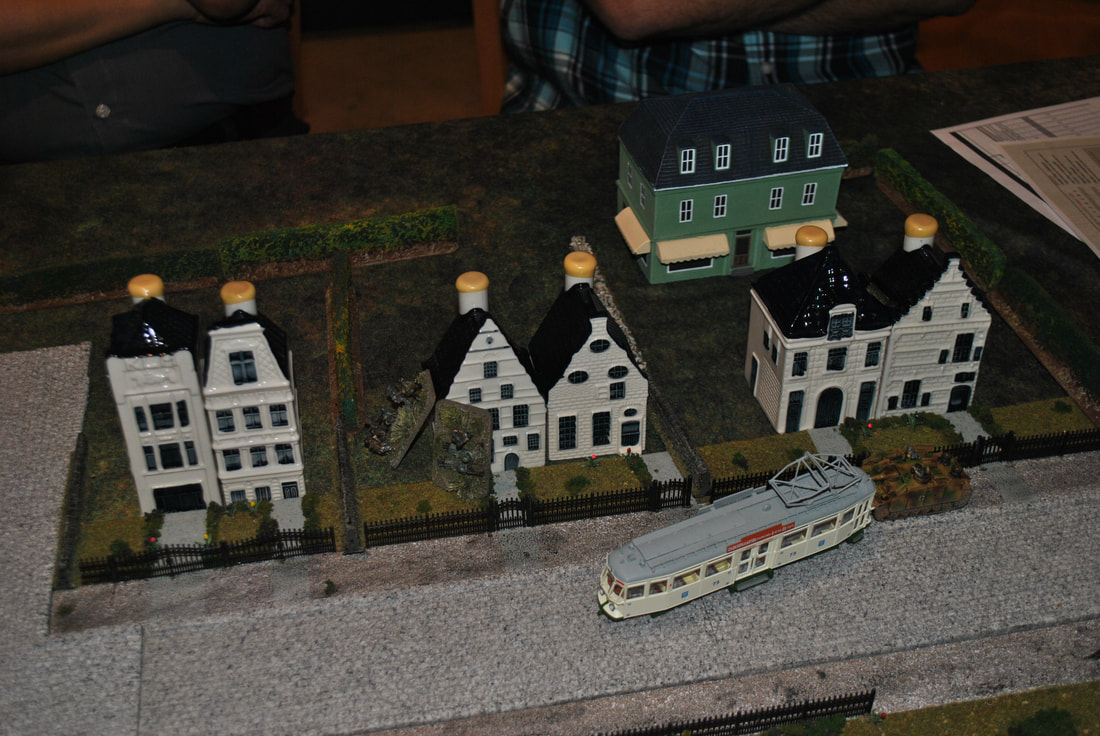
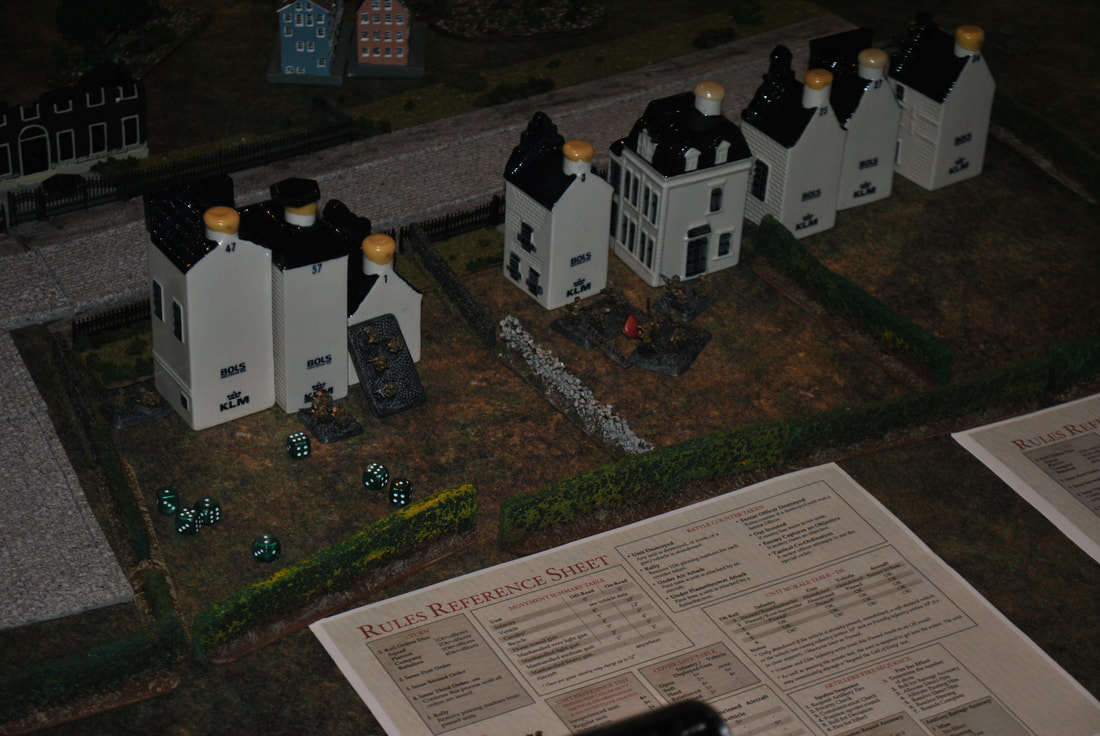
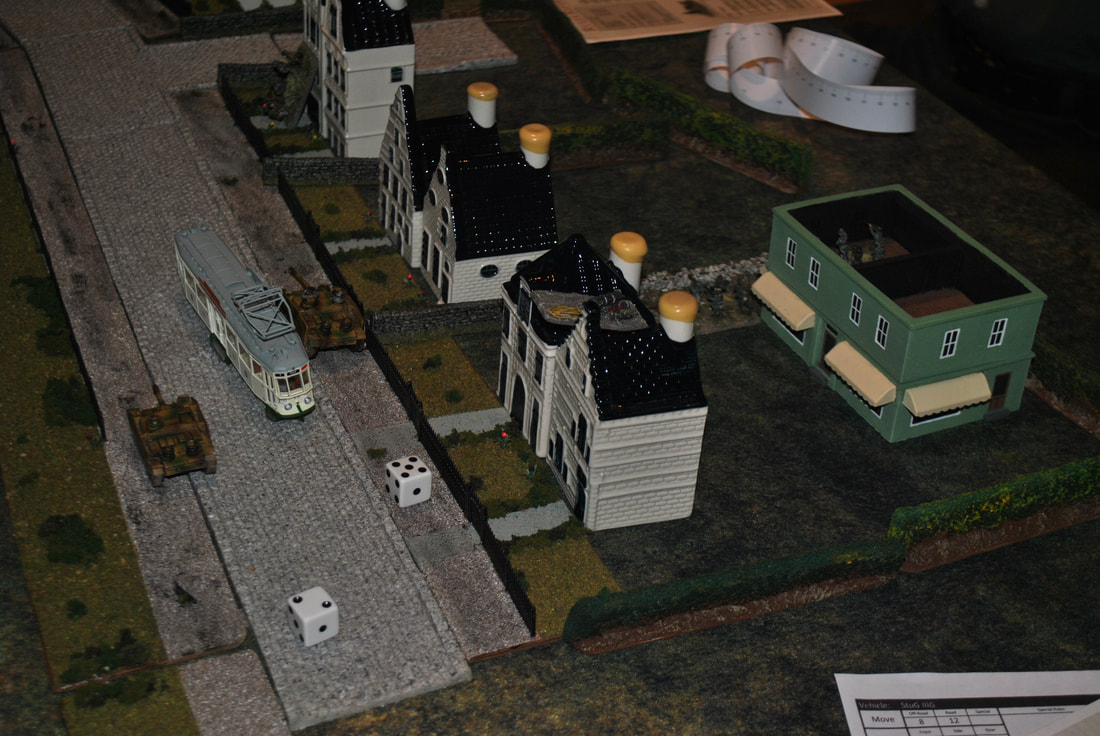
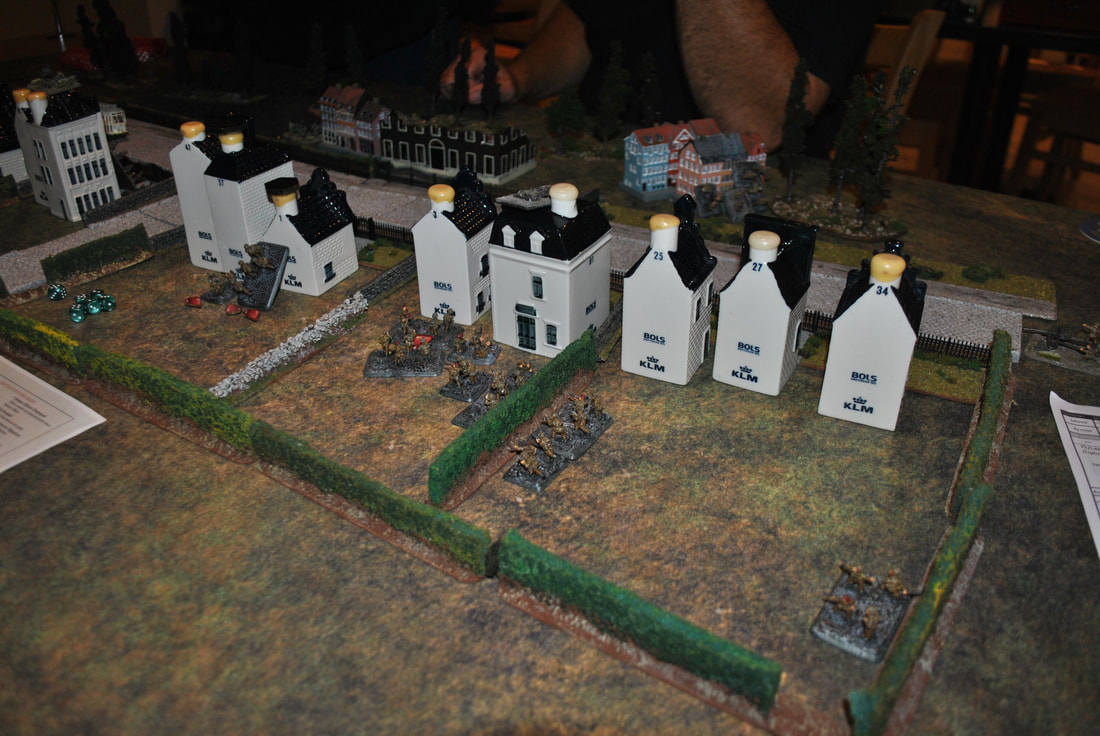
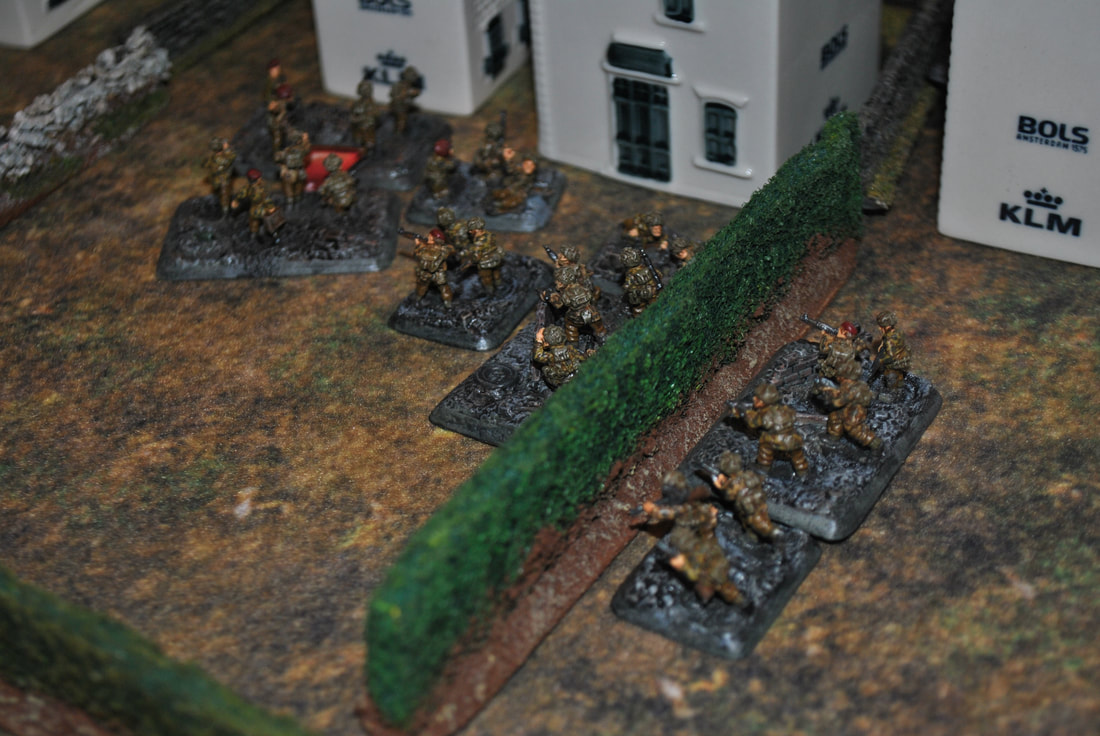
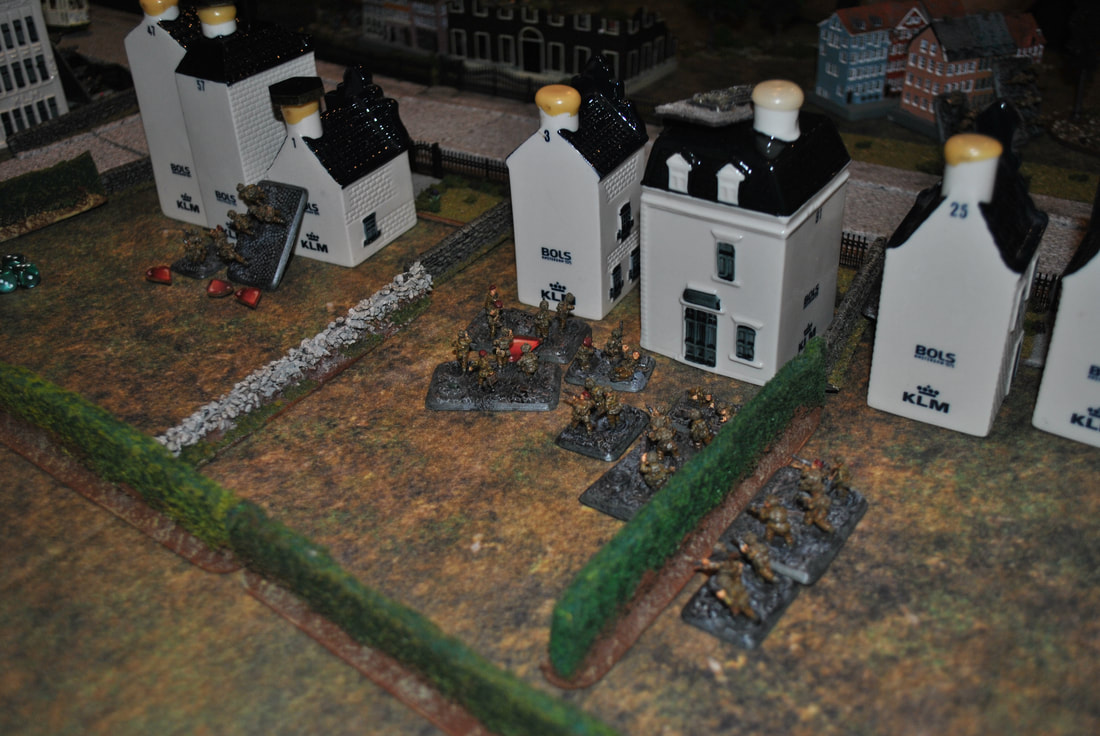
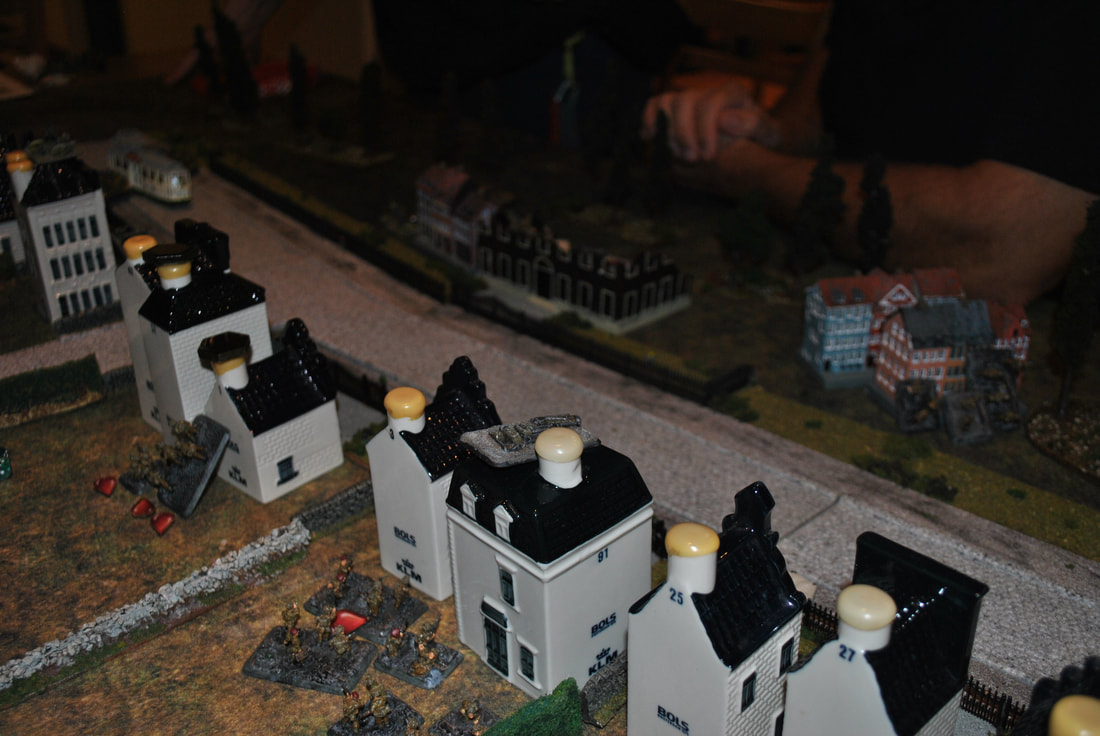
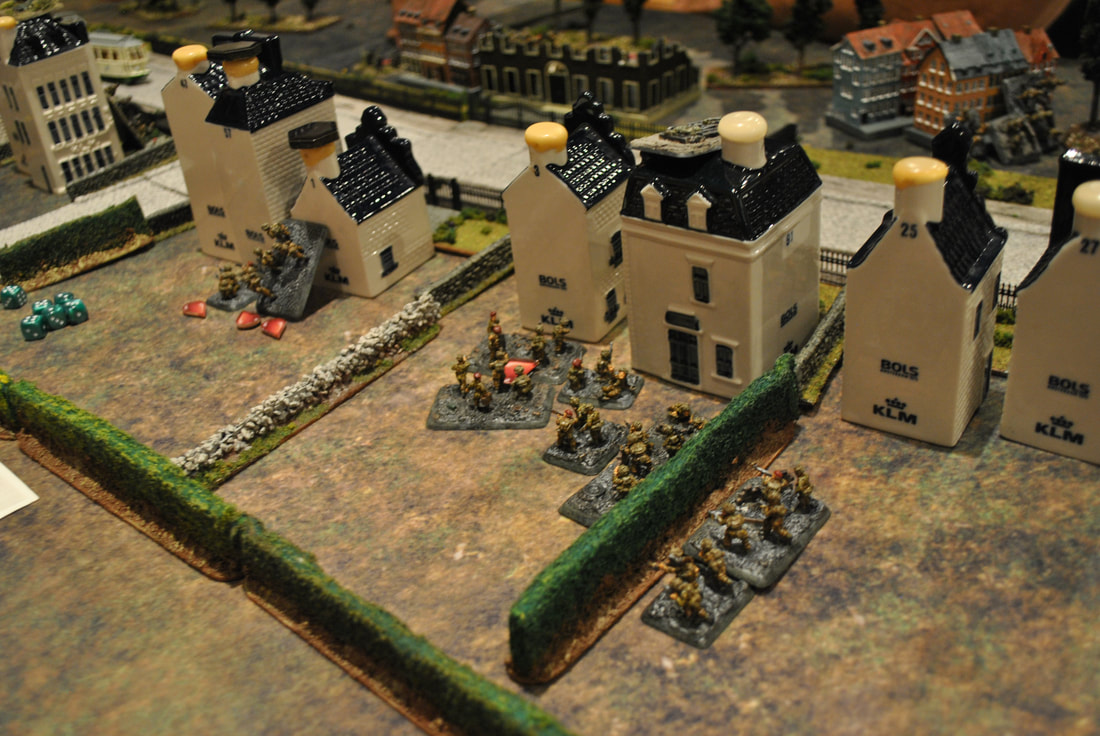
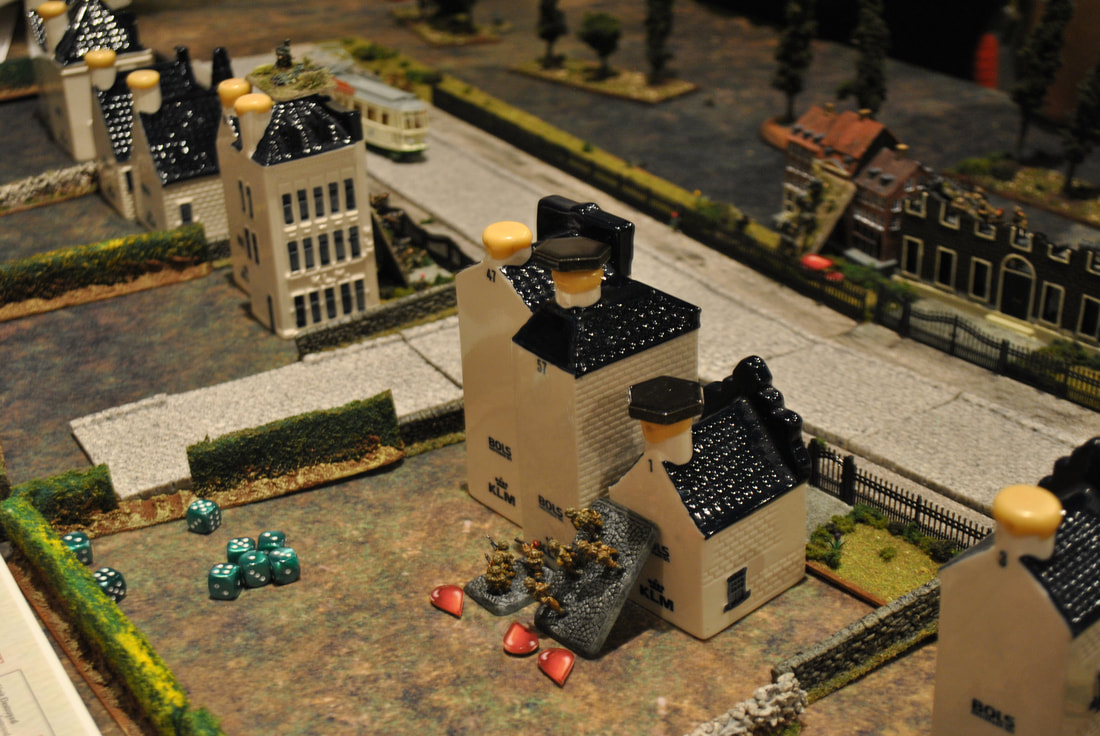
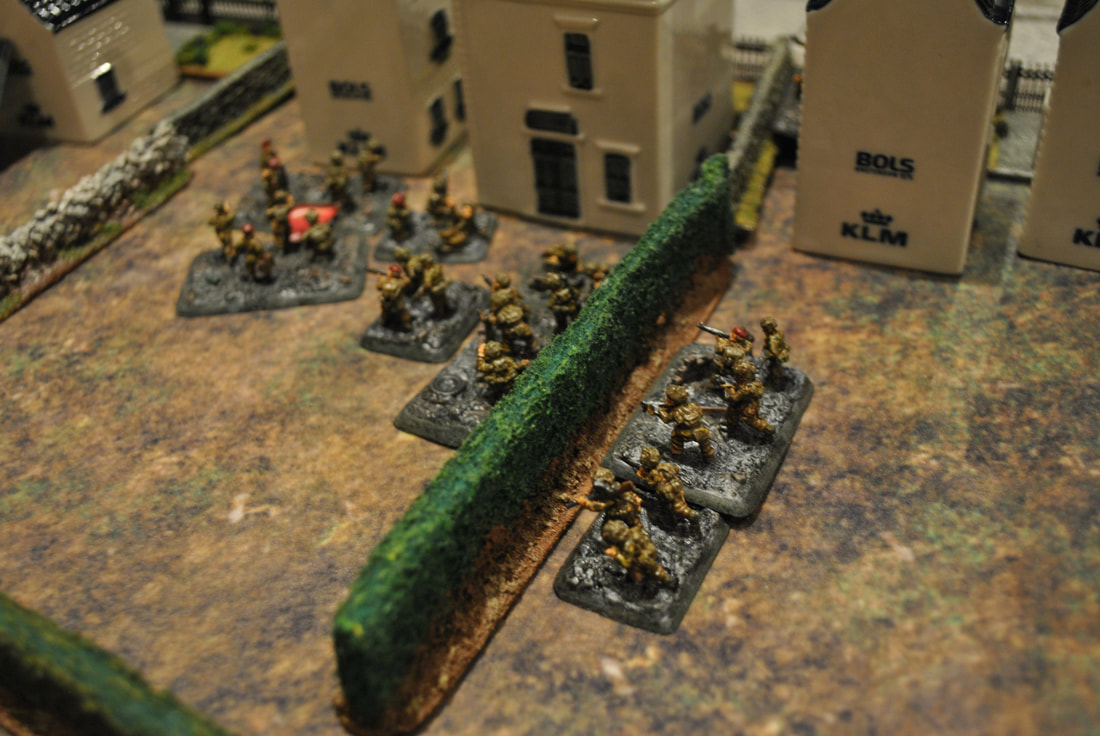
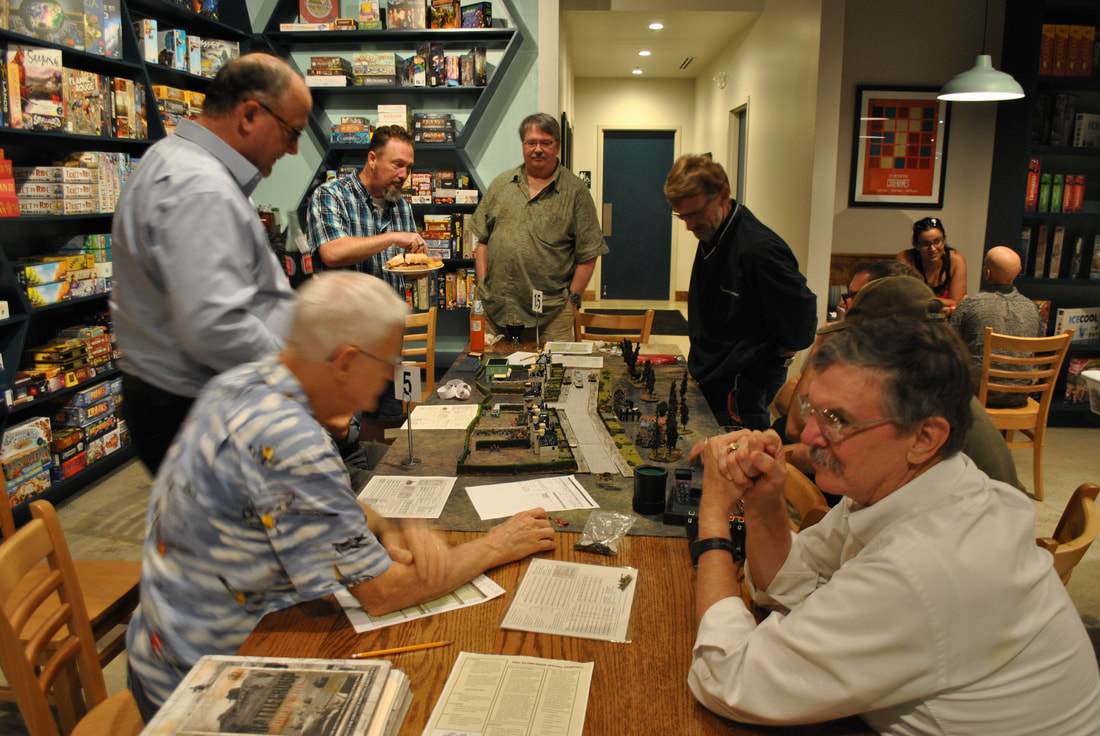
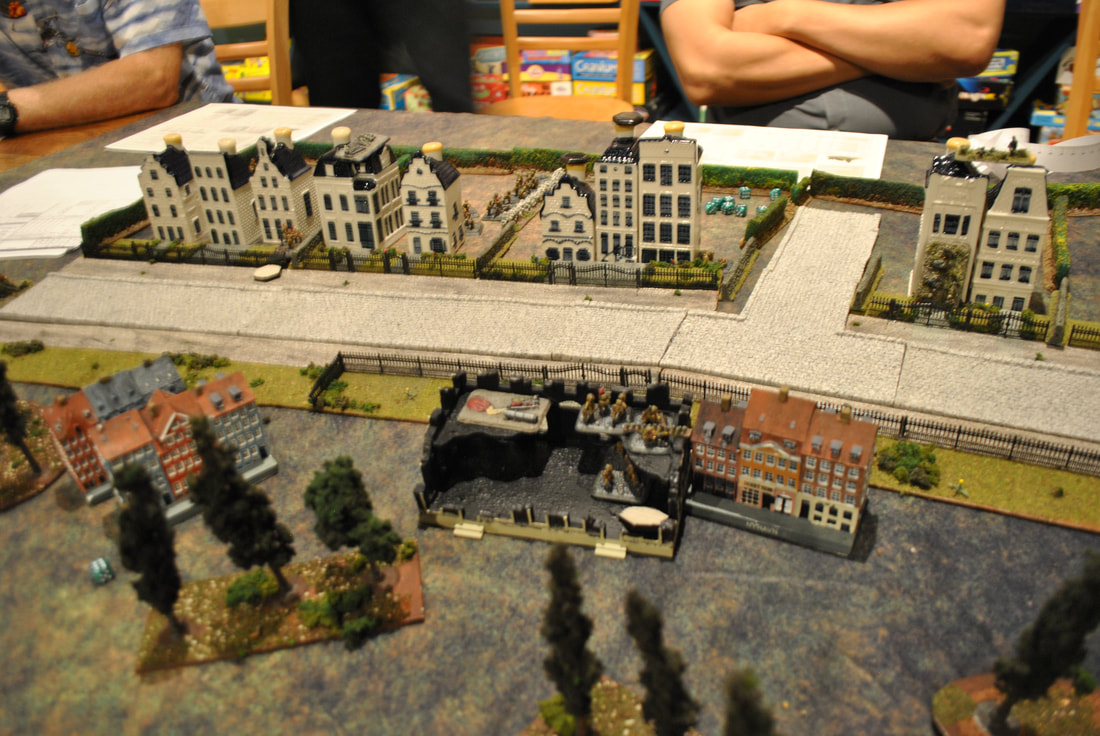
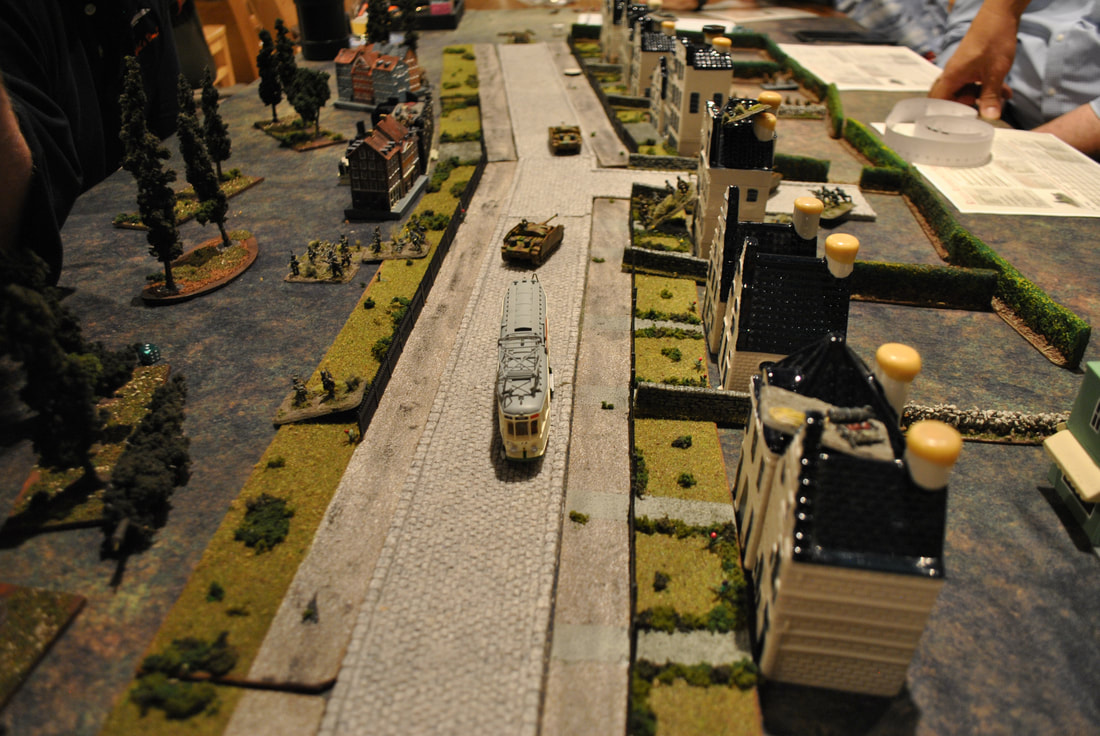
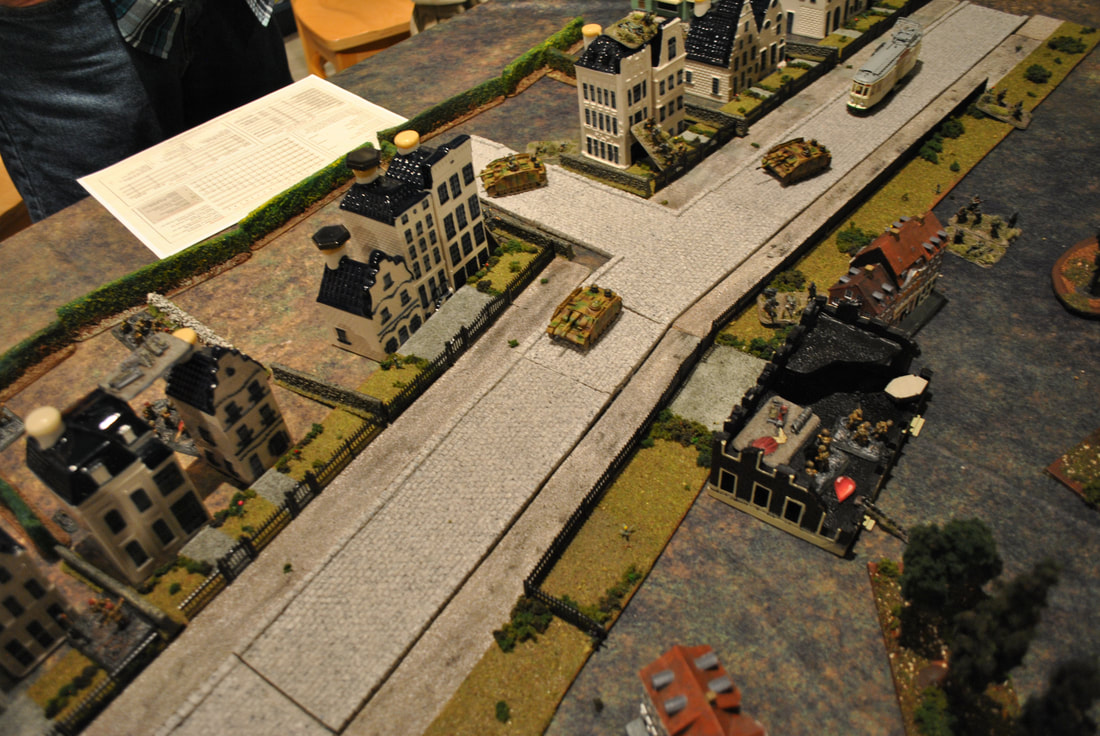
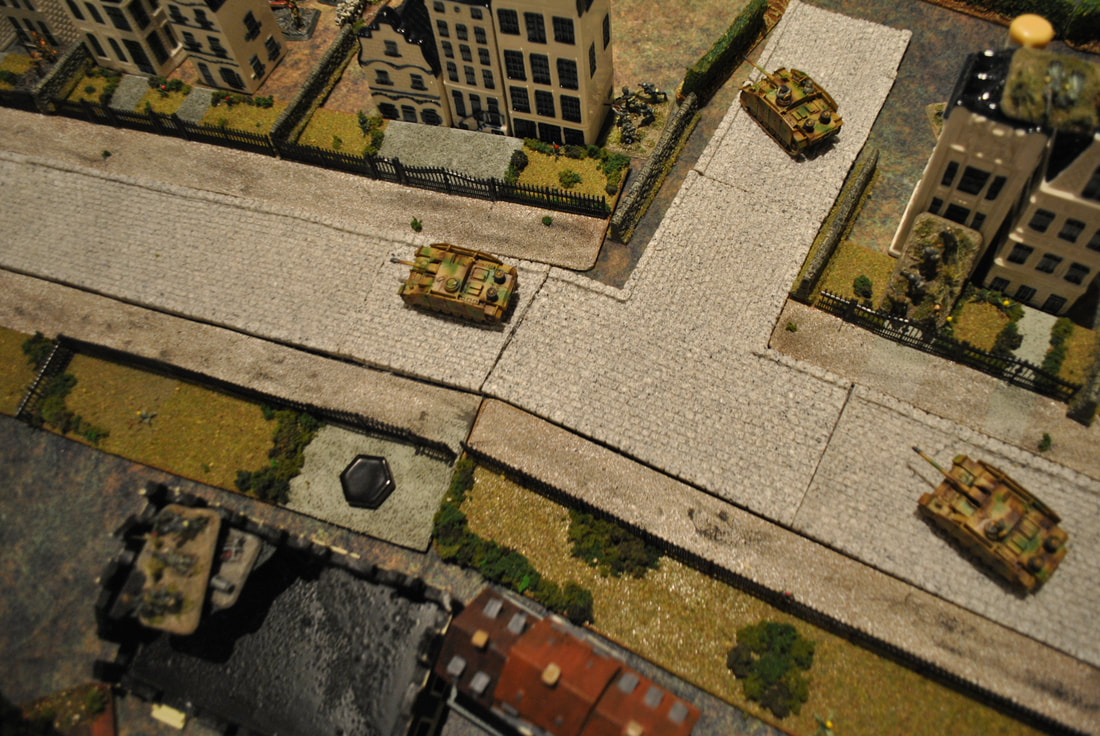
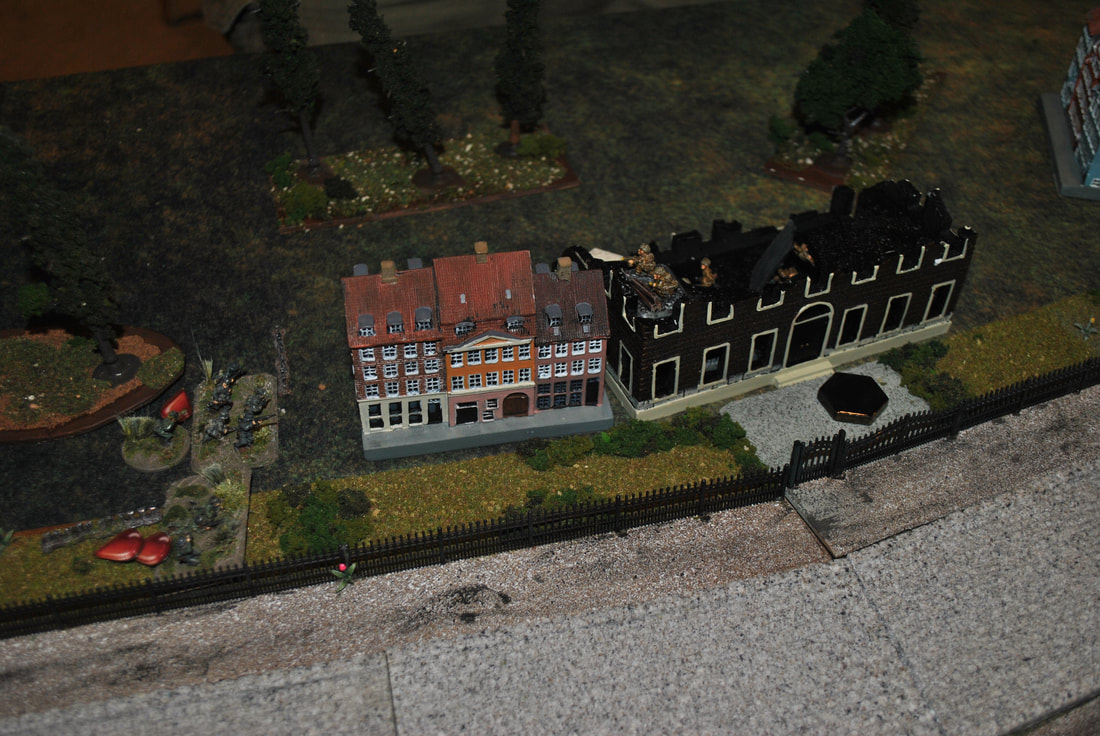
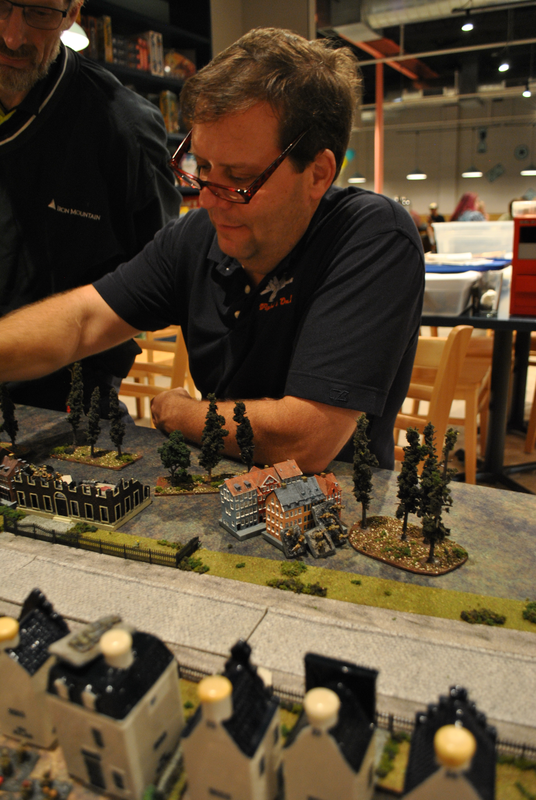
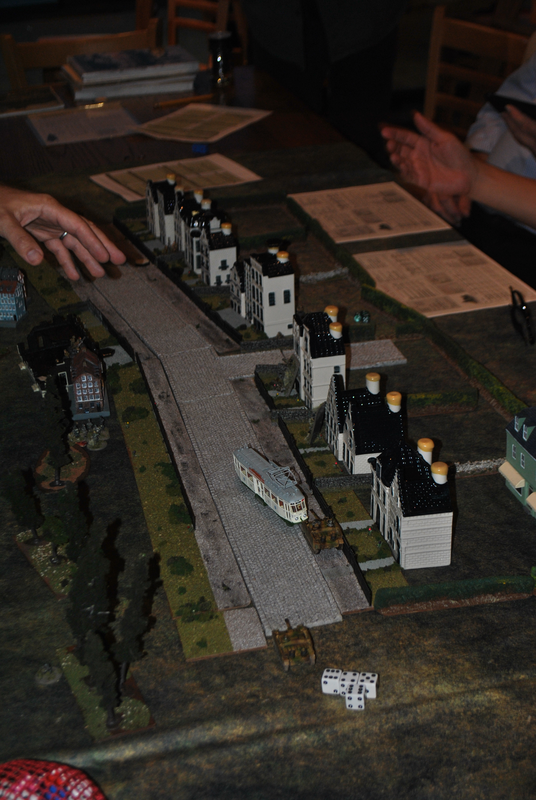
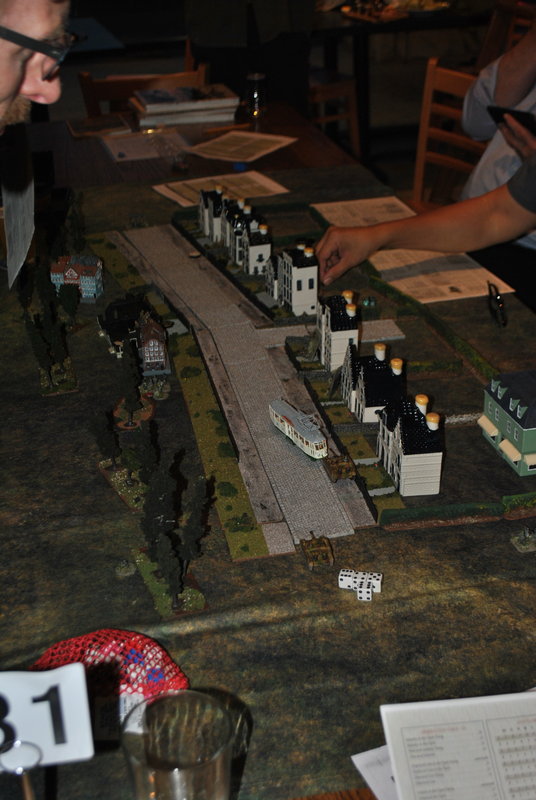
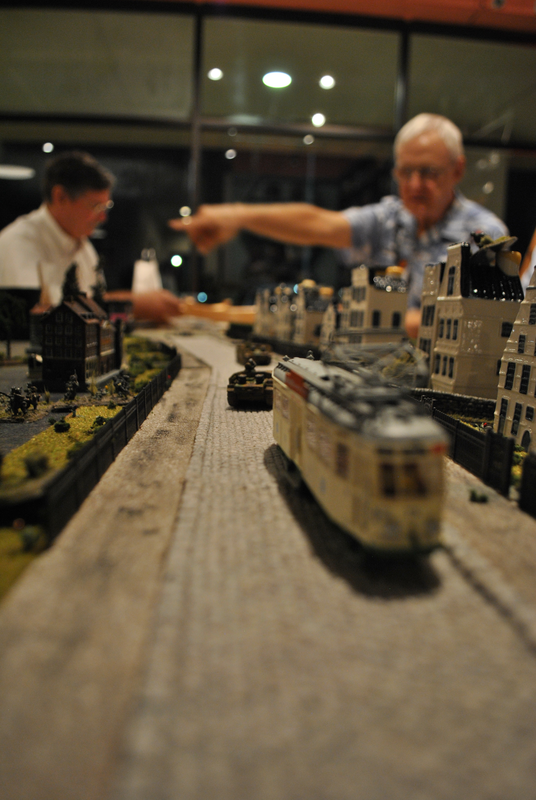
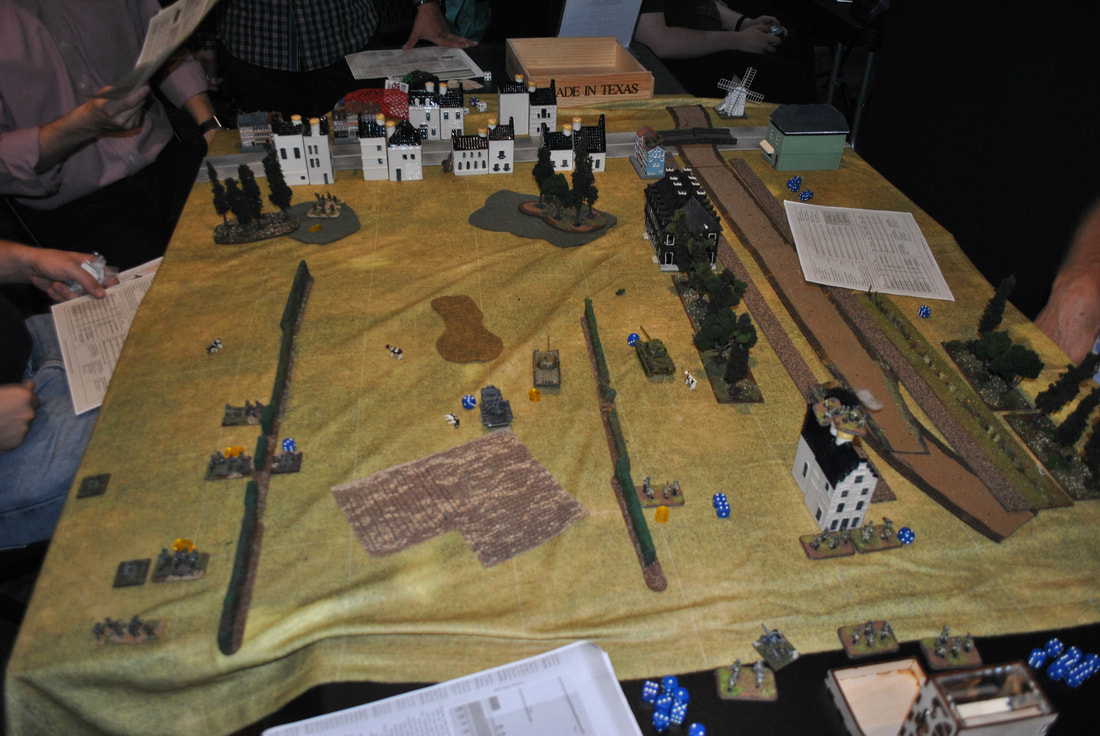
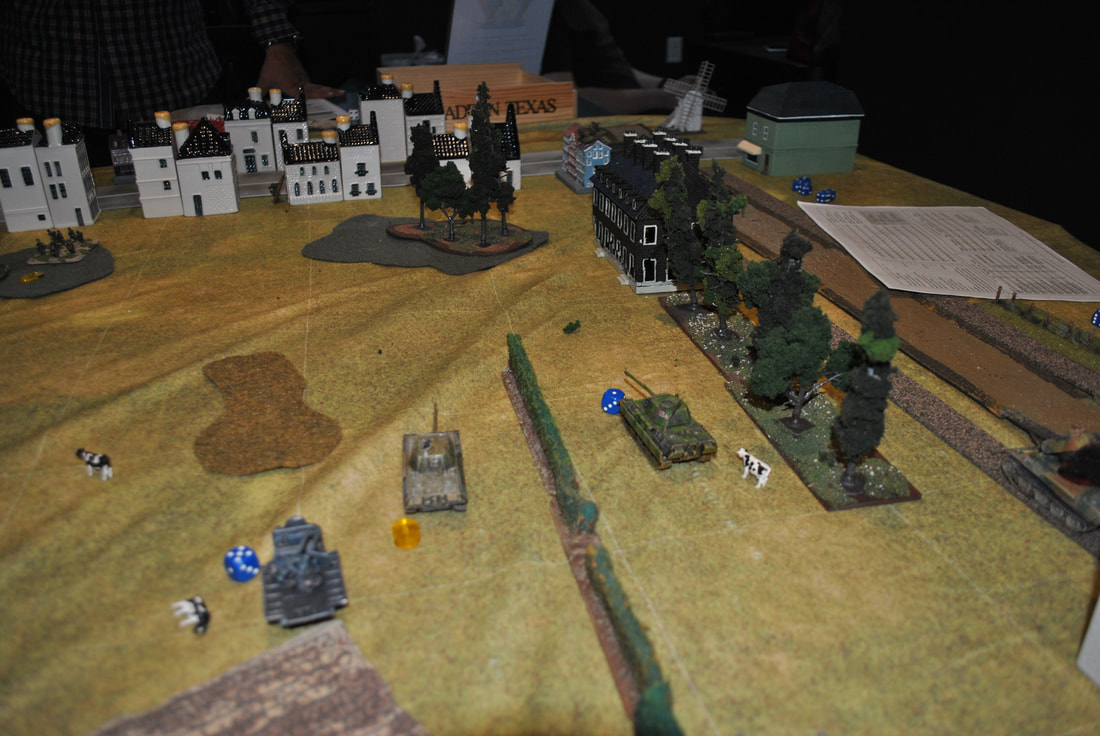
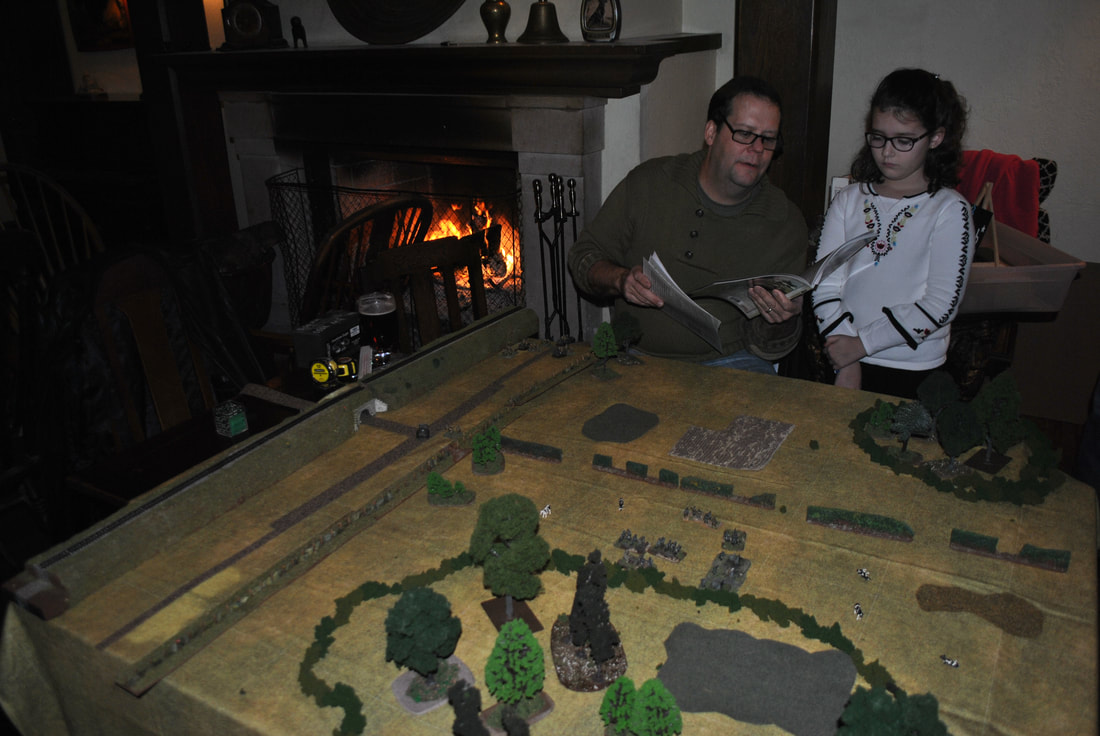
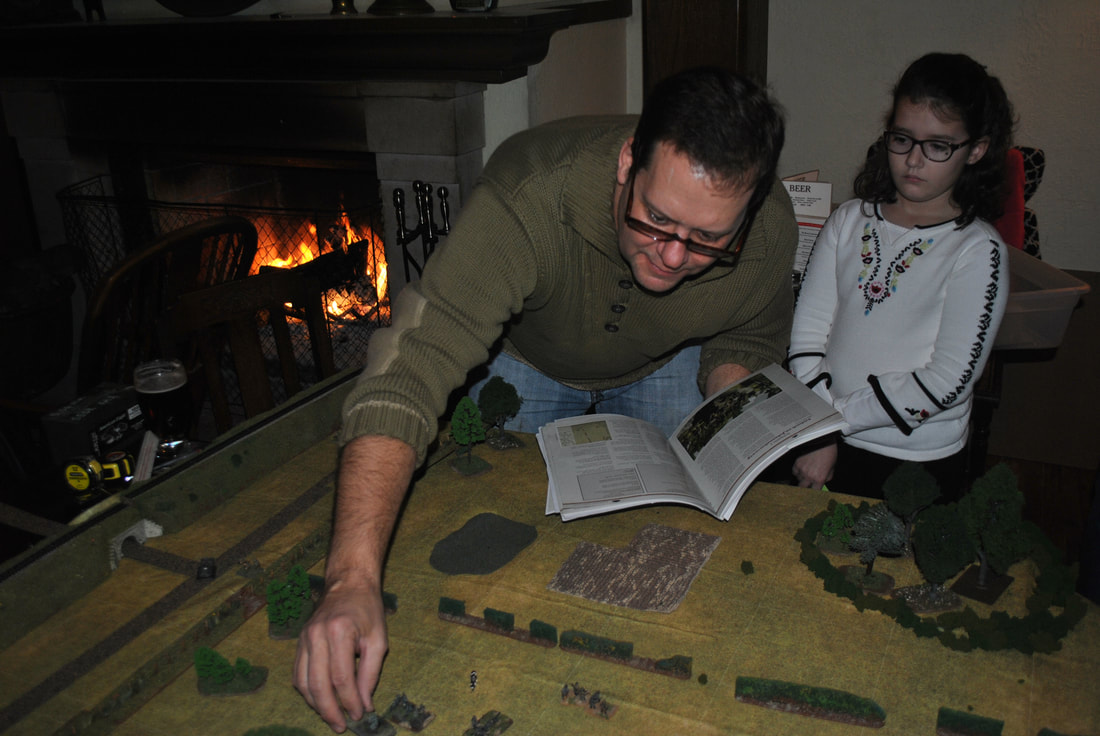
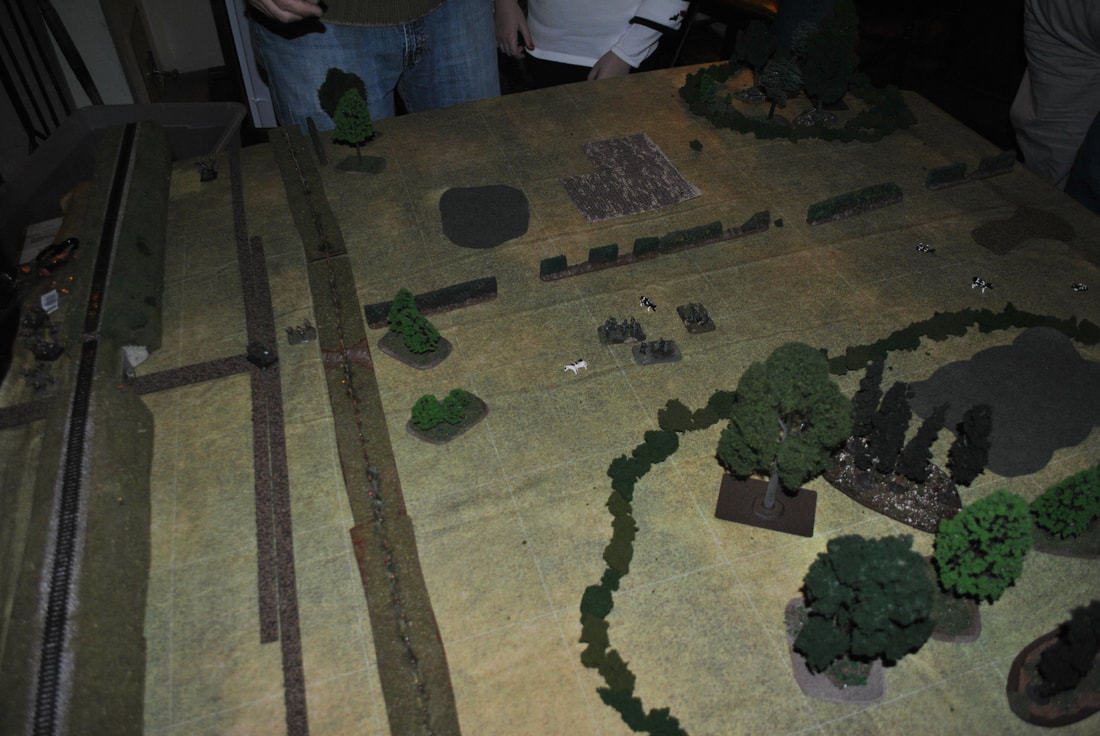
Battlegroup has been our go-to rule system for 2018, replacing Flames of War and Bolt Action as our platoon to company level WWII game, having scheduled it for multiple game nights. We'll play it one final time in December, but in September Rob hosted another scenario from the Market-Garden campaign book. Rob contributed the following after-action to go with our photos below. We had a large crowd for the September Beer & Pretzel Game Night. In honor of the 74th anniversary of Operation Market Garden this month I ran Battlegroup WWII rules and a scenario from the Market Garden Campaign of the 2nd South Staffordshire Para Glider Regiment fighting through the western suburbs of Arnhem trying to reach the bridge on September 19, 1944. Opposing them were recently arrived 10th SS troops led by Maj Sepp Kraftt. Some players knew the BG system so we divided them up and got straight into the action. The SS pushed west along the north side of the Utrechtsweg road, with one squad on the south side. The British evenly divided their platoon occupying buildings north (houses) and south (museum) of the road and waited for the German advance. The player soon learned the value of pinning as the Para light mortar team and rifle squad started to score against the German rifle squad and MG team advancing in the south toward the museum. We made one small error here and were treating the rifle + MG team as one unit but soon fixed that after the first pin and morale test. The AAA fire into the rear houses and the British 6pdr gun offboard both seemed to invoke more caution than actual results. The StuGs hung back and were not inclined to cross into the LOS of the British ATG. Instead, we all learned the ‘shooting at buildings’ rule as the StuGs consumed their HE rounds shooting into the houses on the north side of the street. One structure took 2 of the 3 possible structural damage points but was able to out-last the German HE ammo supply. The British teams inside vacated regardless due to the implied threat. The museum was assaulted once by a German rifle squad from the reinforcing platoon but was repelled. After both PIAT teams were knocked out by a very well placed German MG-34 team on the NE corner house from the museum, a very brave Para rifle team attempted to assault a StuG with anti-tank grenades but was not successful. German mortar strikes inflicted a few casualties and we applied a building damage opportunity when the mortar bombs struck a house. I actually cannot remember which side hit their battle rating first, but it was close [I believe the Germans hit their battle rating first, giving the British the win. - ed.]. The players all enjoyed learning the rules better, I don’t think we made any major mistakes after the first small error w/ a rifle team and MG team. I enjoyed getting my Dutch terrain out and seeing the small soldiers do what they do best, bring enjoyment to our gang of players and honoring the many soldiers and civilians who were lost fighting in Arnhem 74 years ago. On April 5th we had a great Battlegroup game at Coral Sword. Good pizza and BYOB made for a fun evening. Rob hosted as Barry, Paul, Andy, Will, and Rob played the Sons of Son game in the Market Garden book. Two platoons of 101st Airborne w/ some anti-tank and mortar support is defending a Bailey Bridge over the Willemsvaart Canal in Son which is under a German counter-attack by some Panther tanks and two infantry platoons. It was only our second game of Battlegroup this year and this scenario was good to introduce armor and indirect fire into the game. We jumped right in and learned a few things, and still have some rules to fully grasp and master. We'll end this w/ a lessons learned to reference for our next game. In this game, the Germans have to commit four timed artillery strikes of harassment fire after the Americans deploy. The US Paras took a beating in some woods that got hit twice by these timed barrages. Cover saves in woods (soft) isn't as good as a building hard cover. The Panzers led the attack and moved a little bit toward the bridge and stopped, preferring a long range duel w/ a 57mm ATG. Due to intervening terrain, it was really a 1 on 1 duel between a single Panther and the concealed gun as the two supporting Panthers couldn't see the ATG. Not short of targets, the other Panthers shot up the infantry platoon on the objective and in some nearby woods and started piling battle rating chits onto the Americans. Luckily for the Americans, the British supply trucks arrived on T1 and scooted up the road to the bridge right away. The nearby village buildings offered enough room to hide from the guns of the Panthers which allowed them to all escape off the North edge on T2 and T3 (two trucks got pinned by an artillery strike on the bridge T2). This gave four more battle rating chits to the Germans. The German infantry advanced aggressively in the South, and were pinned for their efforts by the effective US 81mm mortar battery firing off-table w/ two US commanders able to call fire (usually one was pinned so having two was a good redundancy). Eventually the 57mm ATG w/ extra loader team (higher ROF) won the duel w/ the Panther and more battle chits went to the Germans. This gun eventually succumbed to a Panther that advanced to it's position, but inspired some fierce anti-tank grenade attacks by supporting Paras which ultimately failed, but were epic. We finally had to call the game at 11pm as we were tired. The Germans won a narrow tactical victory on battle ratings. The Americans were closer to the break point then the German side. We all enjoyed the game and learning it's finer points. Pinning w/ suppressing fire and HE is key to taking units out of the game until rally in the following turn (which costs battle rating chits to do). We got some rules wrong, but I've worked out all the lessons learned below and we'll improve our play next time. All in all, we really enjoy Battlegroup as our current goto game for 15mm WWII. We plan to see more Battlegroup Market-Garden action in September and Battlegroup Wacht Am Rhein action in December, as our 2018 focus on the Battlegroup rules continues. Lessons Learned 1a. Artillery Fire Sequence - need to resolve direct hits according to the HE dice and hit value of each gun. We allocated direct hits but did not resolve them correctly. 81mm mortar and Panther 75mm are both HE 4/4+ for scoring hits that require saves. 1b. Artillery Fire Sequence - need to resolve pinning hits according to the Suppressing Fire Effect table according to the gun type. 81mm mortar are light HE, Panther 75mm are light HE. 1c. Artillery number of shots = tubes x2. Panthers roll 6 dice for x3 tubes. US 81mm mortors roll 4 dice for x2 tubes 2. US Infantry have M1 Garands which do suppressing fire as one band higher on table. ex: 6 man Rifle team does suppressing fire as ROF 9+ 3. Hits on Soft Skin Vehicles - need to consult the chart for vehicle. SdKfz 7 takes 4 hits before knocked out. Morale Check required for EACH hit (not just on casualty). 4a. Deployed Guns - any rolls of '6' on HE to hit are applied against the gun, not the crew. Gun makes same Cover Save Roll and if failed, crew abandons the now destroyed gun. 4b. Loader team requires a 5+ check to give the extra ROF dice. ROF 3 only if the loader team passes this check during the Open Fire order. 5. 60mm mortar - min/max range is 5"/30". Treat as aimed fire HE Shell weapon. Roll HE 3/5+ for aimed fire effect. Treat as HE from very light gun for Supressing Fire. Rob hosted our January game night and re-introduced Battlegroup rules for 15mm WWII to Houston. We enjoyed two great games from the Market Garden scenario book, at squad level which is good for an introduction to the rules. It's set on Sept. 17, 1944 right after the British landings at Wolfhezen. The Brit Para Recon Jeeps are driving down the Johannahoeveweg by a railroad embankment to reach Arnhem when they are ambushed by platoon from KG Kraftt. This is a very challenging game for the British. We switched sides for game #2 and discussed lessons learned and still could not win as British. It's a very good learning game as it’s all small arms and jeeps and really a fun challenge. Looking forward to our next game of Battlegroup at the canal bridge in Son with the 101st US Airborne. This will introduce artillery and tanks to us at a larger platoon level. |
Please ParticipatePlease feel free to comment on what interests you. Archives
September 2023
Categories
All
|


 RSS Feed